.png)
.png) 3 months ago
28
3 months ago
28


Published Apr 12, 2026, 8:31 AM EDT
Stephanie Watel is a writer for DualShockers. She has over three years of experience writing about all things video games, from news to lists to in-depth guides in a variety of genres. Her strongest niches start with RPGs and also include platformers, horrors of every variety, cozy builders and sims. She also enjoys a good looter shooter and the occasional gacha adventure.
Games have been her biggest passion since getting a Nintendo 64 for Christmas in the 90's and she carries that passion into all of her published content. With DualShockers, she specializes in crafting polished, informative, and enjoyable gaming guides that help pave a clear path for players and don't skimp on the details that matter most.
Sign in to your DualShockers account
The long-beloved Monster Hunter franchise has constantly stood over the years as one of the most ambitious and thrilling in terms of its concept and gameplay. While certain titles like Monster Hunter: Rise and the more recent Monster Hunter: Wilds have been doing their part to push the envelope when it comes to manifesting the most grueling and rewarding monster battles imaginable, the spin-off within the franchise that's catching up fast in that department is Monster Hunter Stories.
With the release of Monster Hunter Stories 3: Twisted Reflection, fans of the series and franchise at large are treated to another compelling adventure that instead relies on turn-based action rather than free-roam-style battles.
The monsters themselves are also every bit as familiar as they are formidable, even when the aesthetic of the game is notably cuter and whimsical. Don't let that fool you, as there are plenty of difficult bosses in Monster Hunter Stories 3: Twisted Reflection that each bring a unique challenge to the table.
The following list pertains to bosses encountered as part of the main story in Monster Hunter Stories 3: Twisted Reflection, and thus contains significant spoilers related to those monsters and their sections of the story.
10 Fire and Ice Feral Velocidromes
Double Elemental Trouble

Normally, Velocidromes are quite the pushovers in the world of Monster Hunter. They serve as your very first combat tutorial in this game while taking Thea on her inaugural mission, and typically aren't anything to worry about from that point. However, there is one exception that ambushes you pretty early on. Well, two actually, and they're both of the feral variety.
The Fire and Ice Feral Velocidromes decide to sneak up on you while you're out investigating the Encroachment with Simon, and they attack as a pair. While it's not your first tango with a Feral Monster in the game, this particular encounter is quite the challenge for two main reasons.
The first is that you have to deal with both of them at the same time, which is a relatively rare thing across the series of bosses in the story. Also, as they're different elements, you'll have to handle different mechanics from each of them, and properly counter with effective elements of your own.
The second reason is that you have to tackle this fight completely alone, as Simon is nowhere to be found. You still have Rudy for moral support, but this fight is truly a test of self-reliance that encourages you to practice new strategies starting early.
9 Magnamalo
The Guardian of the Gate

As diplomatic relations between the kingdoms of Azuria and Vermeil remain tense, your character resolves to make the journey past the Wyverian Gate to the forbidden lands beyond to find answers to the Encroachment. However, before you can pass the gate, you need to first prove your mettle against a Magnamalo. While not a Feral variant, it's every bit as powerful and not a battle to be taken lightly.
To show it means business, Magnamalo starts the fight in its Hellfireblight Critical state, which is when it's at its most dangerous. It unleashes its biggest attack to kick things off, and you'll likely be left scrambling to quickly heal up in the aftermath.
Magnamalo then spends the rest of the battle cycling through three different phases that each present their own challenges, and if you don't stagger it in time, you'll find yourself eating more Hellfire Retribution attacks. You'll also get introduced to the Blastblight status ailment for the first time, which can eat through health gauges quickly if not taken care of.
This fight serves as a narrative milestone in the story, and as a test to see how much time you've taken to level your party and Monsties so far. After all, you'll need that strength and a solid roster of reliable Monsties at your side to contend with the challenges that lie beyond the Northern Meridian.
8 Yama Tsukami
A Mountain God Monster That Needs Your Help

After building relations with the hidden village of Sheparden and its young chief, Kol, in Canalta Timberland, you'll soon come face-to-face with the monster that serves as the biggest threat to their livelihood. It also puts the entire region in ecological jeopardy if you don't get to the root of the problem.
Yama Tsukami is an incredibly unique-looking Elder Dragon monster that isn't necessarily a threat on its own. It's actually native to the Canalta region, and it's normally quite docile, drifting from one habitat to the next. However, the Encroachment that has since reached the region has unfortunately afflicted Yama Tsukami as well, the crystallization all over its body sending it into a frenzy that's caused it to turn violent. To stop it, you'll need to face off against this massive tentacled beast.

Related
Yama Tsukami serves as your first fight in the game against an Elder Dragon monster, and it can feel as daunting as it looks. You'll need to deal with some additional mechanics, and its health gauge technically won't deplete (even though your attacks do register damage). Rather than defeat it in the traditional sense like other monsters in the game, your goal here is to essentially rescue it from its crystal affliction and help return it to its normal state.
You need to follow the unique mechanics involved carefully throughout each phase to ensure that you break the crystal on its shell and stagger it before it retaliates with some devastating attacks. This is the last major hurdle of the Canalta region before you can move on to the next arc of the story, and it's no easy feat. However, the emotional outcome of the fight and the resolution that comes after is worth the challenge.
7 Goss Harag
A Monster With Literal Weapons

As you journey through the icy region of Serathis to make your way to the Sacrosanctum, you end up facing off against all manner of monsters that only grow more formidable the closer you get to the fabled capital. One such monster that literally stands between you and the ruined city itself is Goss Harag, and it prefers an ambush as its means of introduction.
As fluffy as this fanged beast looks, it hides an especially deadly trick up its sleeve for those who cross its path. Throughout the fight, it'll use its ice-based power to turn its forearms into one of two types of weapons. One moment, it'll be a pair of sharp-edged blades that unleash truly deadly slashing attacks that can cut your health gauges down quicker than you can blink. The next moment, Goss Harag will turn its fists into club-like weapons that will flatten any unsuspecting target without proper defensive buffs or evasion.
Bringing the right party setup can truly make or break this fight, as you ideally want to shatter those icy weapons before they become a serious problem. Or, at the very least, you need to bring as much defense as possible to mitigate the high damage of its weapon-based attacks. Either way, preparation is key to make sure Goss Harag doesn't cut you down to size.
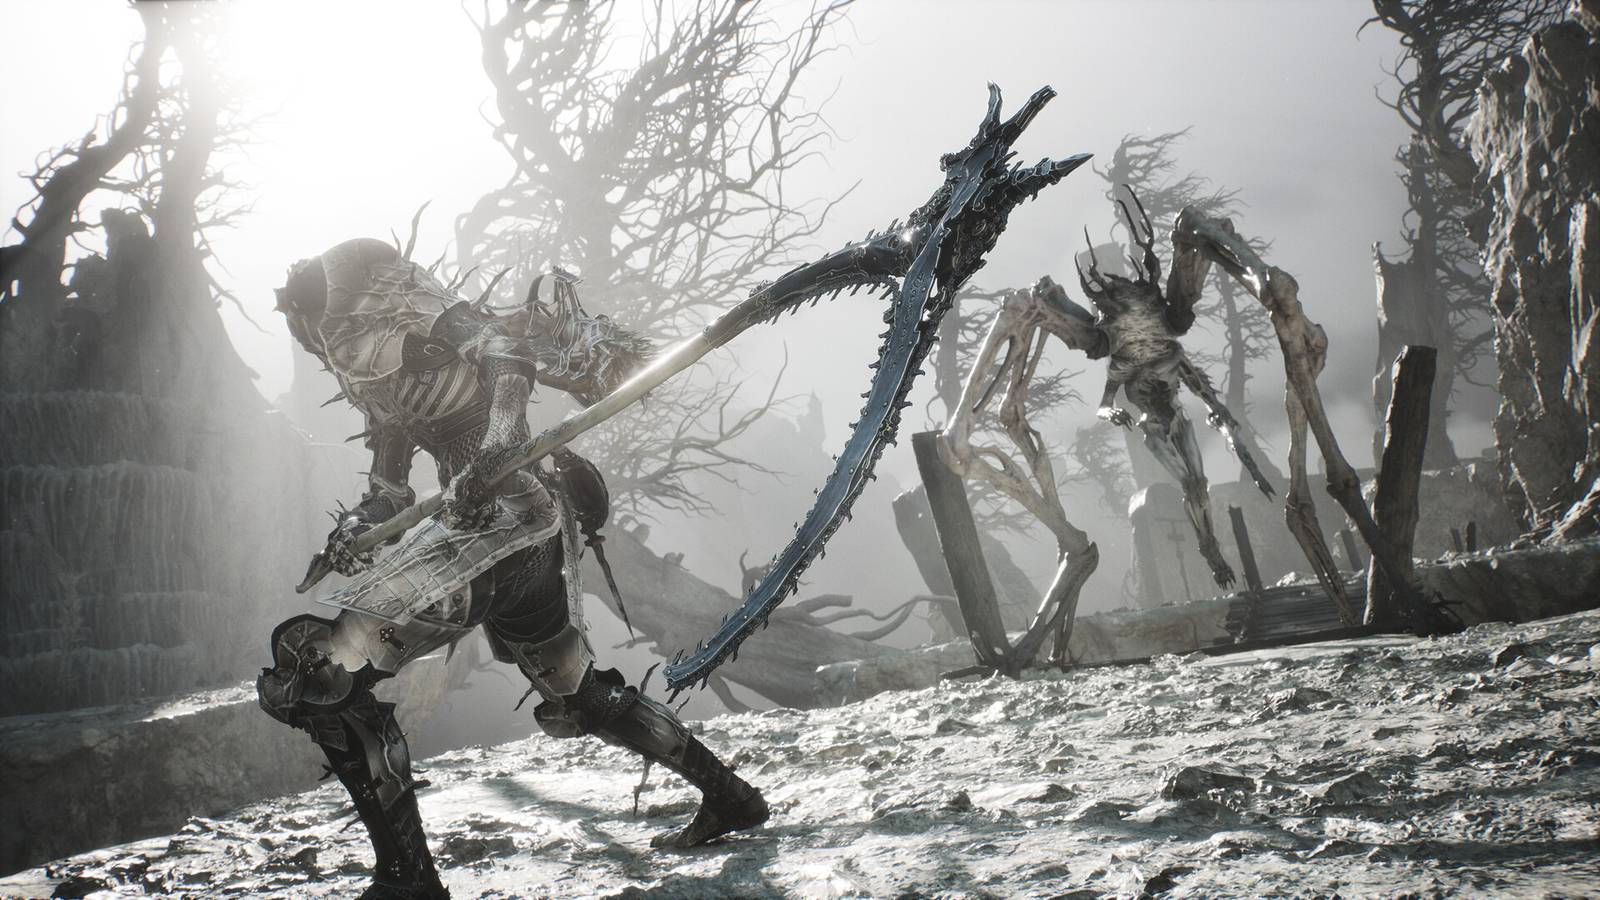
6 Feral Rakna-Kadaki
If You Thought Spider Monsters Weren't A Threat...

Your trek through the Tarkuan region during the story is a relatively short one compared to other regions in the game, but that short stay is offset by the threats that loom within the scorched canyons of Death's Maw, the area that separates Tarkuan from Serathis. Dangerous monsters patrol the depths of those canyons, and the most lethal of all lies in wait near the end of this treacherous area. However, you'll need to deal with it one way or another to reach the abandoned village.
By this point in the story, you're likely used to encountering Feral monsters as narrative hurdles that signify how far the Encroachment has reached. Unfortunately, Death's Maw is no exception, as you'll need to face off against a Feral Rakna-Kadaki that lurks within its web near the abandoned village itself. As if to prepare you for what lies ahead in Serathis, a battle with this particular monster will quickly feel like a significant jump in difficulty, and it will punish you for approaching it even slightly under-leveled.
In other words, you may find yourself needing to backtrack and re-evaluate your strategy after multiple attempts, which I absolutely had to do. This monster felt like the first true gatekeeper in the story, and it wasn't about to let me pass until I made the proper adjustments. Upgrade your weapons and armor as much as possible, and level the right Monsties for the job as much as possible. It's also where you really start to see how effective Ogden is as a partner, as he's arguably the best choice.
Feral Rakna-Kadaki is a fearsome monster that presents a true challenge for story players. It brandishes contrasting elements in its attacks, starts the fight flanked by surprisingly powerful spider minions, and this can all quickly overwhelm your party if you don't pay proper attention.
5 Malzeno
A Vampiric Elder Dragon, What Could Go Wrong?

As you venture deep into the ruins of the Sacrosanctum to find Aenshin, you'll quickly realize that this region is where you'll find some of the strongest monsters in the entire game. You'll need to fight many of them to progress, and there are no cheesing strategies at this point. You and your Monsties both need to be at the top of your game, so to speak, or you'll find yourself outclassed by the dangerous beasts that dwell here.
One of those beasts is Malzeno, another Elder Dragon that is out for blood, literally. It shows up to the fight with prey clutched in its jaws, but as soon as it spots you, it quickly deems you a more appetizing target. Meanwhile, the floating red critters around it serve a nefarious purpose during your battle with this winged beast.
As it turns out, Malzeno is a sort of vampiric monster, and most of its mechanics revolve around sapping you of your health on top of dealing damage with its attacks. This is thanks to a unique ailment called Blood Rite, and with every strike, you'll lose even more health while it gains some back with each turn, which turns this fight into a battle of attrition. However, the silver lining is that Blood Rite also allows you to gain health yourself with each strike you make, so it truly is a back-and-forth contest until you can stagger the monster into submission.
4 Arkveld
Don't Miss Or You Lose

As mentioned before, the Sacrosanctum is where you find some of the most challenging monsters in the game, and the ones you encounter during the story are no exception. Yet another example of that lies dormant in the massive crater at the center of the capital. However, as soon as you approach it, this unique beast rouses and turns its wrath immediately upon you.
If you happened to encounter Arkveld before in Monster Hunter Wilds, then this monster should look quite familiar in terms of both appearance and mechanics. Arkveld is an exceptionally aggressive flying wyvern that starts the battle resistant to most elements, which quickly puts you at a disadvantage in terms of dealing damage. Similar to other Dragon-type beasts in the game, you have to wait for a certain phase in which it becomes more vulnerable, but surviving to that point is key. Meanwhile, Arkveld will use its unique chainblade tendrils to wreak havoc on your health gauges.

Related
There's also one big, unavoidable twist that you have to be prepared for, or the fight will end in failure rather quickly. You need to use your loyal companion Ratha to successfully deflect Arkveld's Berserk Blade, which is its ultimate attack. To do that, you need to be able to power up Ratha's fireball attack in time before it happens, so that when the moment arrives, Arkveld's tactic of absorbing energy from your attacks backfires and wounds it in the process.
This particular mechanic is one that's easily missed or botched on a first try, and you may need to reconfigure your setup to properly counter it. Furthermore, Arkveld is capable of doing Berserk Blade more than once, so you need to be on your toes the entire fight and watch for the signals. This 'boom or bust' gimmick mechanic can feel a bit frustrating, and it cements Arkveld as one of the most contentious monsters in the game.
3 Bound Azure Rathalos
A Serious Wake-Up Call From the Rift War

As you close in on Aenshin's den in the Sacrosanctum, ancient beasts from the Rift War start to come to life in response to your presence, and not necessarily in a friendly way. The first of these is the Bound Azure Rathalos, and it's a true showcase of just how powerful these Monsties were when battle-bound.
This battle is where the difficulty scaling of the sequence of main story bosses truly starts to skyrocket, almost to an absurd degree. Essentially, this special Rathalos variant almost makes Arkveld look like a total pushover by comparison. It's not remotely an over-exaggeration to say that this fight is virtually impossible to overcome without significantly high levels in your entire party, the best upgraded gear you can get short of farming Invasive Monsters, and a surefire strategy that's dictated down to the letter. There's literally little to no room for error in fights against these battle-bound monsters, and you have to treat the encounter almost like a chess game.
This is because Bound Azure Rathalos is a staggering Level 67 monster, and you ideally need to be as close to that level as possible. Furthermore, its vast arsenal of fiery explosive attacks is ridiculously punishing, to the point that even the best fire-resistant armor will take an absolute beating from this beast. Winning all Head-to-Head attacks is pretty much non-negotiable, and in its later phases, this Rathalos will even flex two attacks in the same turn to kick you while you're down.
All in all, this is a fight that will very likely take a good bit of trial and error. Unfortunately, even with a full stock of restorative items and exceptional gear, sometimes the timing of Rathalos' attacks versus yours can all come down to luck.
2 Bound Lunagaron
If You Thought the Last One Was Bad

Even though you're likely still limping from your slightly unfair encounter with Bound Azure Rathalos, unfortunately, there's little time to rest before you run head-on into yet another one of these battle-bound monsters. As Corbin and the researcher pass through the cave toward Aenshin's den, they end up rousing a nearby Bound Lunagaron from its egg quartz containment, and thus, there's no putting it back.
Instead, you'll need to tackle this monster head-on, and honestly, it almost gives the first-place entry a run for its money. The Bound Lunagaron is easily one of the top challenges in not just the story but the entire game. This beast is on par with Invasive Monsters in terms of difficulty and brutality, and putting it as a mandatory encounter in the story feels almost cruel in retrospect.
Similar to the previous battle-bound monster you fought, the fight against Bound Lunagaron gives no quarter, and each turn you take has to be very carefully considered. Otherwise, one wrong move can easily spell defeat before you even realize what's happening. Again, having the best gear possible is not even a question, and choosing the best allies is more important than ever. Only a very select few Monsties will work sufficiently against Bound Lunagaron, and you absolutely have to bring every helpful restorative item you can.
This is because Bound Lunagaron's attacks are all devastating in their own way, and they only get stronger once the beast enters its "battle-bound" phases. On top of it all, it can use a mixture of Ice, Lightning, and Water-elemental attacks, which makes fending off one element or another in quick succession a true test of endurance.
1 Aenshin
A Final Boss That's Insanely Brutal Three Times Over

Trust me, I realize that putting the final boss of the game's main story as the number one entry on this list may seem like a bit of a cop out or just flat-out predictable. Again, Bound Lunagaron practically nips at the heels of this contender, but given what you have to endure from Aenshin, not one, not two, but three times over, it truly takes the crown when it comes to the hardest story bosses in Monster Hunter Stories 3: Twisted Reflection.
I've faced off against more than my fair share of final bosses in all manner of games over the years, and Aenshin easily slides in among the most difficult of them, especially for a turn-based game that otherwise doesn't push the envelope too far (aside from the previous two entries). This whale-inspired Elder Dragon more than earns its legendary status, not just in terms of the game's lore and its importance to the world's ecological balance, but also in the sheer challenge of defeating it every time you're required to face it.
Overall, you have to defeat Aenshin a total of three times by the end of the story, and the first encounter doesn't start soft-footed at all. Aenshin's gargantuan size and command over the same crystallization that's ravaged the land give way to some of the worst attacks in the game, and they only get worse with each encounter. You get a decent taste of it the first time in Azuria, but upon confronting Aenshin back in the Sacrosanctum, the gloves truly come off then, and your strategy to defeat it has to be as fine-tuned as possible. Just like with the battle-bound monsters, you can't really give an inch anywhere, and every turn needs to ensure progress.
By the third and final encounter, I honestly found myself just thoroughly exhausted and ready for it all to be over. Even if the fight itself wasn't as cathartic and enjoyable, the cutscenes that follow after Aenshin's liberation are still very much worth the effort.

Next
Monster Hunter Stories 3: Twisted Reflection Review
Monster Hunter Stories 3: Twisted Reflection has one of the best stories in the franchise, though it's let down by one annoying design choice.

Released March 13, 2026
ESRB Teen / Fantasy Violence, Mild Suggestive Themes, In-Game Purchases


![ELDEN RING NIGHTREIGN: Deluxe Edition [FitGirl Repack]](https://i5.imageban.ru/out/2025/05/30/c2e3dcd3fc13fa43f3e4306eeea33a6f.jpg)
 English (US) ·