.png)
.png) 7 months ago
97
7 months ago
97
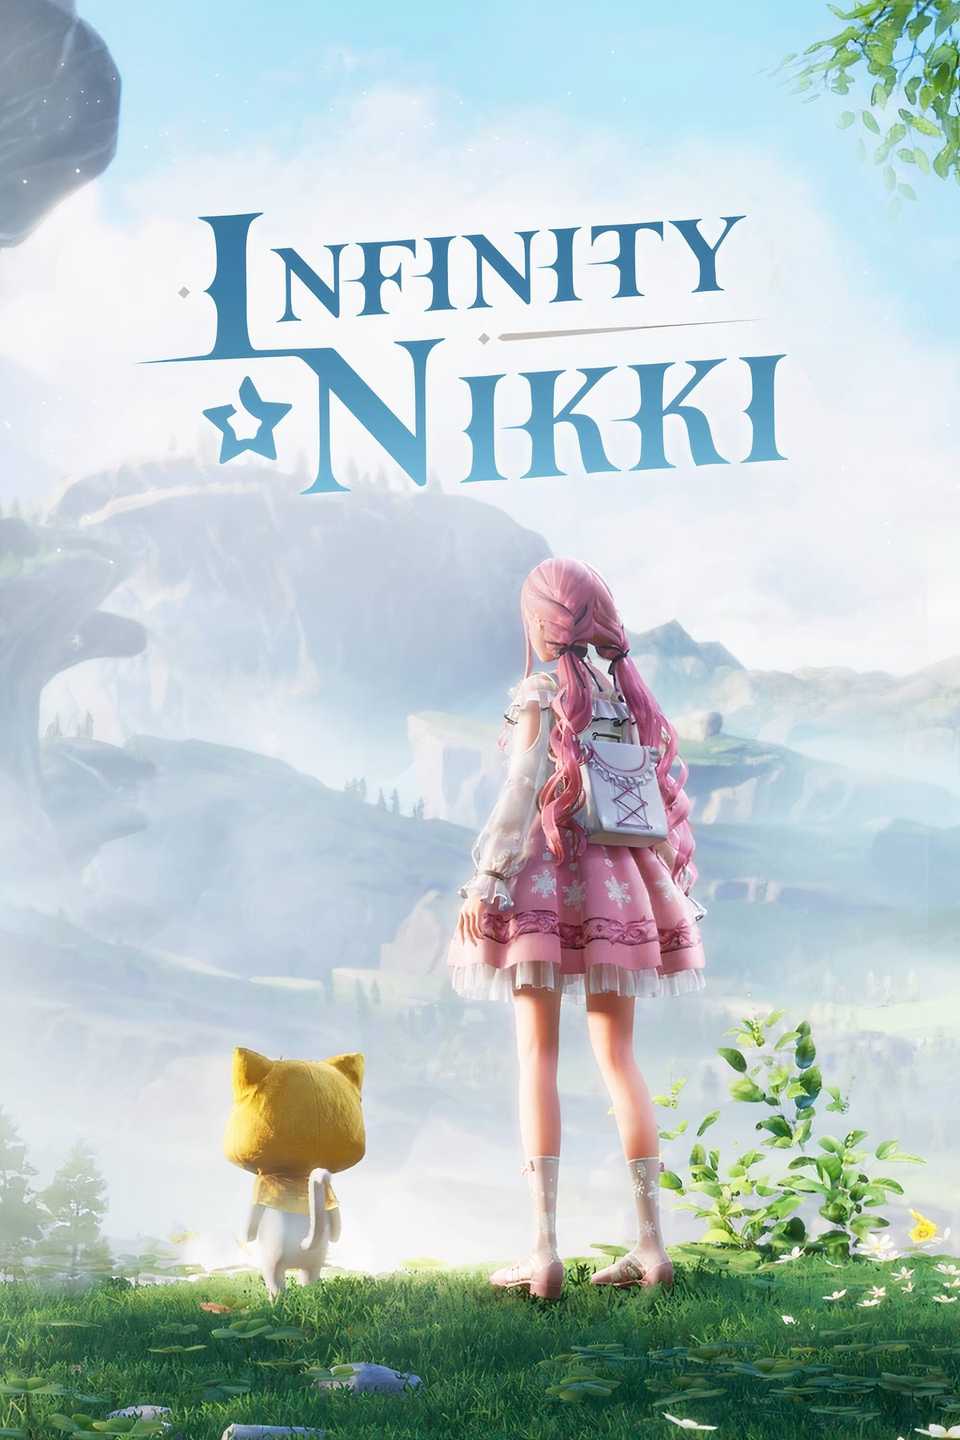
With the addition of Itzaland in Infinity Nikki's massive Terra's Call (2.0) seasonal update, there's plenty for stylists to explore and new fashion to add to your ever-growing wardrobe. Even better, there's a new chapter in Nikki's Expedition Handbook to fill up with special photos.
If you're looking to fill up the Expedition Handbook yourself, then you'll need to know where to find every extra photogenic spot. Along with a refresher on how the Expedition Handbook works, here's a comprehensive list of all its locations in Itzaland.

Related
Infinity Nikki: All Kindled Inspiration Quest Answers
Learn all the best combinations for Kindled Inspiration and become a fashion expert.
How to Complete Your Expedition Handbook in Infinity Nikki

The Itzaland chapter of the Expedition Handbook functions very similarly to the Wishfield chapter. The objective is to find every numbered spot based on the visual hints provided for each entry. You can check the handbook and your progress anytime via your Photo Mode menu.
Each time you find an Expedition Handbook spot and take your photo, make sure to press the Upload button in the top-right corner of the screen before leaving, as this is what adds the photo to your handbook. Otherwise, you'll need to re-take the photo.
Completing each one also rewards you with Upgrade materials for your Photo Mode feature, such as poses, lighting, and filters.
All Itzaland Expedition Handbook Spots in Infinity Nikki (Locations)

There's currently a total of 26 locales in the Itzaland chapter of Nikki's expedition handbook. They're pretty evenly spread between the Elderwood Forest and its neighboring city, Spira. The 27th spot in the handbook and beyond is not currently available to fulfill as of the Terra's Call (2.0) patch release, but that will likely change in a subsequent patch.
Expedition Stamp 1 - Home of the Saintess (Spira)
To get this photo, you need to reach the Home of the Saintess on the first floor in Spira on the right side (as seen above). From the 1F Transfer Station warp spire, use your Sticky Claw ability to ride the assembly line all the way across, then drop down to the house below. Position your shot just outside the house's entrance.
Expedition Stamp 2 - Hero's Square (Spira)
For this shot, teleport directly to the Hero's Square warp spire in Spira. Once there, step back a little bit from the plaza so that you can get more of it in the shot. Enter Photo Mode and angle the shot high enough until the prompt appears.
Expedition Stamp 3 - Shroomling Hero Statue (Spira)
This one is luckily right up the stairs from the previous location. Pose in front of the Shroomling Hero statue in the center of the plaza and angle the camera up to include the statue in the shot.
Expedition Stamp 4 - Shroomling Market (Spira)
For this shot, head to the Shroomling Market on the southeast side of Spira.The easiest way to get there is by teleporting to the Grace Dining Hall warp spire (ironically where another expedition spot is) and then running and floating east to the main level of the market.
Expedition Stamp 5 - Roucoco Stage (Spira)
This shot is located in the area full of dancing Shroomlings, directly above the Shroomling Market. It actually may be easier to get this shot first, then drop down to take that one. Pose in front of the stage to get the prompt for the photo.

Related
Infinity Nikki: How to Get Sparkling Shell Crystals
Time to become Itzaland's greatest snail whisperer.
Expedition Stamp 6 - Grace Dining Hall (Spira)
To get this shot, teleport directly to the Grace Dining Hall via the respective warp on the south side of Spira. Set up your pose a short distance away from the building's entrance, and position the camera until the prompt appears.
Expedition Stamp 7 - Dreamy Puff Boutique (Spira)
You can find this spot directly from the Grace Dining Hall. Head west across the bridge and the boutique will be straight ahead. Pose near the entrance and adjust the camera up to include the entire shop until the prompt appears.
Expedition Stamp 8 - Dreamy Puff Stage (Spira)
This spot is a few steps away from the previous one. Run north past the boutique, and the stage is tucked in a corner and adorned with various plants and Shroomlings dancing around it. Stand a few few in front of the stage to ensure you get it all in the shot.
Expedition Stamp 9 - Shiny Vault (Spira)
To reach this spot, teleport to the 1F Transfer Station warp spire and then circle around the central pillar to the tall elevator. Ride it up to solid ground area that leads up to Spira's second level. Turn right and follow the narrow path up until you can Sticky Claw your way to the platform ahead. Once there, the Shiny Vault will be right around the corner. Pose in front of the entrance for the shot.

Related
Infinity Nikki: How to Get Sound of Leaves Outfit
Breeze through Infinity Nikki's Itzaland like leaves in the wind with this outfit.
Expedition Stamp 10 - Shroomling Bathhouse (Spira)
From the Shiny Vault, pivot back the way you came up and then head up the grounds to the right until you reach a tall building with multiple staircases leading up to it. You'll also come here during the 'Soft Prayers in the Wind' Chapter 3 main quest, so you can snap the photo at that point as well.
Expedition Stamp 11 - Spin Slide (Spira)
Head up the stairs at the bathhouse, and you'll find the spin slide at the pool on the next level a short distance to the right. Pose for your photo on the wooden walkway in front of the slide.
Expedition Stamp 12 - Shroomling Activity Center (Spira)
From the spin slide area, head right and then take the elevator ahead to the next level up. From there, this building will be straight ahead up the path. Set up your pose a few feet from the entrance stairs.
Expedition Stamp 13 - Shroomling Wall Doodle (Spira)
From the activity center, follow the main path further up until you see a huge painted mushroom sculpture at the top of the hill. Position close enough in front of the paintings on the side of the sculpture.
Expedition Stamp 14 - Sky Monarch Nest (Spira)
For this shot, you first need to complete the main story events of Chapter 5 in order to unlock access to the top level of Spira via the Sky Monarch bird. Once you can reach the Shelldome level, the Sky Monarch's nest will be close by where you first land. Turn to the nest and pose in front of it for the shot.
Expedition Stamp 15 - Spearwatch Terrace (Spira)
From the Sky Monarch's nest, run down the grassy path until you reach the giant spear. Pose on the grass in front of the spear and adjust the camera until the prompt shows up.
Expedition Stamp 16 - Snail Clinic (Elderwood Forest)
This shot kicks off the Elderwood Forest section, and you'll start by heading down to the Snail Clinic. You can teleport there directly via the respective warp spire. Set up your pose outside the entrance of the clinic building.
Expedition Stamp 17 - Spira Waterfall (Elderwood Forest)
You'll find this shot north of the Snail Clinic at the base of the Spira Waterfall. Once you see the waterfall pouring out of the giant pink shell on top of the cliff, look for a small wooden pier that allows you to pose directly in front of it. Angle your camera up until the prompt for the shot appears.
Expedition Stamp 18 - Coliseum (Elderwood Forest)
For this shot, you'll need to head west to the giant Coliseum. However, rather than inside the coliseum itself, the photo will be at the broken bridge south of it. You can teleport there directly via the Coliseum Broken Bridge warp spire, or to any warp spires in the vicinity. Either way, once you're there, pose near the edge of the broken bridge with the Coliseum's grand entrance in the background.
Expedition Stamp 19 - Misty Forest (Elderwood Forest)
This shot will take you far to the west, past the Coliseum to the Titan's Graveyard. If you happen to already have the warp spires there unlocked, you can teleport to the one at the Titan's Graveyard to make the trip much faster. Otherwise, hoof it along the main path to the west until you reach the giant pink tree surrounded by mist.

Expedition Stamp 20 - Shroomville (Elderwood Forest)
This shot takes you to Shroomville, the main hub of Itzaland's Shroomlings. If you already have it unlocked, you can teleport to tia Shroomville warp spire, and the shot will be right at the entrance
Expedition Stamp 21 - Mothershroom Woods (Elderwood Forest)
For this shot, head east along the main path from Shroomville to the pier that looks out toward the Mothershroom. Use your Gigantification ability to keep from floating in this area, and take your shot at the edge of the pier
Expedition Stamp 22 - Lumira's Cabin (Elderwood Forest)
You'll find this shot on the southern edge of the Mothershroom Woods at Lumira's Cabin. You can teleport there directly via the respective warp spire, if you have it unlocked. Otherwise, use your Gigantification ability to leapfrog across the Mothershroom Woods and reach the south side. Once there, pose at the entrance to the cabin and aim the camera up until the prompt appears.
Expedition Stamp 23 - Shell Island (Elderwood Forest)
To get to this shot, simply head west along the same path from Lumira's Cabin until you reach a small pier that looks out at Shell Island. Step far enough onto the pier, then strike your pose.
Expedition Stamp 24 - Shell Island Market (Elderwood Forest)
This shot is located on Shell Island itself, and the easiest way to reach it is the Itzaland Interim Stylist's Guild warp spire near the center. Otherwise, you can use any of the island's other warp spires. The photo spot is near the cul-de-sac area of the market, where you find the Forced Perspective: Bottled City random quest.
Expedition Stamp 25 - Crystal Beach (Elderwood Forest)
This shot is further to the south, at the beach near the Behemoth Observation Site. While it's easy enough to run straight to the beach without seeing any Behemoths, feel free to pull out the Sound of Leaves outfit for stealth if needed. You shouldn't need to go too far into the beach itself to get the prompt for the expedition shot.
Expedition Stamp 26 - Elderwood Wharf (Elderwood Forest)
This shot is found in the far southwest corner of the Elderwood Forest, in a bayside area called the Elderwood Wharf. You can easily teleport there from the respective Elderwood Wharf warp spire, if you have it unlocked. Otherwise, you can shorten the trip via any warp spires in the Elderwood Shade further north. Once there, set your pose near the start of the old pier overlooking the water.
Released December 5, 2024
ESRB T For Teen // Blood, Violence
Developer(s) Papergames, Infold Games
Publisher(s) Papergames, Infold Games, Fearless


![ELDEN RING NIGHTREIGN: Deluxe Edition [FitGirl Repack]](https://i5.imageban.ru/out/2025/05/30/c2e3dcd3fc13fa43f3e4306eeea33a6f.jpg)
 English (US) ·