.png)
.png) 4 months ago
46
4 months ago
46
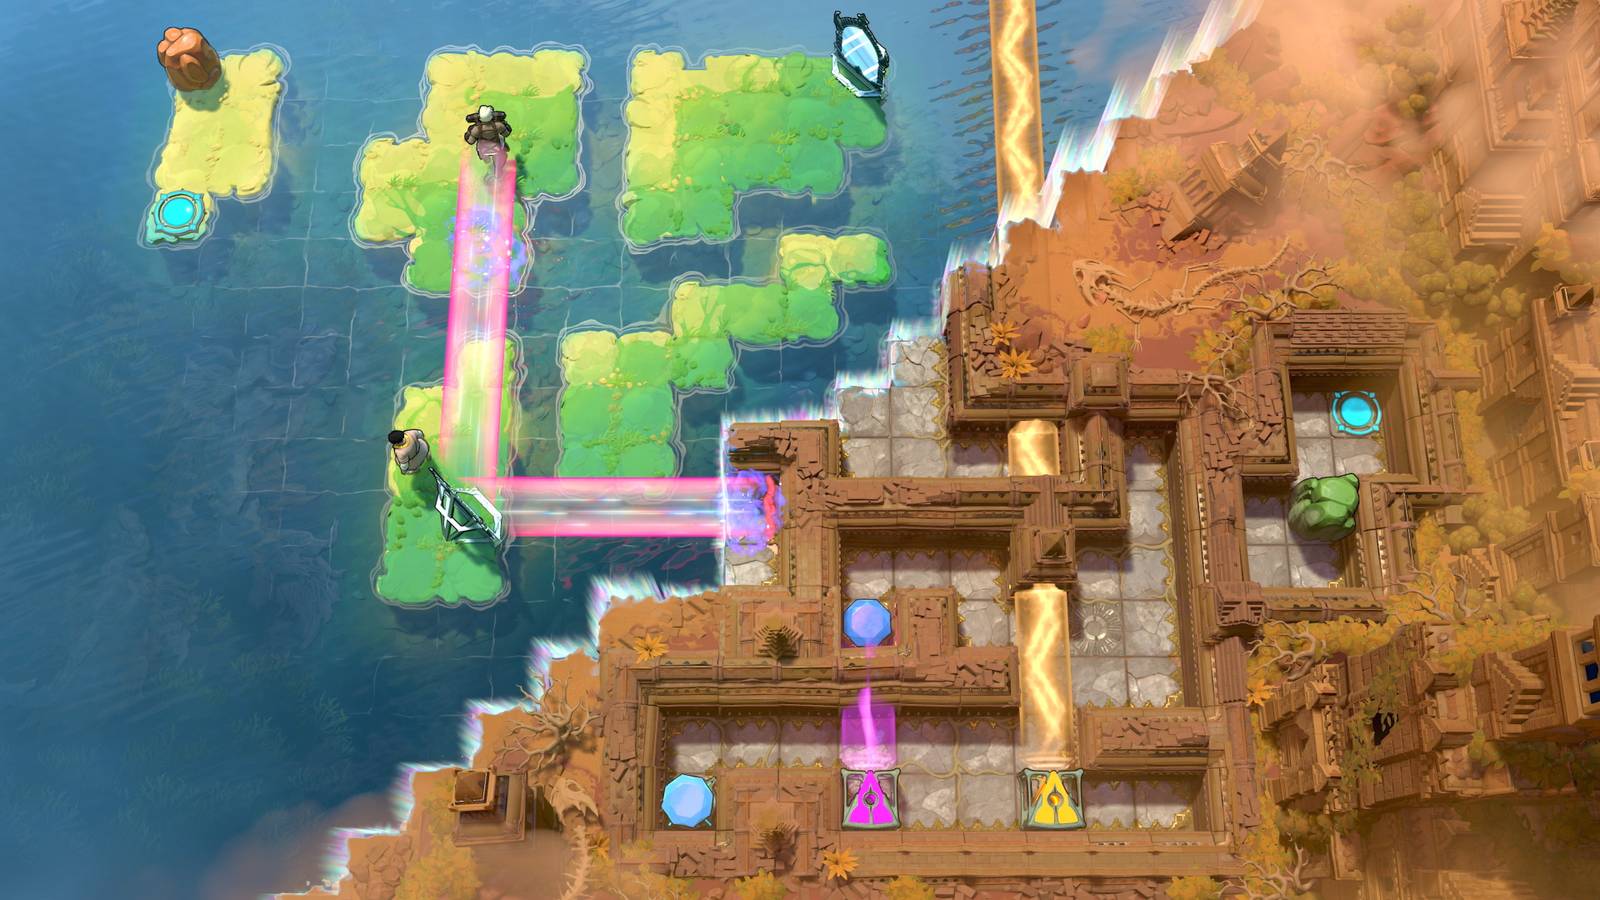
Finding fragments and piecing together new islands is the core mechanic of Dragon Quest VII Reimagined. While obtaining all colored fragments is mandatory to progress through the journey, that doesn't mean they're easy to stumble upon.
Some are obtained automatically, such as rewards received after toppling a story boss. Others, however, require you to step off the beaten path to collect them. While interface markers help, the game doesn't exactly hold your hand the whole way.

Related
8 Best JRPG Games With Satisfying Crafting
If you can't find that legendary weapon, why not build it yourself?
Furthermore, there are entirely optional fragments that unlock bonus areas. These are the trickiest to track down, but they're all detailed here in chronological order, so you can use this guide as a walkthrough from the moment you first venture forth.
The first three Yellow Fragments are required just to open the entrance to the Shrine of Mysteries, so I won't include them here. The subsequent ones, however, will be listed to keep your checklist complete.
The Tower
Green Fragment #1

You automatically earn this one after defeating the Golem.
The Tower - Level 5
Red Fragment #1
This is the first fragment you could technically miss, but it's nearly impossible since it's sitting right in front of you. Pick it up next to a chest.
Ballymolloy (Present)
Green Fragment #2
This one is part of the main story, but I'll add it to the checklist. You must answer "No" when the man asks if you're interested in rainbow stones.
Rainbow Mines (Present)
Red Fragment #2
You will need to head to the bottom level of the Rainbow Mines and collect this fragment before you can proceed with the story.
Red Fragment #3
Another mandatory fragment obtained after you take the raft out for a spin around the castle.
Burnmont (Past)
Red Fragment #4

This fragment is automatically obtained as a reward for defeating the Glowering Inferno.
Emberdale (Past)
Green Fragment #3

Another fragment automatically earned through the main story. This one is handed over by Palmela in Emberdale.
Emberdale: Village Shop (Present)
Green Fragment #4
Enter Palmela's room, which doubles as a weapons shop, to find this green fragment in a corner beside some pots.
Burnmont (Present)
Grey Fragment #1
This is your first entirely optional fragment. You can find it by heading to Burnmont in the present day. You can reach it by jumping down the central crater all the way back to Level 1 — which I recommend, as you can find a Mini Medal along the way — or, once you reach Level 5, take the east staircase and keep heading down.
Grotta del Sigillo - Level 2 (Past)
Red Fragment #5
The Grotta del Sigillo is located in the L'Arca Region, a mandatory area. Once you reach Level 2 of the dungeon, take the first entrance to the west to find this fragment on the floor.
L'Arca: Mayor's House (Present)
Yellow Fragment #4
Sail to the L'Arca Region and enter the Mayor's house. You will find the Yellow Fragment in the back room, oink, oink.
Grotta del Sigillo - Level 1 (Present)
Red Fragment #6
Return to the Grotta del Sigillo during the present day. As soon as you enter the cavern, grab this Red Fragment from an alcove just ahead.
Grotta del Sigillo - Level 6 (Present)
Red Fragment #7

Obtained automatically after your re-encounter with Hackrobat.
Institute of Automatry: Storeroom (Past)
Yellow Fragment #5
Story events will lead you to the Institute of Automatry in the Frobisher Region, but you can visit it anytime once you reach the island. You'll find this Fragment in the storeroom.
Automaton Stronghold - Basement Level 2 (Past)
Blue Fragment #1

Fragment will be yours after defeating the main story boss, Slaughtomaton.
Central Frobisher (Present)
Yellow Fragment #6
Sail to the Frobisher Region and head to the village of Frobisher. Enter the garrison room to the west of the inn to find the Yellow Fragment hidden among some pots.
Faraday Castle: Dungeon (Present)
Grey Fragment #2
Head to Faraday Castle in the Frobisher Region, go up to the King's floor, and exit through the back door. Then, head down either staircase to reach Level 1 and open the gate using the lever on the west side.
Go down into the dungeon to find your second optional Grey Fragment inside the room. The main story will eventually lead you here anyway.
Institute of Automatry (Present)
Yellow Fragment #7

This fragment is automatically obtained upon concluding the present-day storyline of the Frobisher Region.
Roamer Encampment (Past)
Grey Fragment #3
The first location you'll visit in the Roamer Encampment Region is the camp itself. As soon as you enter, you'll spot a Grey Fragment near the entrance, sitting next to a tree.
Poolside Cave - Underground Level 3 (Past)
Yellow Fragment #8
This Yellow Fragment is right in your path; it's very hard to miss, though technically possible if you aren't paying attention.
Estard Castle (Present)
Blue Fragment #2

Automatically obtained as you progress through the main story.
Dig Site (Present)
Blue Fragment #3
On the eastern side of the Roamer Encampment Region in the present timeline, there's a new area called the Dig Site. Talk to the man in front of the tent, pay five gold coins, and enter to find this Blue Fragment just lying around.
Pilgrim's Perdition (Past)
Blue Fragment #4
Upon arriving at Pilgrim's Perdition, you'll notice a Blue Fragment to the left of the church. Go over and snag it.
If you open the map, you'll spot a Silver Fragment inside a house, but you'll only be able to claim it after finishing the main event at Alltrades Abbey.
Alltrades Abbey (Past)
Yellow Fragment #9

Automatically earned after concluding the events at Alltrades Abbey.
Alltrades Abbey (Past)
Grey Fragment #4
With the Abbey finally at peace, head to Basement Level 1 and enter the door to the east. Exit through the other side, and once the floor starts shocking you, you'll know you're heading in the right direction. The Grey Fragment is at the end of the path.
Pilgrim's Perdition (Past)
Silver Fragment #1
Now that you've liberated Alltrades Abbey, Zoom back to Pilgrim's Perdition and enter the house to the north to grab your first Silver Fragment. Next to this fragment is a chest containing the Thief's Key, which means it's backtracking time.

Related
6 Best JRPGs with Both Real Time and Turn-Based Combat
Here are the best JRPGs that use both real time and turn-based combat.
Alltrades Abbey (Present)
Yellow Fragment #10

Automatically obtained by speaking with Jacqui in the present-day Alltrades Abbey.
Bandit's Base (Present)
Yellow Fragment #11

Obtained after defeating The Mighty Pip inside the Bandit's Base. This one is mandatory.
La Bravoure (Present)
Blue Fragment #5
Your journey will take you to La Bravoure, a new island in the present day. Once inside the village, head down the well to find a Blue Fragment.
Temple Palace - Basement Level 1 (Past)
Grey Fragment #5
In the desert region of Al-Balad, you'll find the Temple Palace. Upon descending to Basement Level 1, you'll see five doors. Enter the central north door to reach Queen Neferta's Chamber.
Next, go through the door to the right of the throne to reach a backroom where this Grey Fragment sits waiting for you.
Al-Balad: Storeroom - Basement Level 1 (Past)
Blue Fragment #6
This one isn't automatic obtained, but it is mandatory to progress with the game.
Al-Shallal: Interior (Present)
Gold Fragment #1
When you sail to the Al-Balad Region in the present timeline, you'll notice you can drop anchor at an area on the southern part of the island.
There is a cave there called Al-Shallal. When you head deep inside, you'll find your brand-new Gold Fragment.
Al-Balad: Urn (Present)
Grey Fragment #6
Upon arriving in Al-Balad, you can now enter the giant urn in the middle of the village. Inside, you'll find another Grey Fragment.
Temple Palace - Level 1 (Present)
Blue Fragment #7
When you reach the present-day Temple Palace, you'll take part in various festivities. Once you regain control, head up to Level 1 to find the Fragment tucked between the stairs.
Coast Overlooking the Sea (Present)
Blue Fragment #8

Aishe will give you this Fragment.
Mayor of Hardlypool's House (Past)
Grey Fragment #7
Your first destination in the Hardlypool Region is the village of the same name. Head to the Mayor's house, go up to the second floor, and pick up the Fragment from the floor.
Highendreigh Tower (Past)
Red Fragment #8

Obtained automatically after you finish the Highendreigh Tower story events.
Wetlock: Treasure Room (Past)
Grey Fragment #8
The game will naturally guide you to the Wetlock Treasure Room, where you can pick up this Grey Fragment.
Sunken Citadel - Gracos's Throne Room (Present)
Silver Fragment #2
Upon returning to the Hardlypool Region, sail to the southeast of the island to teleport back to the Sunken Citadel. It is possible to face Gracos V here, and if you emerge victorious, you'll earn your second optional Silver Fragment.
Highendreigh Tower - Level 5 (Present)
Turquoise Fragment #1

Earned after defeating the Ethereal Dragon atop Highendreigh Tower in modern day.
Wetlock: Treasure Room (Present)
Red Fragment #9
History does indeed repeat itself. After climbing Highendreigh Tower again in the present timeline, the scholar will grant you access to the Wetlock Treasure Room, where you can find this Red Fragment.
From this point on, you have the Flying Carpet, which lets us explore previously inaccessible regions. Backtracking time!
Tombe de Héros Inconnus (Present)
Green Fragment #5
Start by taking your Flying Carpet for a spin outside La Bravoure and enter the tomb to the east to find this Green Fragment.
Palazzo di Bulgio (Present)
Grey Fragment #9
Zoom to L'Arca, hop on your Flying Carpet, and fly toward the Palazzo di Bulgio north of the docks. Enter the mansion to find the Grey Fragment sitting on top of a dresser.
Estard Castle (Present)
Silver Fragment #3

This Silver Fragment is the reward for handing over 50 Mini Medals to any counter that accepts them. If you need help finding them, check out our Dragon Quest VII Reimagined Mini Medal guide.
The Tallest Tower (Present)
Red Fragment #10

Automatically obtained after you finish The Tallest Tower.
Falls Hollow: House (Past)
Green Fragment #6
While traversing Falls Hollow, you will find a house inside the dungeon. The Green Fragment is right next to a man you need to talk to, so it's nearly impossible to miss.
Hubble - Inquisitory (Past)
Green Fragment #7
I entered the Inquisitory in Hubble by showing the Wizz's Seal of Approval to the guard, but you'll get there eventually via the story. Once inside, grab the Green Fragment from the mage's room.

Related
The Best JRPGS on Every PlayStation Console, Ranked
Every Sony Console has a banger, but which one is best?
Hubble Castle: Throne Room (Present)
Green Fragment #8

You need this one to progress with the main story, so it will be yours eventually.
Grey Fragment #10
Upon reaching the Grand Conjuratorium and entering the main building, you'll see an isolated staircase in the middle. There's a clever trick to reach it:
- Go outside the square and enter through the west entrance.
- Leave through the east exit.
- Enter through the north.
- Leave through the south.
If done correctly, a bridge will appear as you step out south. Head down to find this Grey Fragment in a hidden room.
Aeolus Vale: Praetor's House (Past)
Blue Fragment #9
Your first destination in the Aeolus Vale Region will be the Praetor's house. Behind the Praetor himself, you'll find this Blue Fragment lying on the floor.
Sanctum of the Cirrus - Level 4 (Present)
Blue Fragment #10
Head to the present-day Aeolus Vale Region, walk or fly to the Sanctum of the Cirrus, and climb to Level 4 — where the Sacred Stone was previously located — to find a Blue Fragment.
Buccanham Palace (Past)
Turquoise Fragment #2
After staying the night at the palace, you'll be able to enter the residences and explore Buccanham Palace. Go to the east house at the docks and interact with the bookshelf blocking the exit three times. Once the shelf moves, you can exit to grab the Turquoise Fragment.
The Beacon (Other World) (Past)
Black Fragment #1

Automatically obtained after defeating Togrus Maximus in The Beacon.
Dinky Dell: House (Past)
Turquoise Fragment #3
You will be led to this one after finishing the Buccanham region story.
Altar of Arrival (Past)
Black Fragment #2
You will need to collect this one to progress through the main story.
Divine Shrine: Interior - Level 2 (Present)
Grey Fragment #11
This Grey Fragment is located behind the nun you need to speak with to advance the story.
Strange Shrine (Present)
Black Fragment #3
As the Stranger NPC noted, it was your destiny to arrive here — meaning, yes, this is a mandatory story fragment.
On Basement Level 1 of the Cathedral of Light, you can find the Ultimate Key, which is necessary to obtain several optional fragments.
Estard: Underground Path (Present)
Gold Fragment #2
Go to the Underground Path in Estard, the same one you take to speak with the Old Hermit. With the Ultimate Key, you can open the first locked door you encounter and head downstairs. You'll find your second Gold Fragment on the floor below.
The Sea Dragon: Below Decks (Present)
Grey Fragment #12
Head to the ship's deck and go down either the northeast or southeast stairs to reach the treasury. The final Grey Fragment is in a room filled with chests.
Coral Cave - Basement Level 1 (Present)
Gold Fragment #3
There are two steps to this one. While traversing the Coral Cave, you likely encountered a large, friendly monster resembling the old Gracos boss. If you spoke to them, they asked you to talk to Scoober to turn them human.
Fast-forward to when Estard Island returns to the world of light; you can spot a whirlpool in the southeast of the island. Sail there to enter King Scoober's Domain. Speak to King Scoober twice, and he'll decide to help. Return to the Coral Cave, talk to the big fella, and he'll reward you with this Gold Fragment.
Coral Cave - Basement Level 1 (Past)
Gold Fragment #4
To reach the Coral Cave in the past, Zoom to the Divine Shrine, take the northern teleportal, and access the Turquoise pedestal. Then, enter the Pool of Piety and take the flower down.
Traverse the Coral Cave, exit to the overworld, and return via the north entrance. As soon as you go down, you'll find two ghosts. Interact with them to get another Gold Fragment.
The remaining Fragments are found in the post-game section.
Buccanham Battle Arena (Present)
Gold Fragment #5

There are new challenges in the Battle Arena, and the first one grants you a Gold Fragment upon victory.
Estard (Present)
Silver Fragment #4
Go down the well in Estard to find the last Silver Fragment. Remember, this is only available after finishing the game. With this piece, you can travel to Another World via the Silver Pedestal. All remaining Gold Fragments are found there.
Another World - Level 4 (Present)
Gold Fragment #6
While wandering through the dangers of Another World, you'll reach Level 3, which has two exits. Take the stairs heading up to the west to find this Gold Fragment.
Another World (Present)
Gold Fragment #7
When the scenery changes and the map mimics the village where souls were stolen, interact with the well. You'll have to fight an enemy, after which you can head down to grab one more fragment.
Another World: Shrine (Present)
Gold Fragment #8

Earned as a reward for defeating the big boss of Another World.
Congratulations! You have successfully collected every Fragment in Dragon Quest VII Reimagined. Now go to Yet Another World and brace yourself to face the game's superboss.

Next
Every JRPG Announced for 2026
2026 hasn't even truly begun, and yet JRPG fans already have a backlog that's bursting at the seams.

Released February 5, 2026
ESRB Everyone 10+ / Comic Mischief, Fantasy Violence, Mild Blood, Mild Language, Mild Suggestive Themes, Use of Alcohol
Publisher(s) Square Enix


![ELDEN RING NIGHTREIGN: Deluxe Edition [FitGirl Repack]](https://i5.imageban.ru/out/2025/05/30/c2e3dcd3fc13fa43f3e4306eeea33a6f.jpg)

 English (US) ·