.png)
.png) 3 months ago
56
3 months ago
56


Published Feb 20, 2026, 10:40 PM EST
Laurence is an avid writer, gamer, and traveller with several years of journalistic writing experience under his belt. Having helped create a student-focused magazine at university, he is keen to reach the gaming community with his guides and game reviews.
Whether it's trudging through the world of Elden Ring, or grinding out raids in Old School Runescape, Laurence is always up for a challenge. However, in real life, his current challenge is learning how to speak Spanish and cooking authentic Mexican cuisine.
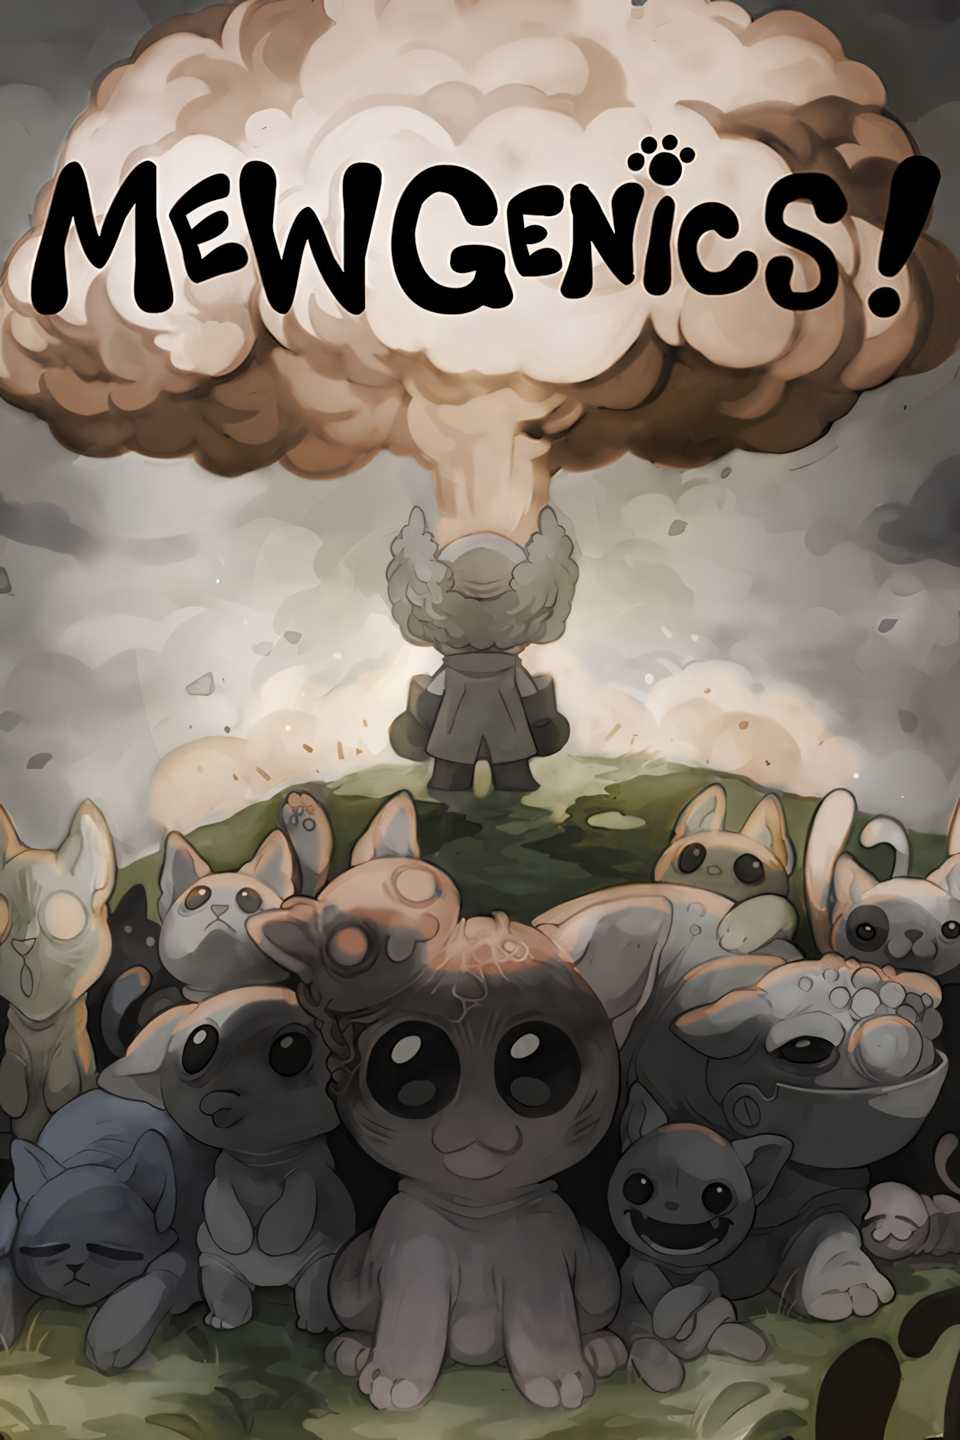
The Wall of Flesh? No, no, don’t worry, this isn’t like the Wall of Flesh from Terraria, this one is thankfully static and unaggressive! We are very much still in the twisted roguelike world of Mewgenics, which may or may not be even more messed up.
At the end of The Boneyards and The Caves, you may have noticed another little event before heading back to the house. These aren’t just random rooms with no purpose; they’re doors leading to a new area. However, getting to this brand-new place isn’t exactly easy, nor is it obvious.

So let’s take a look at the Throbbing Domain, and just how to get inside!
Fighting Guillotina 1,2 & 3

Before you can enter this new area, you first need to defeat the 3 versions of Guillotina. Guillotina, if you haven’t faced her already, is a huge, cannibalistic, Snorlax-looking cat who seeks to devour everything she can find.
This is known as a house boss: every 10 or so days, she shows up outside, and you need to use your best retired cats to take her out!
Every version of Guillotina has a pretty huge amount of health, and sometimes separate body parts and extra mobs that you need to take out individually.
However, you’re allowed to use the items in your inventory, making these fights pretty simple if you have a good selection of cats. Anything that scales in combat is amazing here. For example, Butchers that can infinitely increase their max HP and Clerics that grant immunity. Ability buffs and 1-time-use item buffs are particularly powerful here, too! So don’t let them go to waste.
Killing these house bosses will grant the following quest items upon defeat:
- Guillotina 1: Throbbing Gristle for the Wall of Flesh.
- Guillotina 2: Putrid Leech for the Throbbing Arteries
- Guillotina 3: Guillotina’s Head for the Meat Altar
Wall of Flesh

The Throbbing Gristle must be equipped by one of your party members and will alter the parameters of your run. This item requires you to really prepare well.
If possible, breed cats with high stats, particularly in Constitution. When your cats go down with the gristle, they will immediately die, even if it’s not the cat holding the item. You get no second chances and cannot revive them once killed.
Luckily, the Gristle is also a pretty good weapon, and turns enemies into meat food when they die.
For both of these runs, beware of enemies that destroy your equipment, like those skull slimes. If they happen to destroy the quest item, you’ll have to start all over again, so take care.
To reach the Wall of Flesh, you’ll first need to head through the Alley, the Sewers and then the Caves. Defeat Spinnerette as usual, then proceed to the next event. Place the Throbbing Gristle in the Wall, and the flesh will recede. Of course, this is only one part of the problem.
Throbbing Arteries
Similar to the Gristle, the Leech needs to be equipped and can make your run a bit more difficult. The character with the leech can’t level up and will die as soon as they go down, so it makes sense to put this on a cat with a high constitution stat, like a cleric or tank. Take good care of them, and when necessary, simply put them in the corner or tall grass, far away from the fighting.

To reach the next area, you’ll again need to go through the Alley, but then instead head to the Junkyard and then the Boneyard. Take out Dybbuk, and then attach the Leech to the Arteries in the next section. The veins will be destroyed, and now you can progress to the Throbbing Domain.
The Throbbing Domain
Meat Altar
When you enter the Throbbing Domain for the first time, you have a choice to sacrifice one of your cats, buffing the rest of them and grabbing some items to bring home with you. However, you won’t actually be able to access the domain until you’ve killed Guillotina for the 3rd and final time.
Firstly, you must equip Guillotina’s head on one of your cats. This will make every single battle a hard encounter. That means more enemies with tougher variants. In addition, every single enemy will target the cat with the head equipped, so best put it on something like a tank that isn’t going to die as easily.
Make sure you constantly heal this cat, and once again, don’t let the mask get destroyed by enemy attacks. Luckily, this mask also has a chance to apply fear to enemies that hit the cat, so it’s not all doom and gloom.
Bring this team to either the Caves or the Boneyard, and then proceed into the Throbbing Domain. You will be given the choice to sacrifice the cat with Guillotina’s Head. Unfortunately, you’ll have to let this cat die, but it’s for the greater good, I promise!
The Throbbing King
Now you have the chance to proceed through this new area. There are a few encounters with normal enemies here, and then you go up against the King himself. Remember, you only have 3 cats, but if you’ve prepared well, this isn’t a super difficult fight.
If you’ve beaten the Lab area in Act 3, you can bring along the Cryogenic Time Chamber. This means every enemy revives if you don’t destroy their body during the run. I managed to do this entire run with both Guillotina’s Head and the Time Chamber, meaning you don’t need to do separate runs.
Remember to constantly use the pills after each fight. With the Time Chamber, you’ll have plenty for every battle.
Once you’ve taken down the king, place his heart into the box, and then return to the Time Machine in the Lab. This will allow you to travel to the Ice Age area and the Future, unlocking the rest of Act 3.
Systems

Released February 10, 2026
Number of Players Single-player
Steam Deck Compatibility Unknown


![ELDEN RING NIGHTREIGN: Deluxe Edition [FitGirl Repack]](https://i5.imageban.ru/out/2025/05/30/c2e3dcd3fc13fa43f3e4306eeea33a6f.jpg)

 English (US) ·