.png)
.png) 1 month ago
18
1 month ago
18


Published Jun 1, 2026, 12:58 PM EDT
Daniel Trock is a Writer at DualShockers specializing in PC games, lists, and reviews. He has been writing professionally since 2018 and covering games since 2020, with previous work spanning guides, news, lists, and reviews across multiple publications.
Before joining DualShockers, Daniel contributed guides to GamerJournalist and lists to TheGamer. He currently covers tech topics for SlashGear and BGR. He holds a Bachelor’s Degree in Psychology from Marist College and a Master of Fine Arts in Creative and Professional Writing from Western Connecticut State University.
Sign in to your DualShockers account
It’s no secret that, as a game containing the DNA of both Castlevania and Bloodborne, Mina the Hollower is a bit on the difficult side, causing some players to have trouble getting into it. While a dark presence in my stomach urges me to say “git gud” and leave it at that, in the interest of not being reductive, I’d like to instead offer an alternate solution: use the game’s modifier system.
 Related
Two Indies Are Tied for Best Game of 2026 So Far
Mina and Mary are leading the line for the first half of the year.
Mina the Hollower comes with an accessibility-focused list of game modifiers, which allow you to tweak the game in a variety of ways and bring it more in line with your preferred playstyle and patience level. Some of these modifiers are more for laughs than anything, while others crank the difficulty into overdrive for challenge runs, but with a few choice selections, you can make the game much more accommodating without completely wrecking the intended experience. These are the modifiers I would recommend for that purpose.
Two things to note: first, some modifiers can only be enabled at the start of a new save file. Second, most modifiers, when enabled, will disable achievements, but I think enjoying the game is more important than shiny JPEGs.
10 No Pit Damage
You’ve Got Enough to Worry About
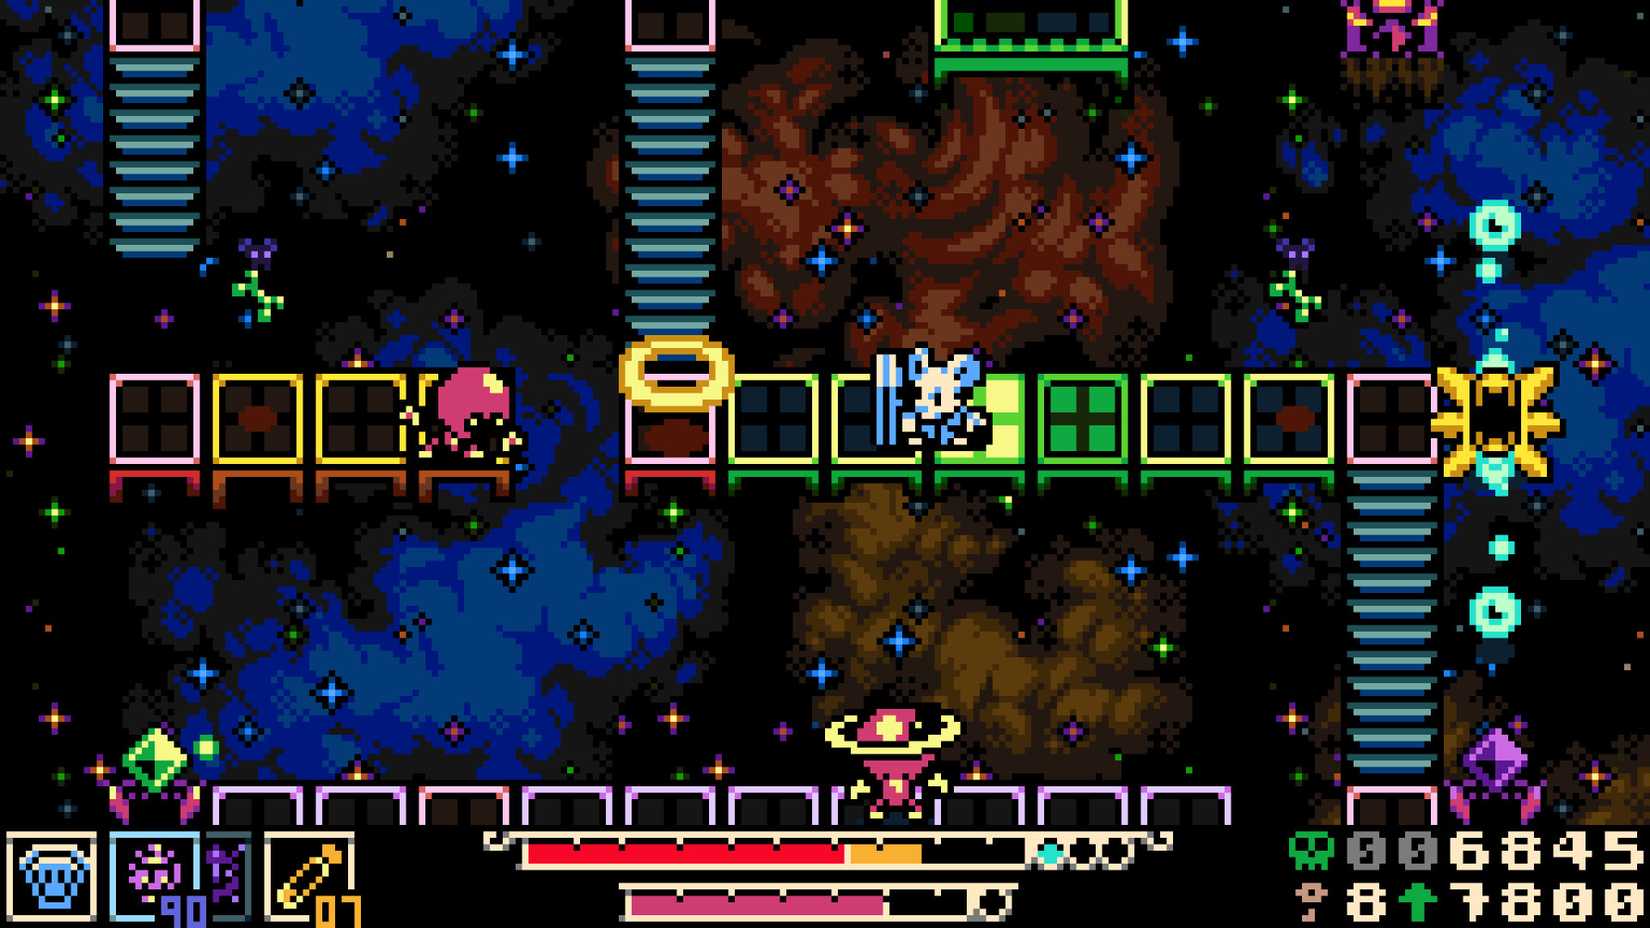
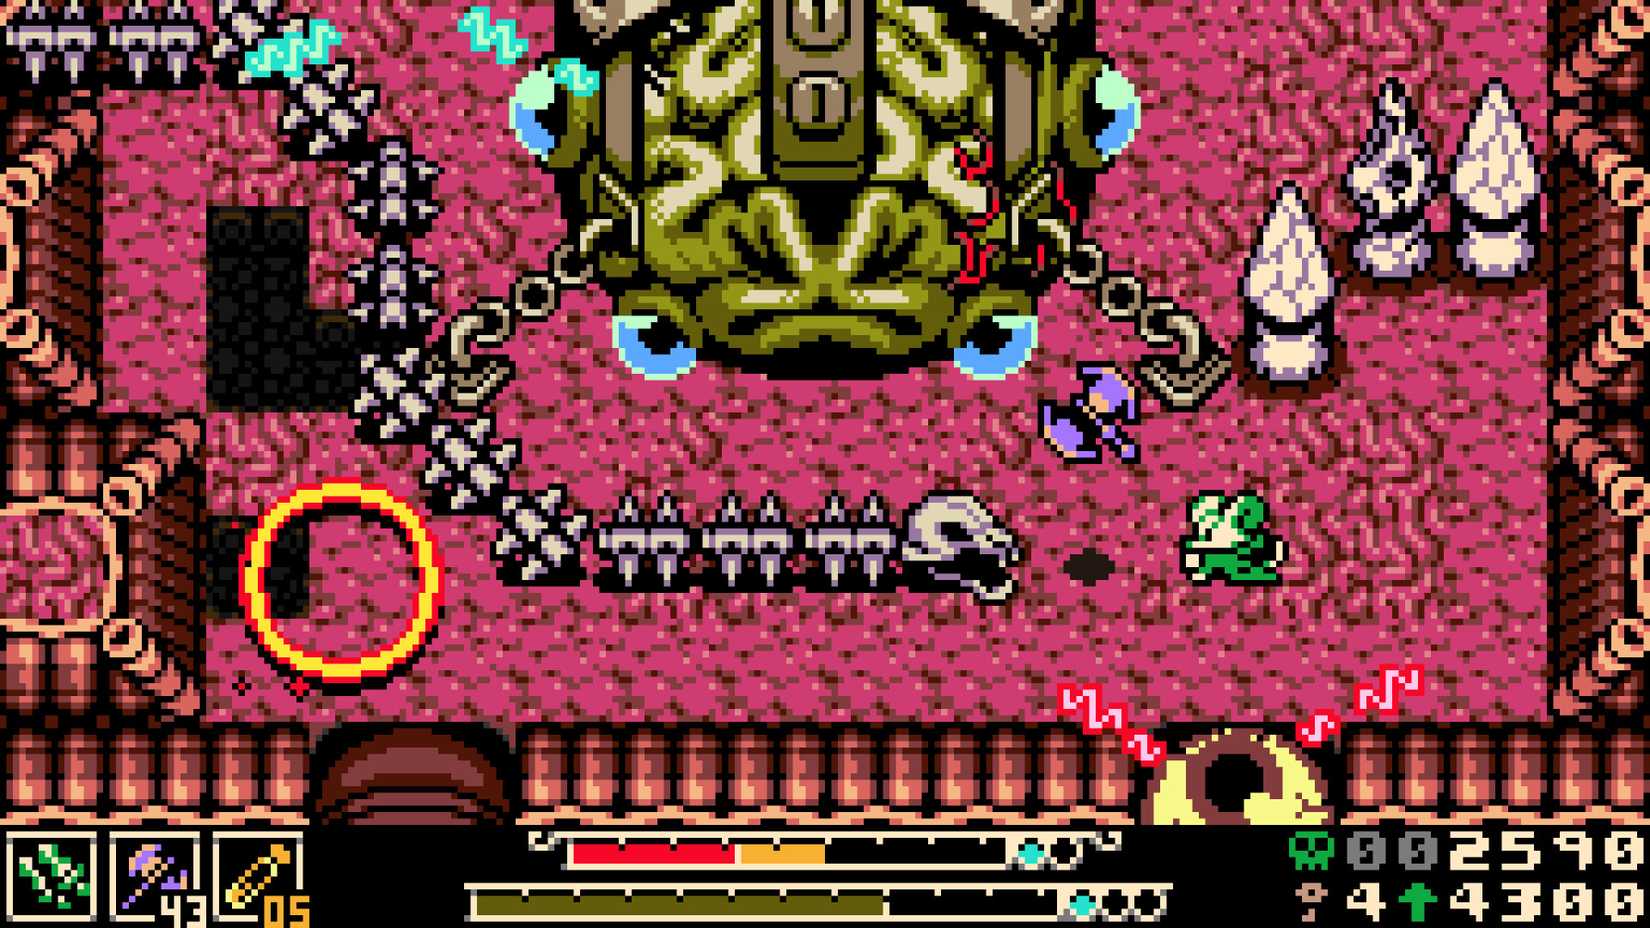
In my playthrough of Mina the Hollower, one of my most consistent sources of damage, rather than enemy attacks, was falling down bottomless pits, then respawning at the start of the room with a bite taken out of my health. It’s a bigger problem in the early game when you have less health, fewer vials, and less access to helpful sidearms, but it never stops being a nuisance completely. It’d be nice if pits did less damage, but for lack of a middle ground, the next best option is to remove the problem entirely.
Enabling the No Pit Damage modifier will completely eliminate damage incurred from both falling down bottomless pits and sinking in deep water. You can still fall in a pit, and you’ll still be sent back to the start of your current screen, but you won’t lose any health. The game’s platforming does take some getting used to, and it can be frustrating to burn an entire health bar just trying to get around, especially if you’re being harassed by enemies along the way, so this will lessen your load by a lot.
9 Floatier Jump
Get Some Hang Time
Speaking of platforming, consistent navigation in Mina the Hollower does require you to get its two kinds of jumps, regular and burrow-jumping, down pat. It can sometimes be hard to gauge the distance of a jump in the heat of the moment, leading to those aforementioned drops down bottomless pits. There are Trinkets that can help you get a little more hangtime, like Keri the Whisp and the Spring Heels, but if you need a little extra on top of that, enable the Floatier Jump modifier.
The Floatier Jump modifier will cause Mina to hang longer in the air after both a normal jump and a burrowing jump, which allows you to both jump generally farther and put a little more English on your movement in the air, adjusting to avoid enemies, pits, and hazards. You’ll probably still need those Trinkets to clear the really long jumps, but you’ll probably be able to tell when it’s time for that.
8 No Wind
Keep Your Feet Planted
Some parts of the game, particularly Septemberg, have a persistent wind effect, usually illustrated by falling leaves moving one way or another. When the wind is blowing, Mina is automatically pushed in the direction it’s moving, and she moves slower when pushing against it. It’s a relatively minor game element, but it makes both platforming and combat fussier, especially if you don’t have the Steady Soles equipped to resist getting knocked into pits. If this particular bit is annoying you, just turn it off.
The No Wind Modifier does exactly what it sounds like: disables wind effects entirely throughout the game. Without the wind blowing you to and fro, you’re free to move around and platform at your normal rate, not to mention stand your ground better against enemies trying to shove you into dark holes and spiky traps. It’s especially nice during some of the longer hallway segments of Septemberg, where you could otherwise burn a lot of health from misplaced jumps.
7 More Inv Time
Catch Your Breath
Normally, when Mina takes damage from an enemy, she’ll flash for a moment or two, indicating that she’s invulnerable against further harm. These invincibility frames are meant to give you a moment to put some distance between you and your foe, as well as ensure they can’t melt your entire health bar in a single attack string. Burrowing away, particularly with the aid of the Iron Lung Trinket, will help to keep you out of harm’s way, but if you need a little extra time to get your bearings, you can get some.
The More Inv Time modifier increases the length of your post-damage invincibility period. It’ll still wear off after a few seconds, a few extra seconds on top of the usual period can make a very big difference in what can otherwise be an extremely hectic encounter. It’s also helpful for practicing your evasion tactics with a little less pressure. Once you get good at burrowing away, you can always just turn it off later.
6 Steady Healing
Don’t Bother Me Until I’ve Had My Plasma
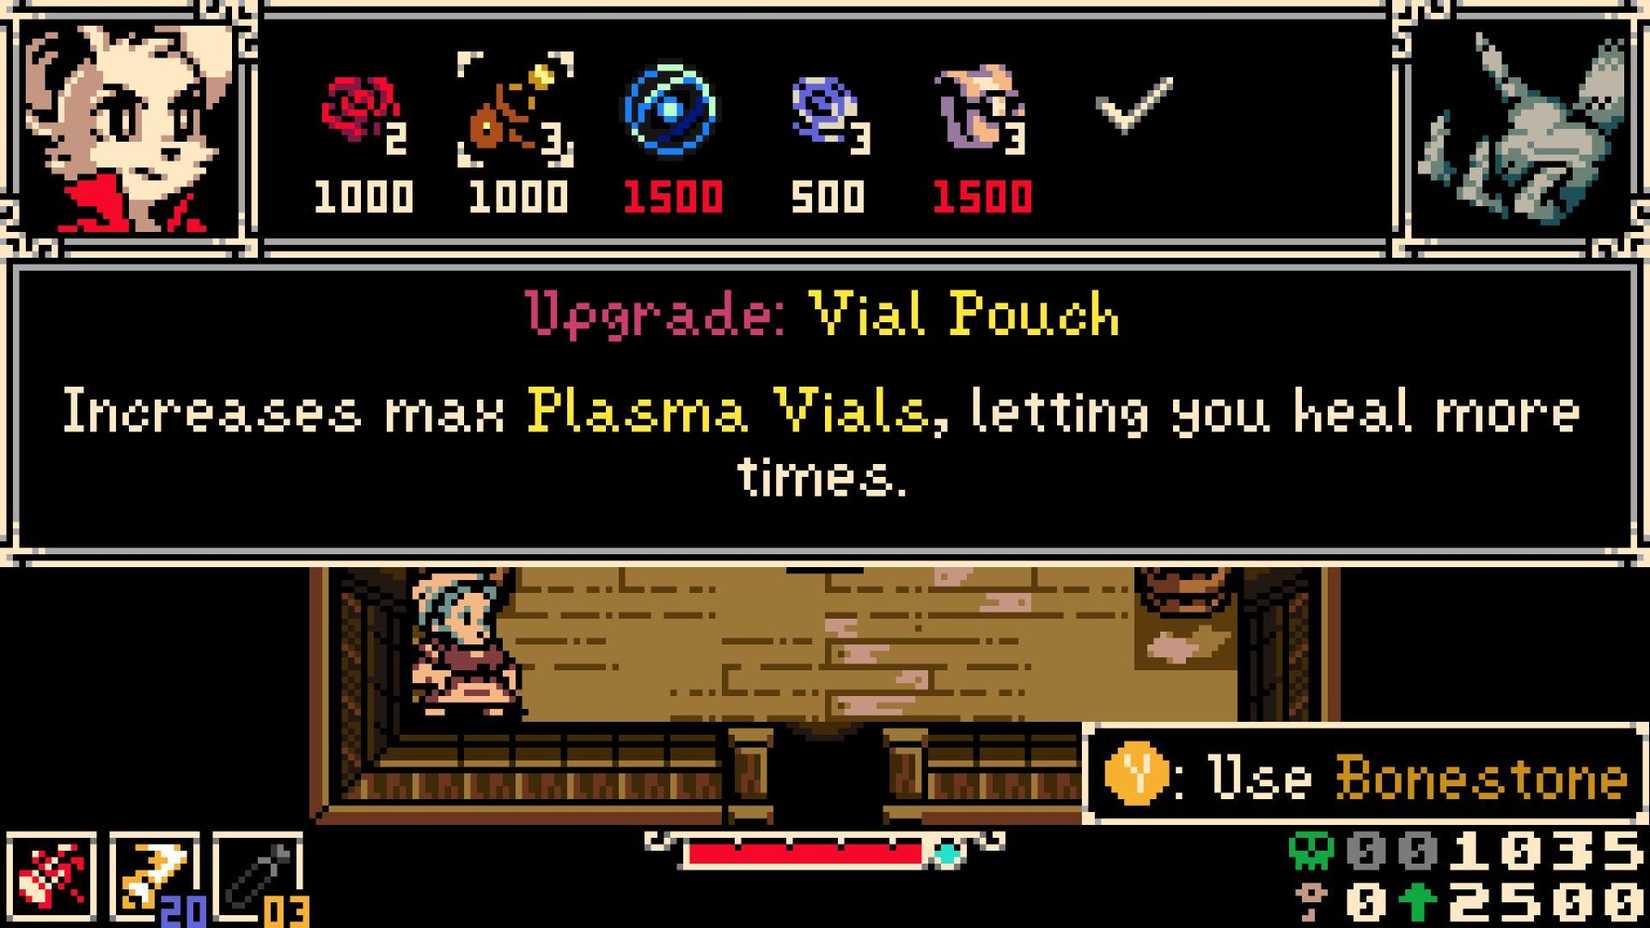
Mina’s Plasma Vials are her first and foremost avenue of health recovery, restoring health for all of the Plasma you’ve accrued by hitting enemies. Unfortunately, healing is not a free action; enemies can still smack you while you’re trying to recover, and if your heal is interrupted, not only do you not get your health back, but you lose the vial you tried to use. The Plasma Funnel Trinket goes a long way toward softening this, as does the Counter Vial, but you can also just enable the Steady Healing modifier if you need a second to pound an energy drink.
 Related
Mina the Hollower: How to Increase Health & Number of Plasma Vials
This guide explains how to increase your maximum health and Plasma Vials.
When Steady Healing is enabled, Mina cannot be interrupted by an enemy attack when performing a heal. She’s completely untouchable for the entire heal animation’s duration, which means no dropping vials, no draining Plasma, and no worry about getting corralled into a corner while you’re trying to find a safe spot to heal.
5 Boning Up 20% Faster
Speed-Reading
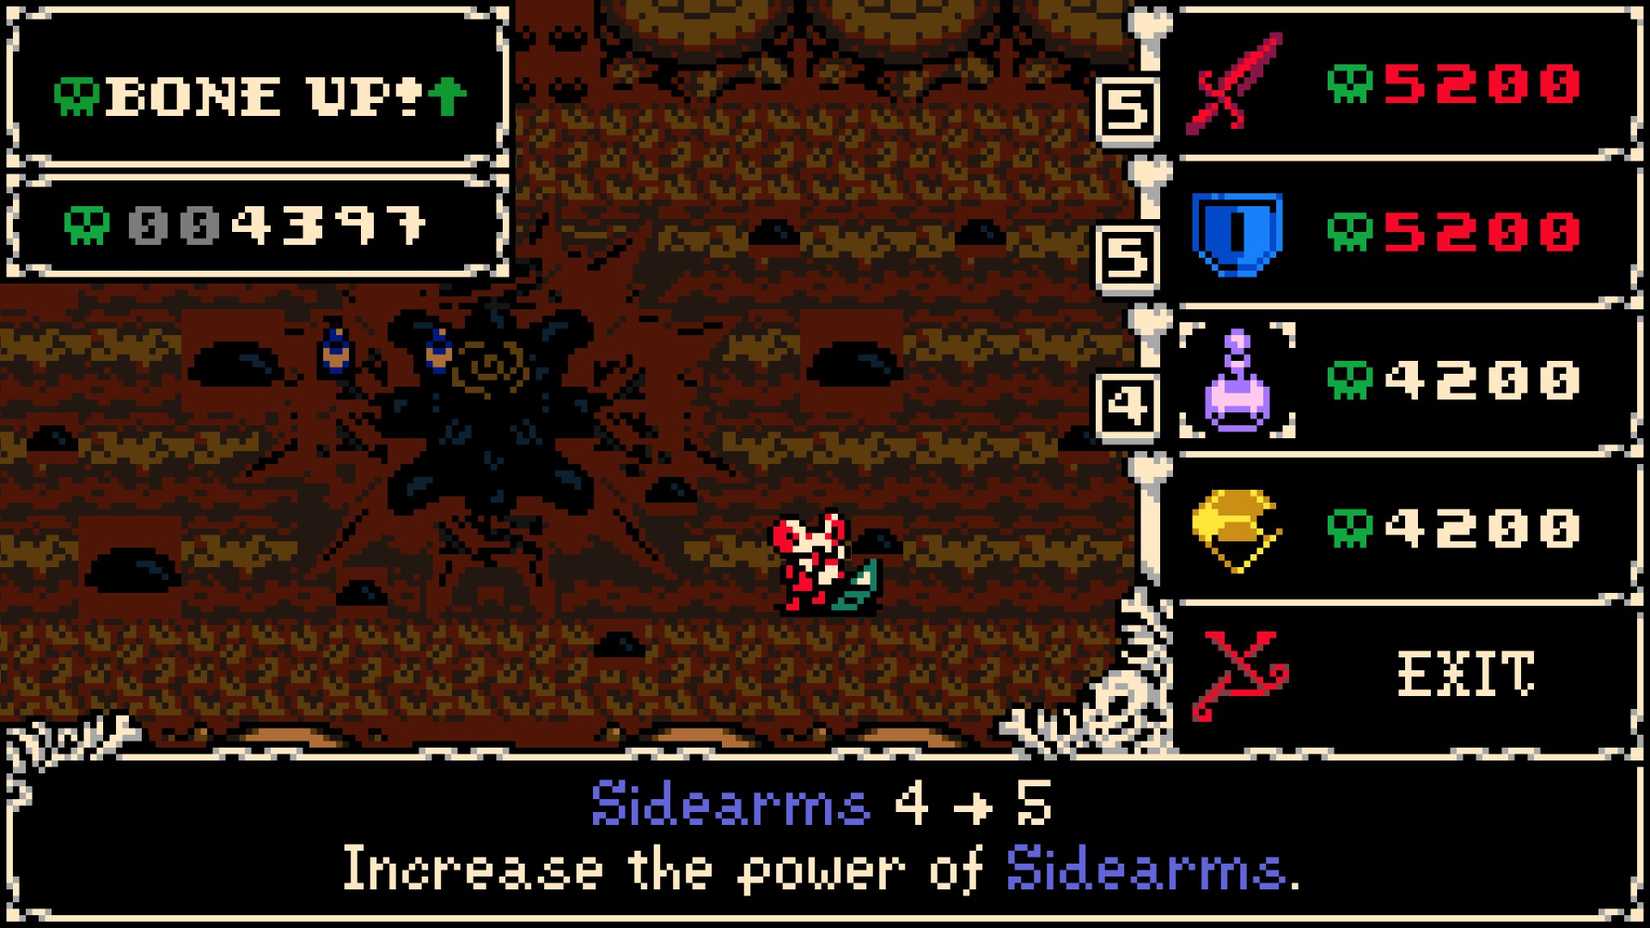
Boning Up is your primary avenue of bone investment in Mina the Hollower, the game’s baseline leveling system. Whenever you accrue enough bones to cross the threshold, you’ll Bone Up automatically, and can either level up your stats, convert the bones to Bonestone, or just skip it entirely. Of course, with every Bone Ups you pass, the bone requirement for subsequent Bone Ups increases, which naturally staggers the rate at which you’ll build up levels and accrue Bonestone. If you’re finding it takes too long to get leveled, just slash the requirements a smidge.
The Boning Up 20% Faster modifier cuts the requirements for all Bone Up thresholds by 20% of their usual value. So, for example, if your next Bone Up would normally happen at 1,000 bones, it’ll happen at 800 bones instead. It may seem like a small change, but those percentage-based cuts add up over time, and by the endgame, you’ll be saving a bundle on Bone Ups, freeing up your coffers to spend elsewhere.
4 No Bone Loss
Deep Pockets
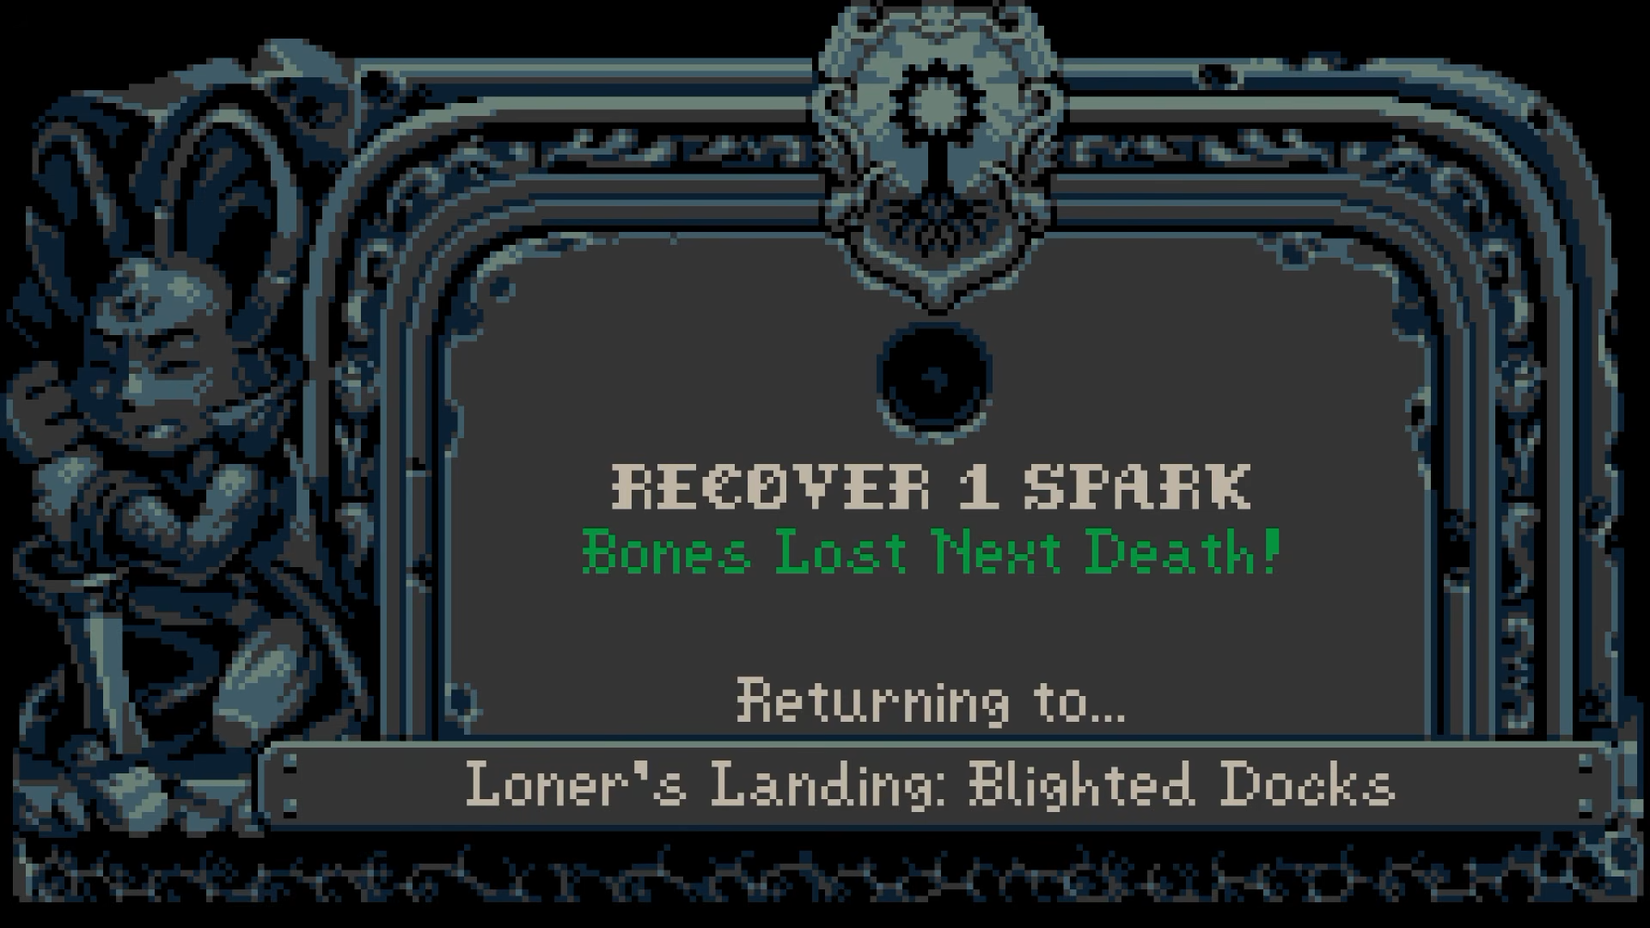
Mina the Hollower takes some cues from the Soulslike genre, while also doing its own thing. Primarily, this manifests in the game’s Spark system. Every time you die, rather than losing any of your bones, you just lose the Spark from one of your Spark Containers. If you have more Sparks, you can keep dying, but if you die without any Sparks left, that’s a Sparkless Death, which will cost you all the bones you currently have on hand. You can mitigate this by investing in Bonestone, as well as finding helpful Trinkets like the Bell of Grace, but if you’re having trouble holding onto your wallet, you can just ditch this gameplay element.
With the No Bone Loss modifier enabled, you won’t lose any bones even if you suffer a Sparkless Death. Mind you, this doesn’t completely eliminate the need to reclaim your Sparks from enemies and the field; you need your Sparks to open Spark Doors, plus getting them back heals you, so there’s still incentive to reclaim what you lost without completely bankrupting you in the process.
3 No Surge Line
Do You Want It Done Fast or Right?
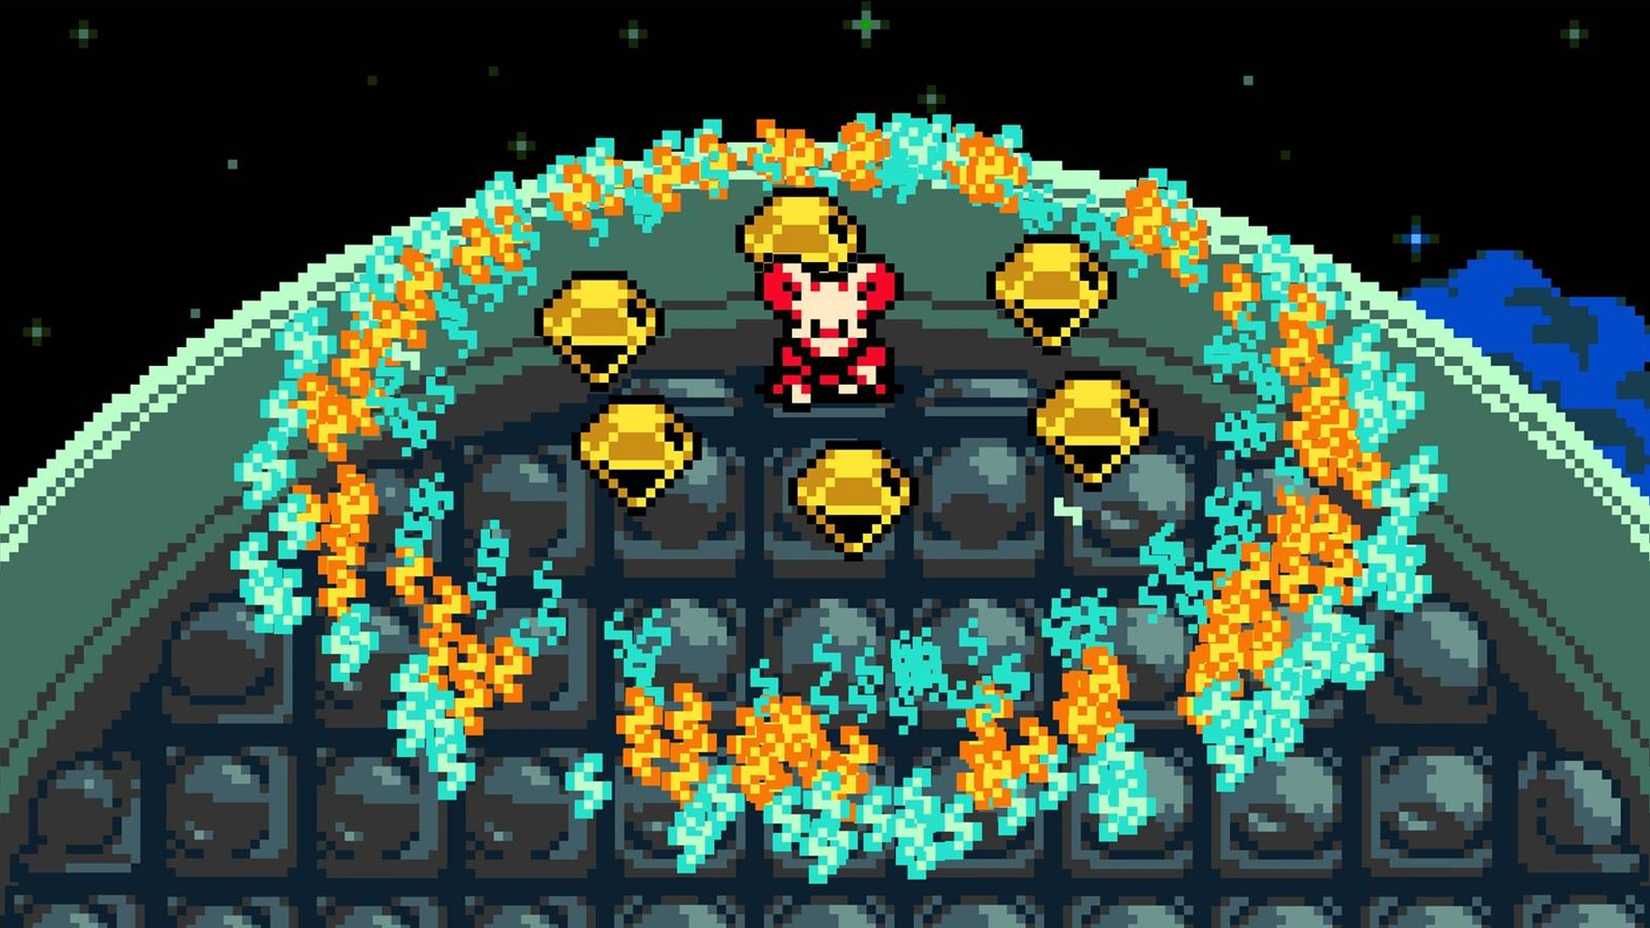
At the end of every major region in Mina the Hollower is one of the Spark Generators, the big ol’ magic lightning machine thingies that Mina trudged all the way out here to fix. Said fixing involves tying Mina to a long zipline and running up the side of the tower, fighting off enemies and dodging hazards as you go. It’s actually pretty fun, not to mention a great way to build up some bones, but it’s hampered a bit by the Surge Line chasing you up the tower and forcing you to rush. If you’d like to take your time with the repair process, just make that thing go away.
The No Surge Line modifier completely removes the Surge Line on all Spark Generator ascents. You can take as long as you want scaling the towers, making sure to harvest all the bones and defeat all the enemies as you go without having to worry about the Surge Line knocking you off and making you do the whole thing all over again. It’s less a last challenge for the area, and more of a nifty little bonus round.
2 Shop Prices (Cheap)
Shopkeepers Love Ya
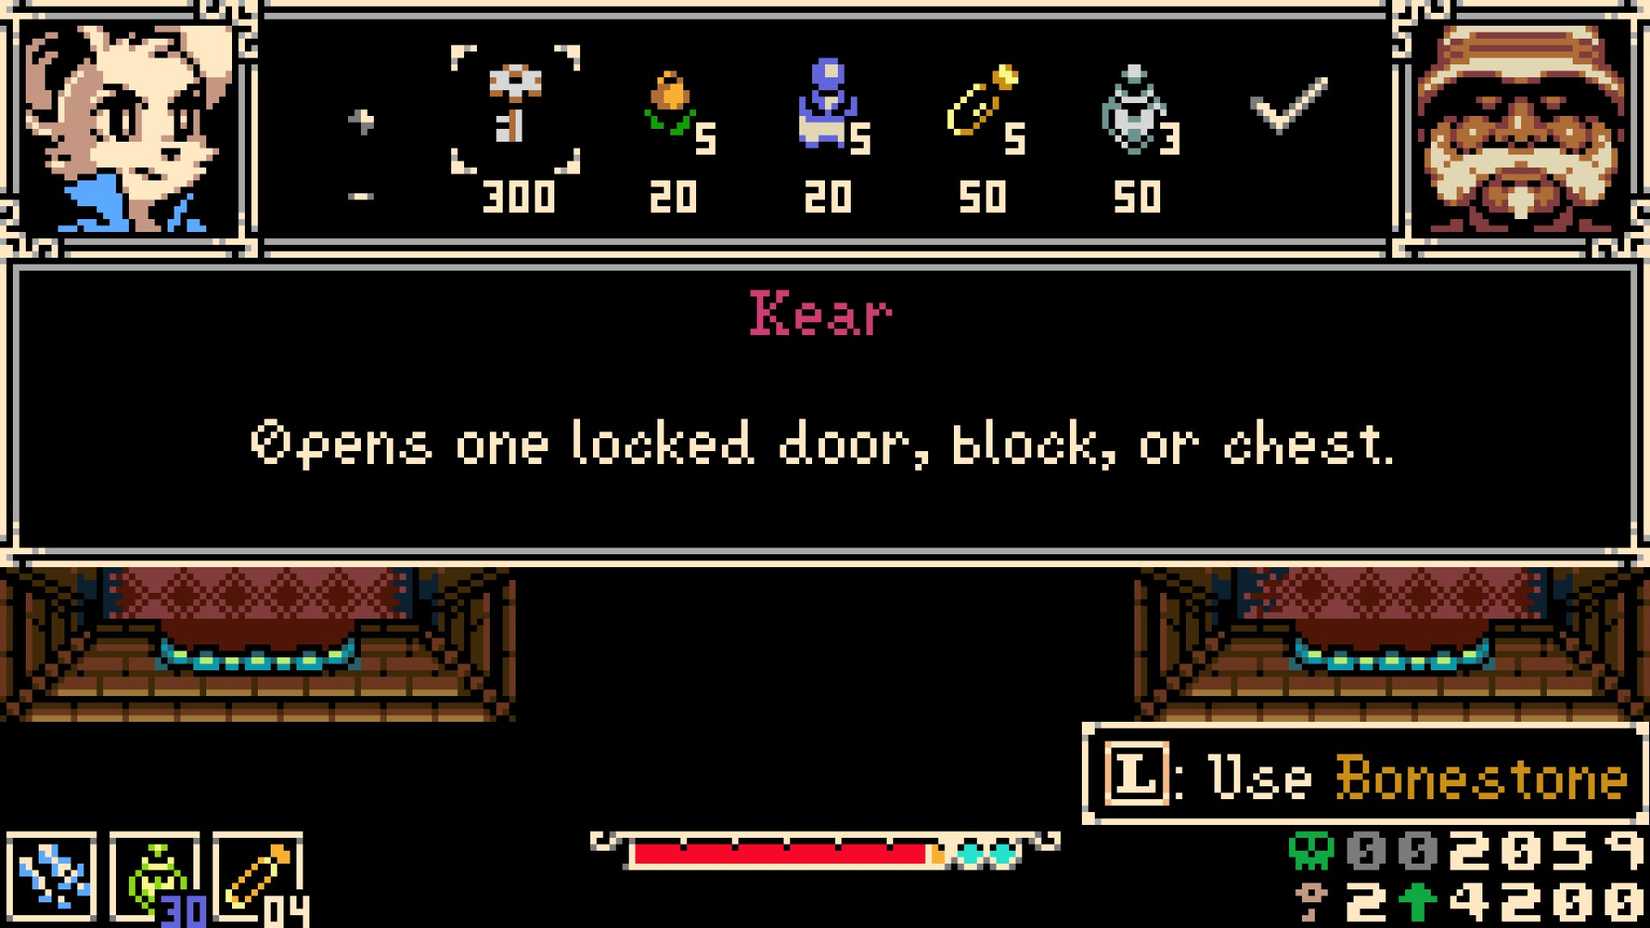
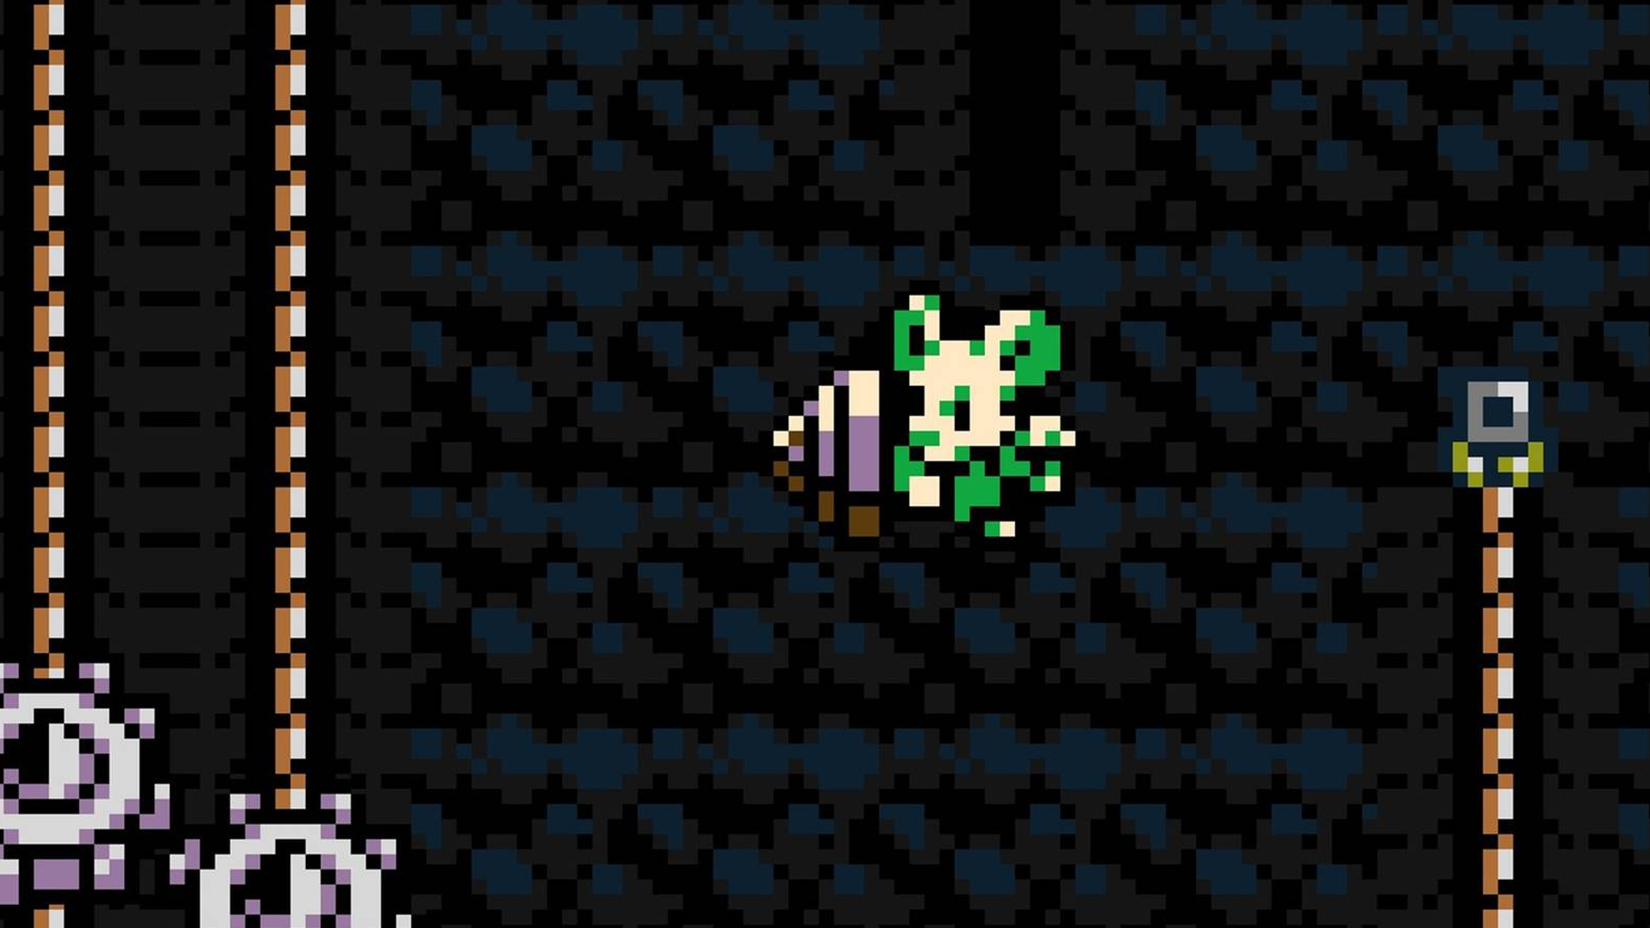
All throughout Tenebrous Isle, and especially in Ossex, there are shops where you can purchase useful items like character upgrades, new weapons, new Trinkets, and other miscellany. Of course, this stuff all costs bones, and when you factor in regular Boning Up, it can sometimes be hard to budget for everything you want. Luckily, with the help of a particular modifier, shopkeepers around the isle can be persuaded to offer a discount.
The Shop Prices modifier allows you to set three universal price settings: cheap, expensive, and random. Obviously, the one you want here is cheap. With this modifier enabled, all shopkeepers in the game will offer their wares at a discount from their usual rate. Besides making it easier to afford your major upgrades in Ossex, this is also nice for when you encounter a standalone merchant out in the field and need to buy some emergency items while your bones are running low.
1 Warp Home
Make a Quick Escape

Tenebrous Isle is a large, interconnected map, with most of the major gameplay regions being home to a web of shortcuts that gradually open up as you progress through them. It is technically possible to manually make your way back to Ossex on foot from just about anywhere in the world, even if you’re right in front of an area boss, though it’s also possible to get stopped by a particularly tricky platforming segment while you’re trying to make a break for it. For a quick pass back to civilization, enable the Warp Home modifier.
While Warp Home is activated, you can always instantly return to Ossex by opening the pause menu and pressing the warp option. With this, you don’t need to worry about getting stuck in a weird place or having your bones wrung out of you by platforming hazards, though you will still need to manually make your way back to wherever you were before. Incidentally, if you’re early enough in the game that you haven’t visited Ossex yet, Warp Home will instead take you to the shipwreck where the game began.
 Next
Next
Mina the Hollower: How to Find the Frog Composer
A step-by-step guide to reunite the musical amphibians.


![ELDEN RING NIGHTREIGN: Deluxe Edition [FitGirl Repack]](https://i5.imageban.ru/out/2025/05/30/c2e3dcd3fc13fa43f3e4306eeea33a6f.jpg)
 English (US) ·