.png)
.png) 1 month ago
15
1 month ago
15


Published Jun 2, 2026, 1:09 PM EDT
Daniel Trock is a Contributor at DualShockers specializing in PC games, lists, and reviews. He has been writing professionally since 2018 and covering games since 2020, with previous work spanning guides, news, lists, and reviews across multiple publications.
Before joining DualShockers, Daniel contributed guides to GamerJournalist and lists to TheGamer. He currently covers tech topics for SlashGear and BGR. He holds a Bachelor’s Degree in Psychology from Marist College and a Master of Fine Arts in Creative and Professional Writing from Western Connecticut State University.
Sign in to your DualShockers account
So, you’ve finished your first playthrough of Mina the Hollower, and if you’re anything like me, you’re probably hungry for more. There is a New Game Plus mode, or you could just start from scratch and do it all over again for kicks, but if you really want to spice things up a little bit, you might want to pay a visit to the modifiers menu and activate some of the difficulty-boosting options.
 Related
Mina the Hollower: Best Starting Weapon
This guide will help you pick the best starting weapon in Mina the Hollower.
While the advertised purpose of Mina the Hollower’s modifiers is to make the game easier for players having difficulty, they also work in the other direction: making the game deliberately harder, whether you’re recording challenge runs for clout or just want to torment yourself for kicks. Some of the modifiers ramp up the difficulty to mildly ridiculous degrees, but if you want a run that’s more challenging without reaching the point of absurdity, these are the modifiers I’d recommend.
Three notes here: First, enabling most modifiers will disable achievements. Second, some modifiers can only be toggled at the start of a game. Finally, some of the following modifiers are only available after you’ve beaten the game at least once, which you should really do anyway.
10 Take 1.5x Damage
Someone’s Been Skipping Cardio
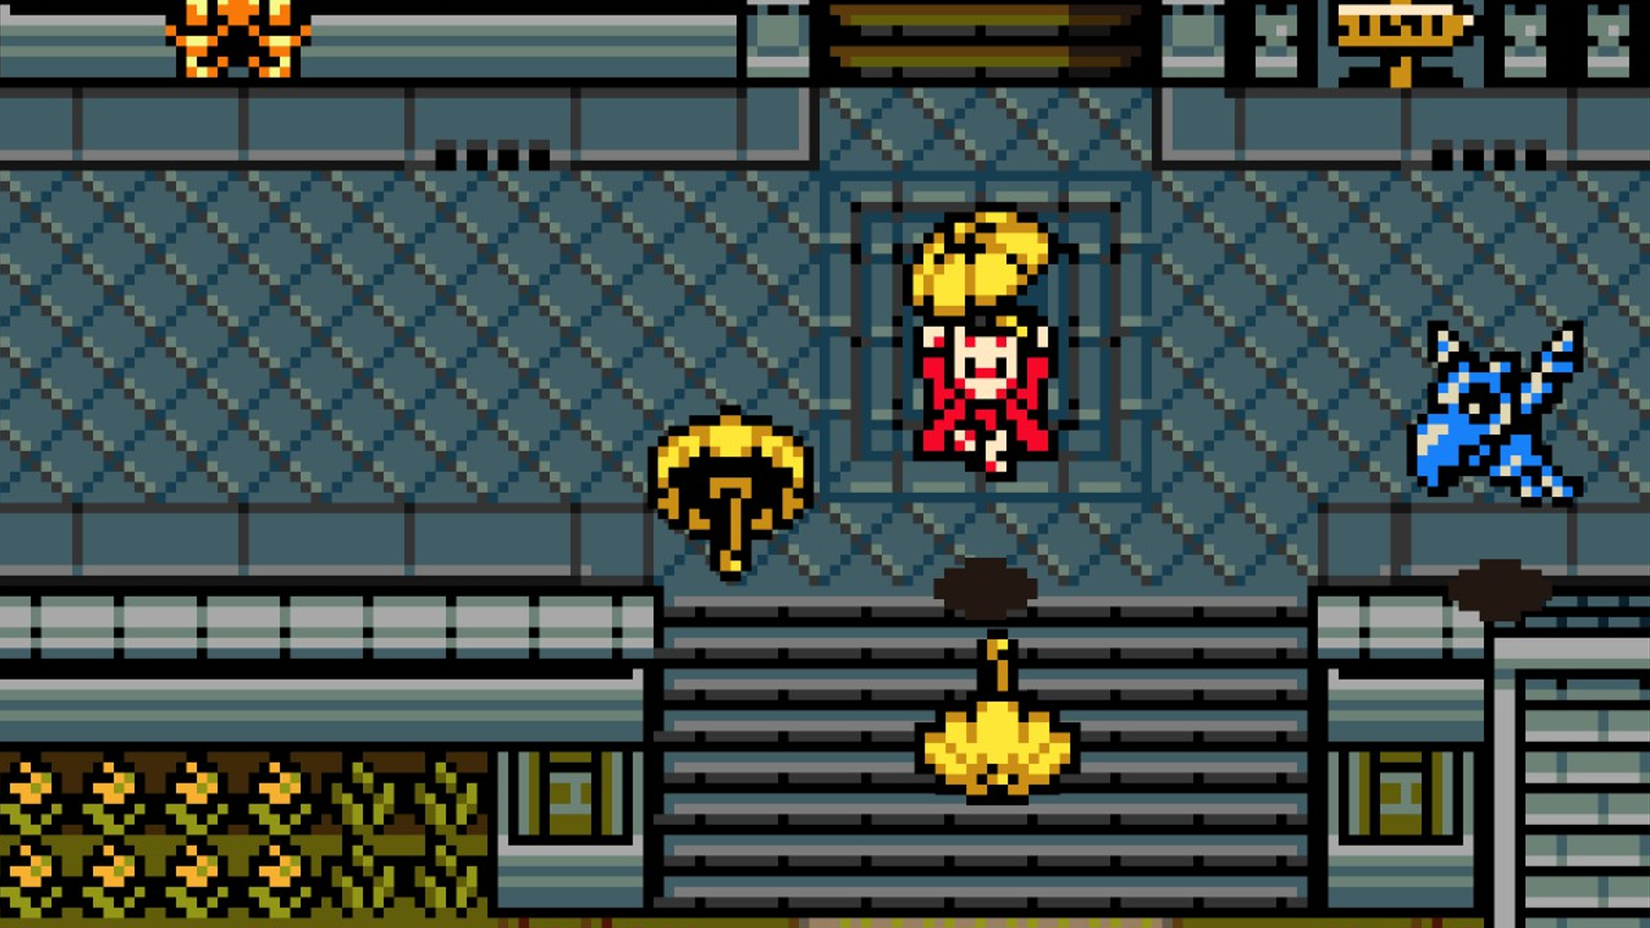
Barring a few outstanding examples, like the mousetraps in Radiant Manor, Mina takes fairly consistent damage from most enemy attacks and field hazards. It ain’t a walk in the park, but you can generally gauge how much punishment you’re going to endure from a shot after you’ve played for long enough. If, for some reason, you don’t think that damage is high enough, well, make it higher!
The Take 1.5x Damage modifier multiplies all damage Mina takes from all sources by 1.5. So, for example, if an enemy attack normally dealt 50 damage to Mina, that same attack would deal 75 damage instead. Remember, damage values are exponential; that little boost may not seem like much for smaller damage values, but if you’re hit by something severe that would normally shave off half a maxed-out health bar, that means you’re going to end up on death’s door. It’s certainly one way to encourage you to get good at dodging and burrowing.
9 Candle Danger
Lights Out, Fight’s On
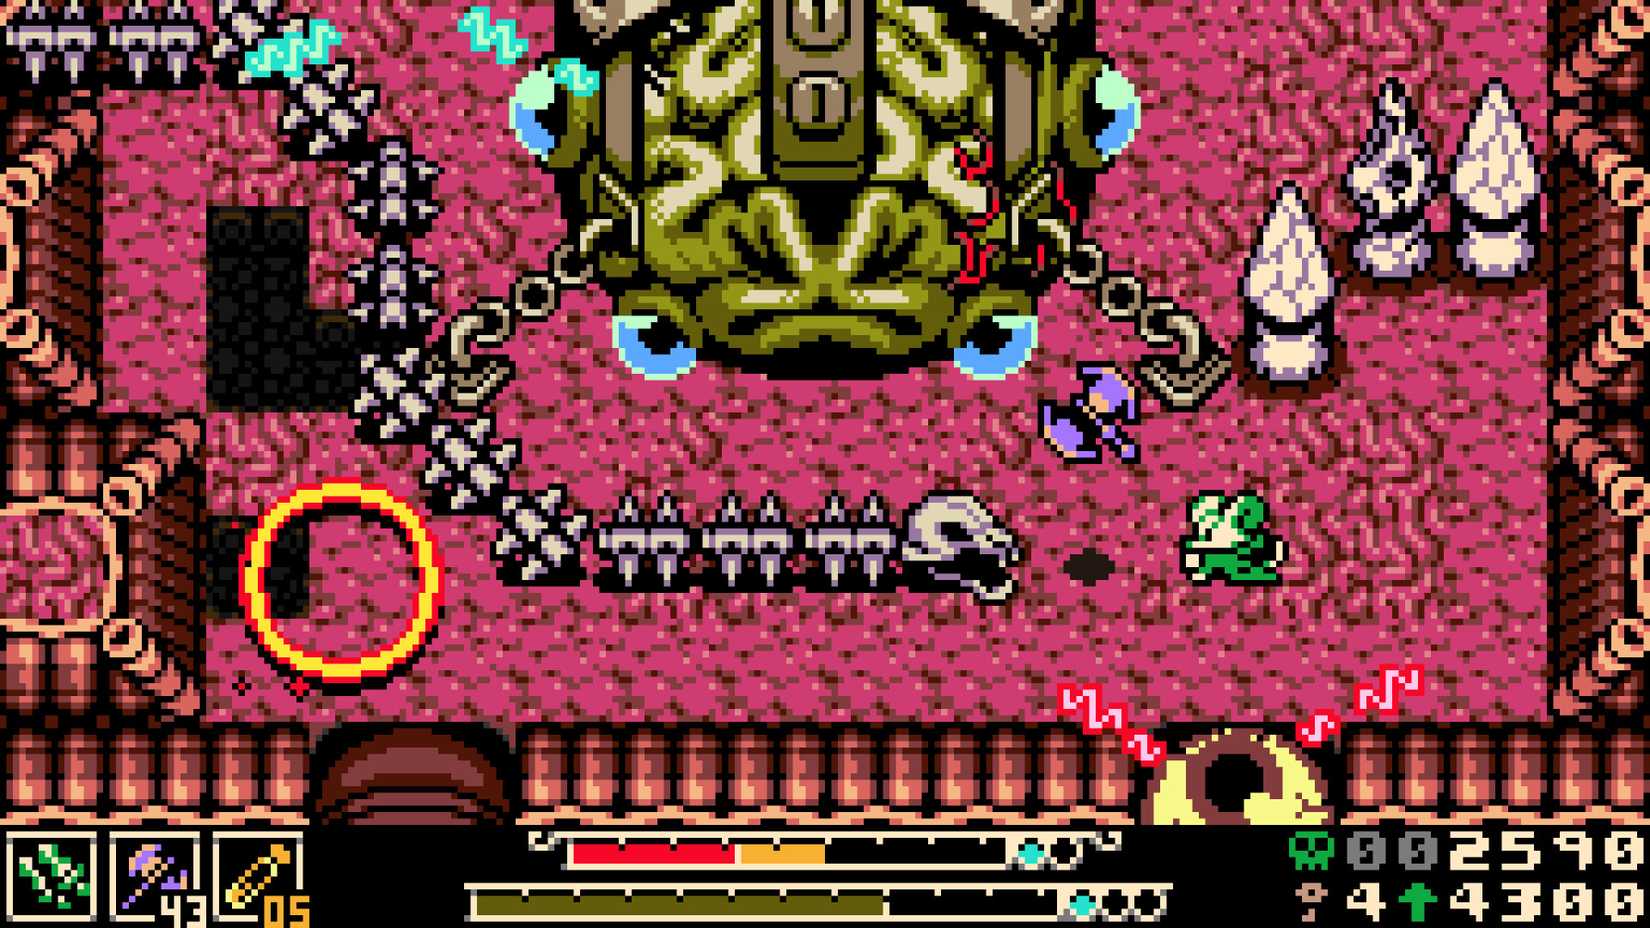
One of the little gameplay bits that Mina the Hollower cribs from the Castlevania series is that random candlesticks found around levels are a consistent source of helpful items. When smashing them with your weapons, you can find Joule jars for your Sidearms, as well as Sidearms themselves, and of course, some good ol’ bones. We don’t want you getting complacent, though, so let’s add another little surprise in there.
When the Candle Danger modifier is enabled, in addition to bones, Joules, and sidearms, there’s a randomized chance that any candle you smash will instead contain a hidden enemy, which will likely be right next to you and ready to bite your head off. This one will help to keep you on your toes and ensure you don’t lose focus, even when you’re just mopping up large croppings of candles in search of items. You could also just smash fewer candles, which I’m sure the people of Tenebrous Isle would appreciate.
8 Floor is Lava
No Time to Stand Around
Mina is a very mobile character, with both her jumping and burrowing abilities allowing her to cross long horizontal stretches surprisingly quickly, especially once you’ve got some Trinkets equipped. If you fancy yourself to be quick on your feet, then let’s put it to the test with an old-fashioned game of “the floor is lava.”
When the Floor is Lava modifier is enabled, Mina will leave a corrosive trail of ooze behind her everywhere she steps, similar to the toxic trail left by the Oozing Organ Trinket. The obvious difference is that, rather than your enemies, this ooze trail only hurts you. It’ll disappear after a moment, of course, but it’ll stick around long enough to force you to keep moving, and do so in unusual, obtuse patterns so you don’t accidentally retrace your steps into the proverbial poison swamp. This can make things especially interesting during boss fights, where your mobility is already limited by their cramped arenas.
7 Level Up Enemies
They’ve Been Practicing
Something you probably noticed while playing Mina the Hollower is that certain enemy types like Goopers, Gremlins, and Troopers have several variants of gradually escalating strength. These stronger variants don’t start appearing until in the game’s more difficult areas, likely after you’ve already proportionally matched them in strength. If you like being at a disadvantage, though, let’s trim all the weaklings out.
The Level Up Enemies modifier will automatically replace any enemy with more than one variant with its strongest possible version at all points of the game. Not only does this mean that you’ll be encountering top-tier foes much earlier on, but it also means that traveling through the early-game areas while secret-hunting may become more difficult as well. It’s bad enough traipsing through the town ruins with the regular Troopers running around, but you’ll have quite a kerfuffle on your hands if you’re surrounded by top-class endgame Troopers instead.
6 Sidearm Roulette
Hope You Know How to Use Them All
There are a total of 15 different Sidearms in Mina the Hollower that you can find and utilize, and as you do, you’ll almost definitely find your favorites like the Mist Jar or the Beckoning Collar. That said, it never hurts to get good with all of them in case you die and lose the one you’re carrying. Or, in the case of the Sidearm Roulette modifier, the one you’re carrying spontaneously changes to another.
 Related
Mina the Hollower: All Poppit Locations & Rewards
A complete guide to discover the merchant's secret.
When Sidearm Roulette is activated, the Sidearm that you currently have equipped will change to a random different one every time Mina takes damage. On the one hand, this could play to your favor if your usual preferred Sidearm isn’t available, but of course, you could just as easily lose that preferred Sidearm with a single errant poke. Part of mastering any game is becoming intimately familiar with all of its offensive and defensive options, so playing with Sidearm Roulette will definitely train you into being an all-around master. Or else!
5 Less Plasma
Work For Your Heals
The way Mina’s Plasma Vials work is that, rather than being a straightforward heal, you first have to deal damage to enemies or collect Plasma Roses to fill up the yellow section of your health bar, with the Vial then restoring whatever you built up. Even with this extra wrinkle, being sufficiently proactive in combat will be enough to get you back to full health. How about we make you work a little harder for your heals, though?
The Less Plasma modifier tamps down on your general Plasma gain, whether from attacking enemies, collecting Plasma roses, or using Plasma-generating Trinkets and Sidearms like the Vial Salvo or Mist Jar, respectively. This means that, in order to get the most out of your Vials, you’ll need to stay in the thick of combat for longer than you normally would, and make absolute sure you’re safe before healing to ensure you don’t lose all that Plasma you built up. If you’ve ever wanted to practice safe heals in a Soulslike game, this is a good way to encourage that.
4 Less Healing Water
Someone’s Been Neglecting the Underlabs
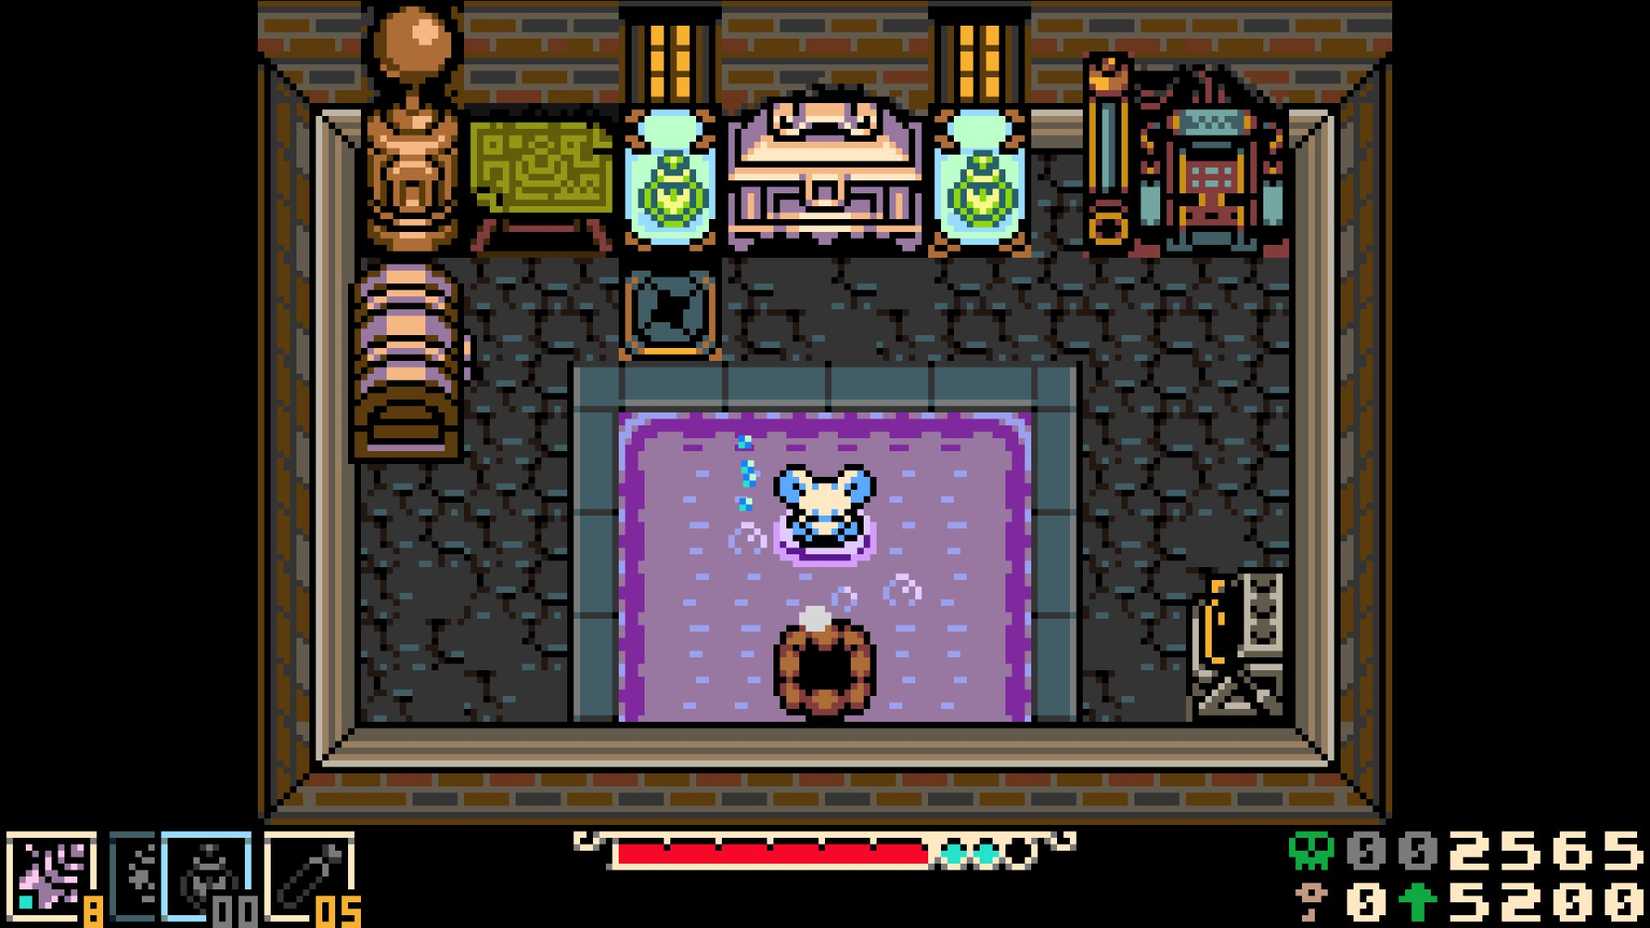
All the Underlabs in Mina the Hollower, when entered, drop you into a soothing hot spring that instantly fills Mina’s health back to full. Whether you’ve run low on Plasma Vials or just need a quick top-up while secret-hunting, it’s a steadfast, reliable source of relief in all situations. Of course, as someone who has owned a hot tub, I can tell you those things require upkeep, or they suddenly become a lot less soothing.
When the Less Healing Water modifier is enabled, a dip into any Underlab hot spring will only restore Mina’s health by up to half of its maximum. It can still save you from the brink, especially when Plasma Vials are running low, but you’ll be on your own for filling it up the rest of the way, which encourages you to both be more careful in general and to get good with other forms of health recovery and quick Plasma generation. If you’ve got any health-restoring or health-protecting Trinkets, consider that your impetus to use them.
3 Boning Up 20% Slower
Education is Expensive
Every time Mina accumulates enough bones to achieve a full set of Bone Up stat increases, the next Bone Up threshold will increase by a set amount. It’s the game’s way of staggering out your levels and maintaining the overall difficulty curve. Of course, if you’re looking to make the game harder, you probably want to stagger those levels out even further to keep things nail-biting, so why not add a little interest on top of those Bone Up costs?
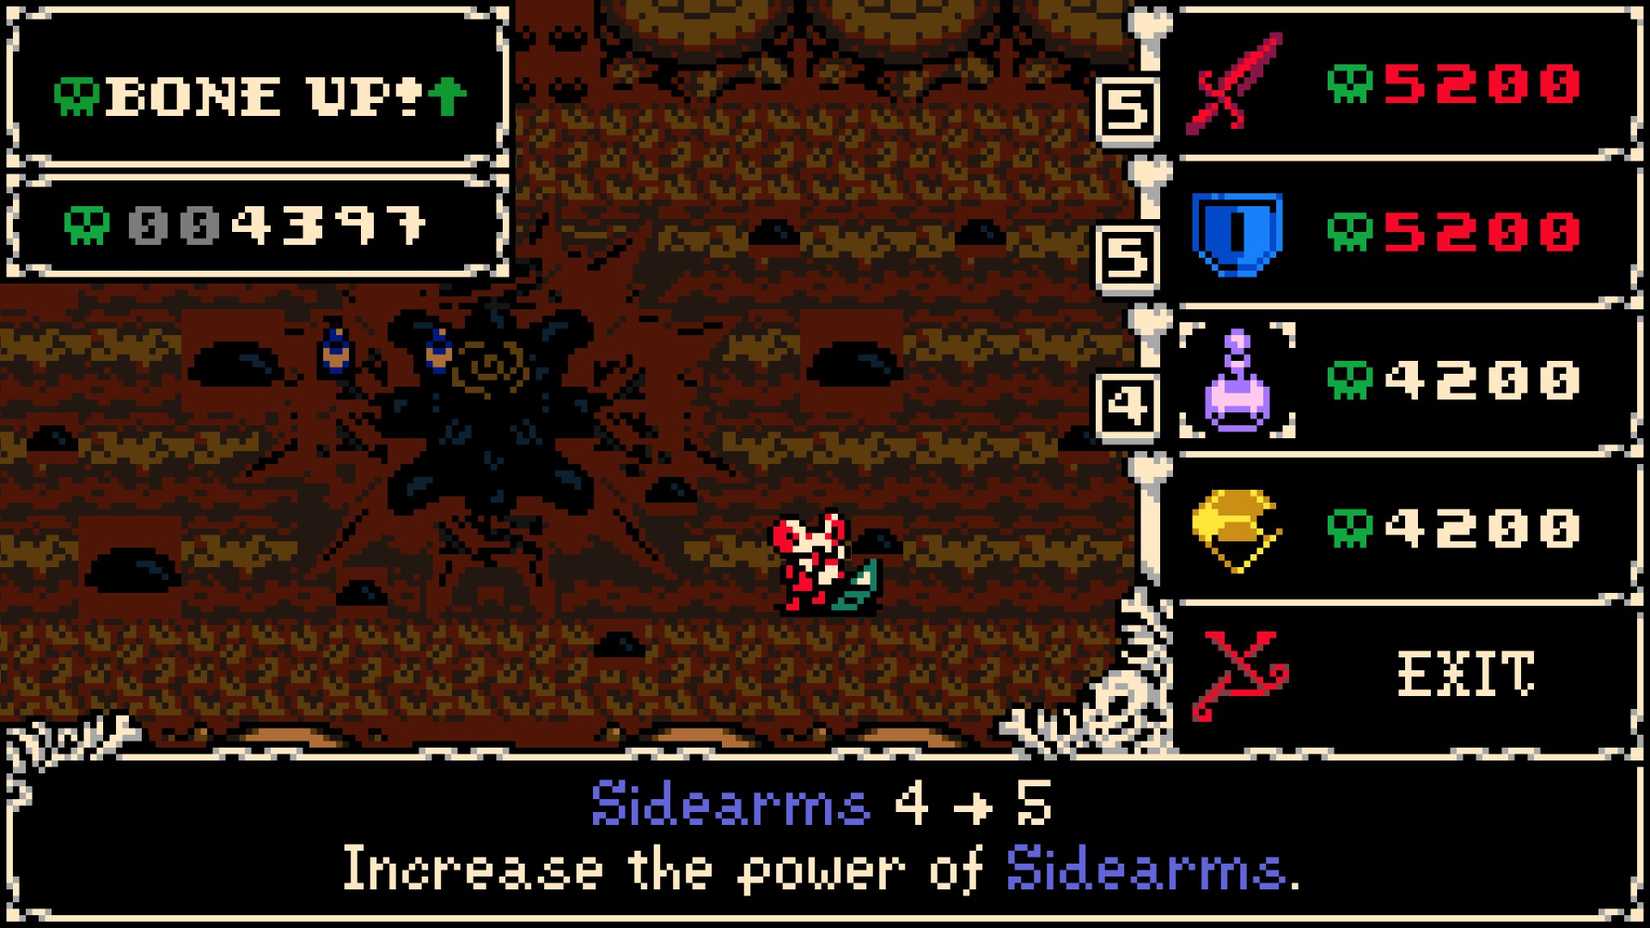
By activating the Boning Up 20% Slower modifier, all Bone Up thresholds will have their cost increased by 20% of their usual value. So, for example, if you needed 1,000 bones to achieve your next Bone Up, you would need 1,200 bones instead. A couple hundred extra bones isn’t that hard to come by, but that percentage-based increase will start to take its toll as the thresholds reach the higher thousands later in the game, making it harder to reach your next level and get your bones properly invested.
2 Shop Prices (Random)
The Shopkeepers are Feeling Flighty

The many shopkeepers and merchants across Tenebrous Isle sell their wares at fixed rates. If you don’t have the bones to afford something at a particular moment, just come back later and you should be able to afford it. The Shop Prices modifier can make these fixed prices either half or twice as expensive, but both of those can be remedied with enough grinding. What if those prices were completely randomized, though?
Setting the Shop Prices modifier to Random will cause every shopkeeper in the game to completely randomize the price on all of their wares. Something like a Joule jar, which may normally cost a couple hundred bones, could instead cost several thousand, though if you’re lucky, something normally expensive could become dirt cheap. Don’t get any bright ideas about trying to RNG-scum the prices, though; they’re seed-based. As soon as you start the game with this modifier enabled, whatever prices are set will be locked in.
1 Lose One Level

In the vast majority of games with leveling systems, leveling is a hard threshold. Once you’ve risen by a level, that rise cannot be taken away from you, at least not without your express consent. But what if, in addition to losing your bones, dying in Mina the Hollower came with a significantly steeper penalty, one of a particularly level-focused nature?
The Lose One Level modifier, when activated, adds an additional penalty to suffering a Sparkless Death. If you die with all your Sparks diminished, not only will you drop all the bones you’re carrying, you’ll also drop one level in attack, defense, and sidearm power simultaneously. Unlike with losing your bones, which can be guarded against by just spending all of it or investing in Bonestone, there is no way to protect yourself against this beyond getting more Sparks and, y’know, not dying. So you’d better get good at not dying!
 Next
Next


![ELDEN RING NIGHTREIGN: Deluxe Edition [FitGirl Repack]](https://i5.imageban.ru/out/2025/05/30/c2e3dcd3fc13fa43f3e4306eeea33a6f.jpg)
 English (US) ·