.png)
.png) 2 months ago
14
2 months ago
14


Published May 29, 2026, 12:02 AM EDT
Daniel Trock is a Writer at DualShockers specializing in PC games, lists, and reviews. He has been writing professionally since 2018 and covering games since 2020, with previous work spanning guides, news, lists, and reviews across multiple publications.
Before joining DualShockers, Daniel contributed guides to GamerJournalist and lists to TheGamer. He currently covers tech topics for SlashGear and BGR. He holds a Bachelor’s Degree in Psychology from Marist College and a Master of Fine Arts in Creative and Professional Writing from Western Connecticut State University.
Sign in to your DualShockers account
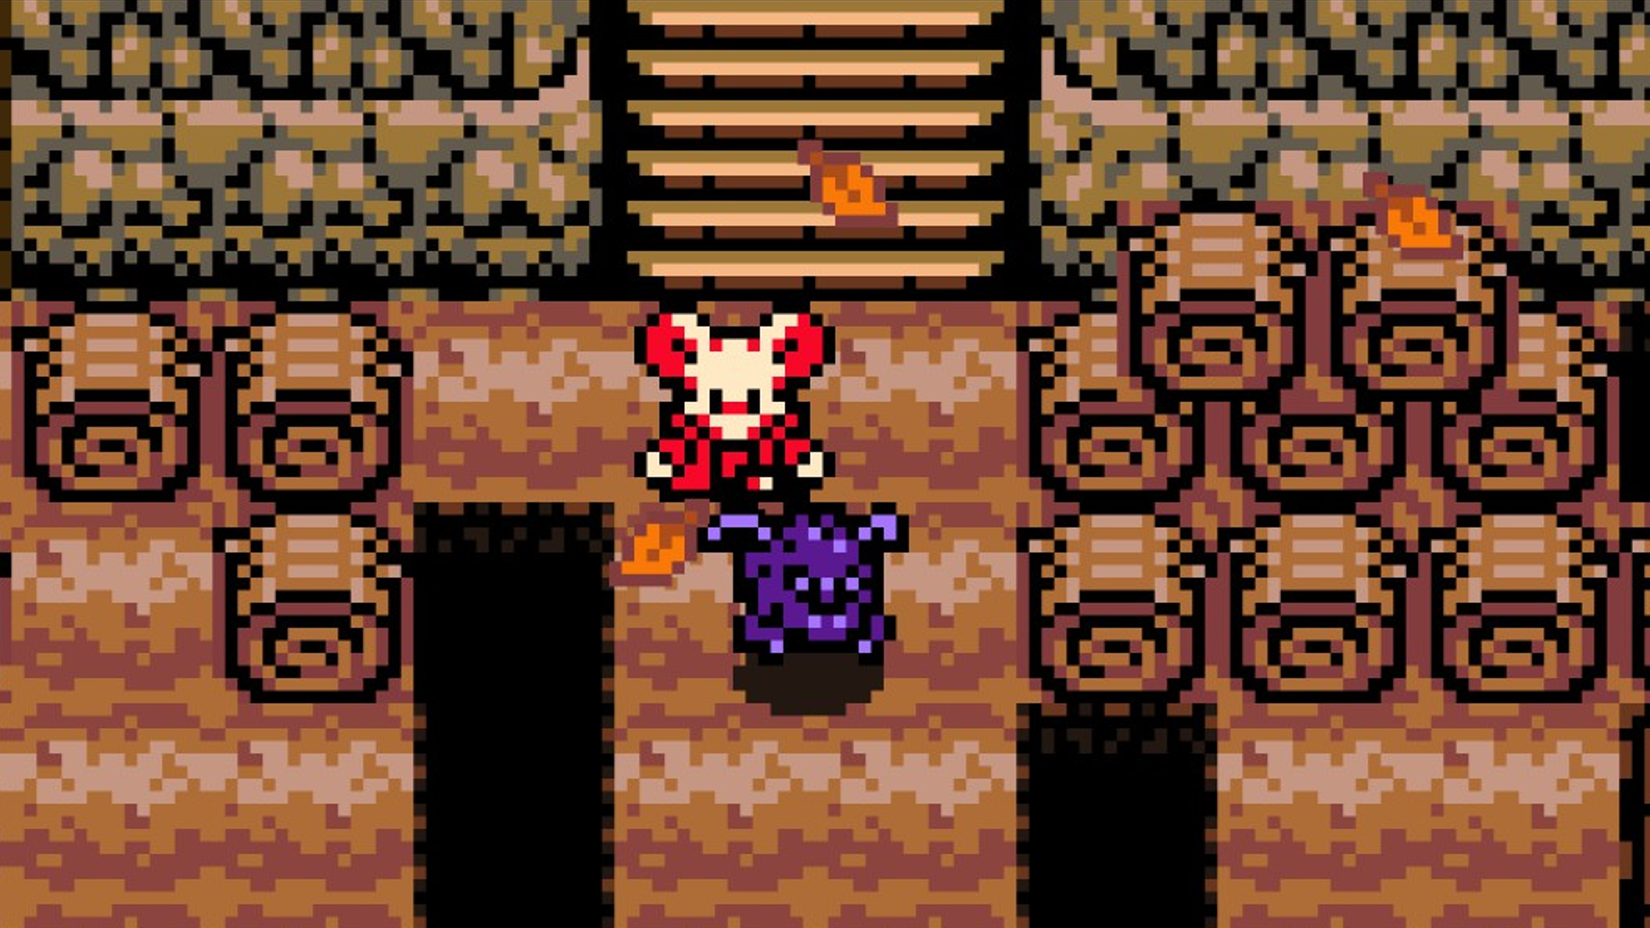
Mina the Hollower takes cues from a variety of different games and franchises in its gameplay, with one of its most obvious inspirations being Castlevania. I don’t just mean Mina’s skill with a whip; I’m referring to her skillful hand with a multitude of secondary weapons known as Sidearms.
 Related
Mina The Hollower's Combat Bucks A Big, Important Trend
Mina the Hollower is the next title from Shovel Knight creators Yacht Club Games, and it's not going to feature a parry system.
Sidearms are a series of 15 different weapons that spawn randomly around the game world. They can only be used if you’ve got Joules to spend, and if you die, you lose them, so they can’t replace your main weapon entirely. That said, with some crafty usage, every Sidearm in the game can have a smart application, whether in combat or traversal. It can be hard to hold onto the specific Sidearm you want, barring the use of certain Trinkets, but there are certain fixed spots you can replenish your supply when necessary. Of the 15 Sidearms, these 10 are the ones I’d personally make an effort to hold onto for as long as possible.
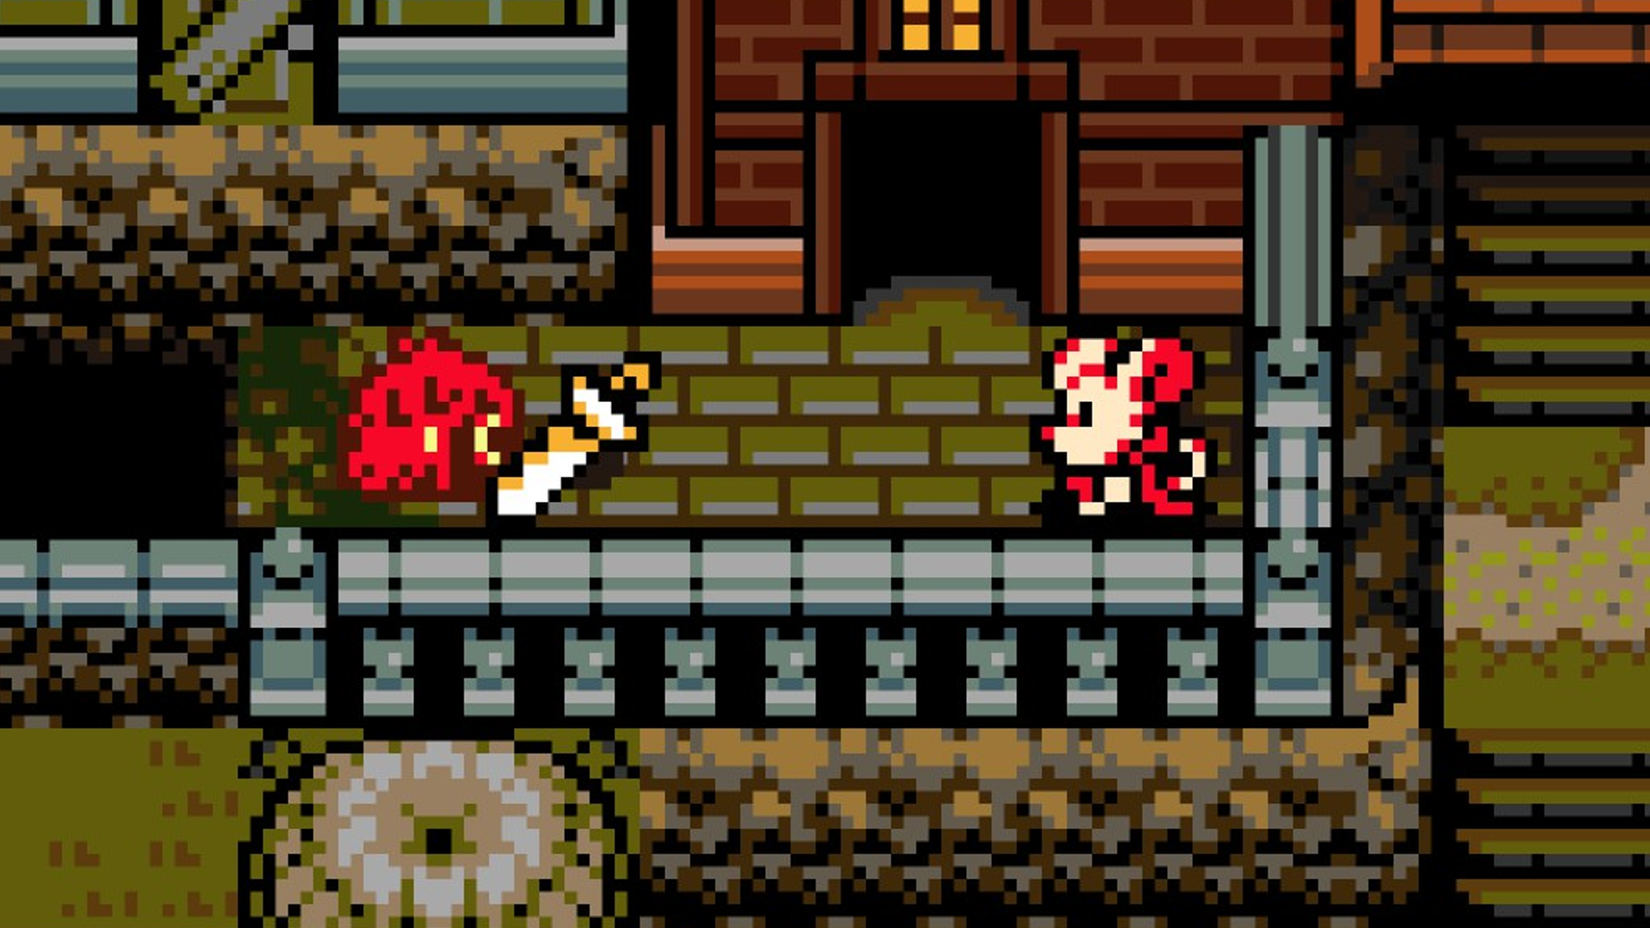
10 Volt Hatchet
Simple, Reliable Damage
One of the most iconic subweapons in the Castlevania series is the throwing axe, a large, heavy axe that’s thrown in an upward arc. Naturally, Mina has her own take on a throwing axe, though her version has a little extra cooking under the hood: a few hundred volts of electricity. Thus, we have the mighty spark of the Volt Hatchet.
The Volt Hatchet is a simple but fairly reliable Sidearm. When thrown, it lobs through the air for a moment before crashing down onto the ground, unleashing small blast waves in four directions. During every phase of the hatchet’s deployment, from its flight to its detonation, it deals damage to any enemy it makes contact with. Since it flies a bit slowly, it’s not the best for speedy, sprightly foes, but if you’ve got a large or stationary enemy on hand, the Volt Hatchet can deal strong, sustained damage, and from a reasonably safe distance.
9 Gyro Dagger
Deadly Paddleball
It’s pretty normal in these kinds of gothic fantasy settings for people to be throwing knives around, especially those who hunt creatures of the night like Mina. Don’t ask me why. While Mina’s Gyro Dagger operates in the way you may expect a throwing knife to, though, it’s got an extra secret you can use to increase its potency.
When you use a Gyro Dagger, Mina will throw one out a few tiles in front of her, damaging any enemies it makes contact with. When it flies far enough, however, the Dagger will begin to spin, then fly back toward Mina. The Dagger will damage any enemy it hits on both parts of its flight once, but enemies caught in the spin will get hit several times. As the Dagger flies back, Mina can smack it with her weapon to make it fly forward again, albeit a slightly shorter distance. The Dagger can be continuously juggled as long as your timing is good, creating sustained lines of damage. It takes some practice to get good and find the sweet spot for the spin, but it can create some pretty heavy damage if you get good with it.
8 Drill Driver
Pierce Those Heavens

Something you’ll swiftly notice while traversing Tenebrous Isle is the copious number of bottomless pits. You’ll almost certainly fall into your fair share of them, but you can also knock enemies into them for instant kills, particularly with the aid of the Drill Driver.
This Sidearm launches Mina a short distance forward in whatever direction she’s facing, delivering a powerful knockback to any enemy in her path. Where most of your main weapons can only deliver minor nudges, the Drill Driver’s knockback is strong enough to forcefully shove most small foes right into pits and hazards, which is great both in trap-laden parts of the game and if you have a playstyle that favors environmental manipulation. It also deals some flat damage against any enemy you hit, which increases if you knock them against a solid wall, so even if there are no pits handy, the Drill Driver still has good offensive applications.
7 Fishing Rod
Emergency Rations
While exploring the Bayou, you may come across a pair of alligator brothers running a fishing shop. One will offer to let you borrow his rod, though he’ll be swiftly devoured by a leviathan afterward, so you can just keep it. It might just end up saving your life!
The Fishing Rod is the only Sidearm that needs to be unlocked before it’ll start appearing in the overworld, but it’s deceptively useful for how humble it looks. While you have the Fishing Rod equipped, sea critter shadows will begin appearing in all bodies of water, and I do mean all bodies of water. Even a random puddle in the middle of the street in Ossex could have a fish in it. Casting your line in and pulling it out can reveal rare fish, which you can kill to get trophies to display in the fishing shop. More importantly, though, you can also fish up generic fish that, when killed, drop useful items like Joule Jars and Plasma Roses. If you’re running on empty out in the field, a lucky catch might just end up saving your proverbial bacon. Plus, fishing is fun!
6 Recall Disc
Get-Out-of-Fight-Free Card
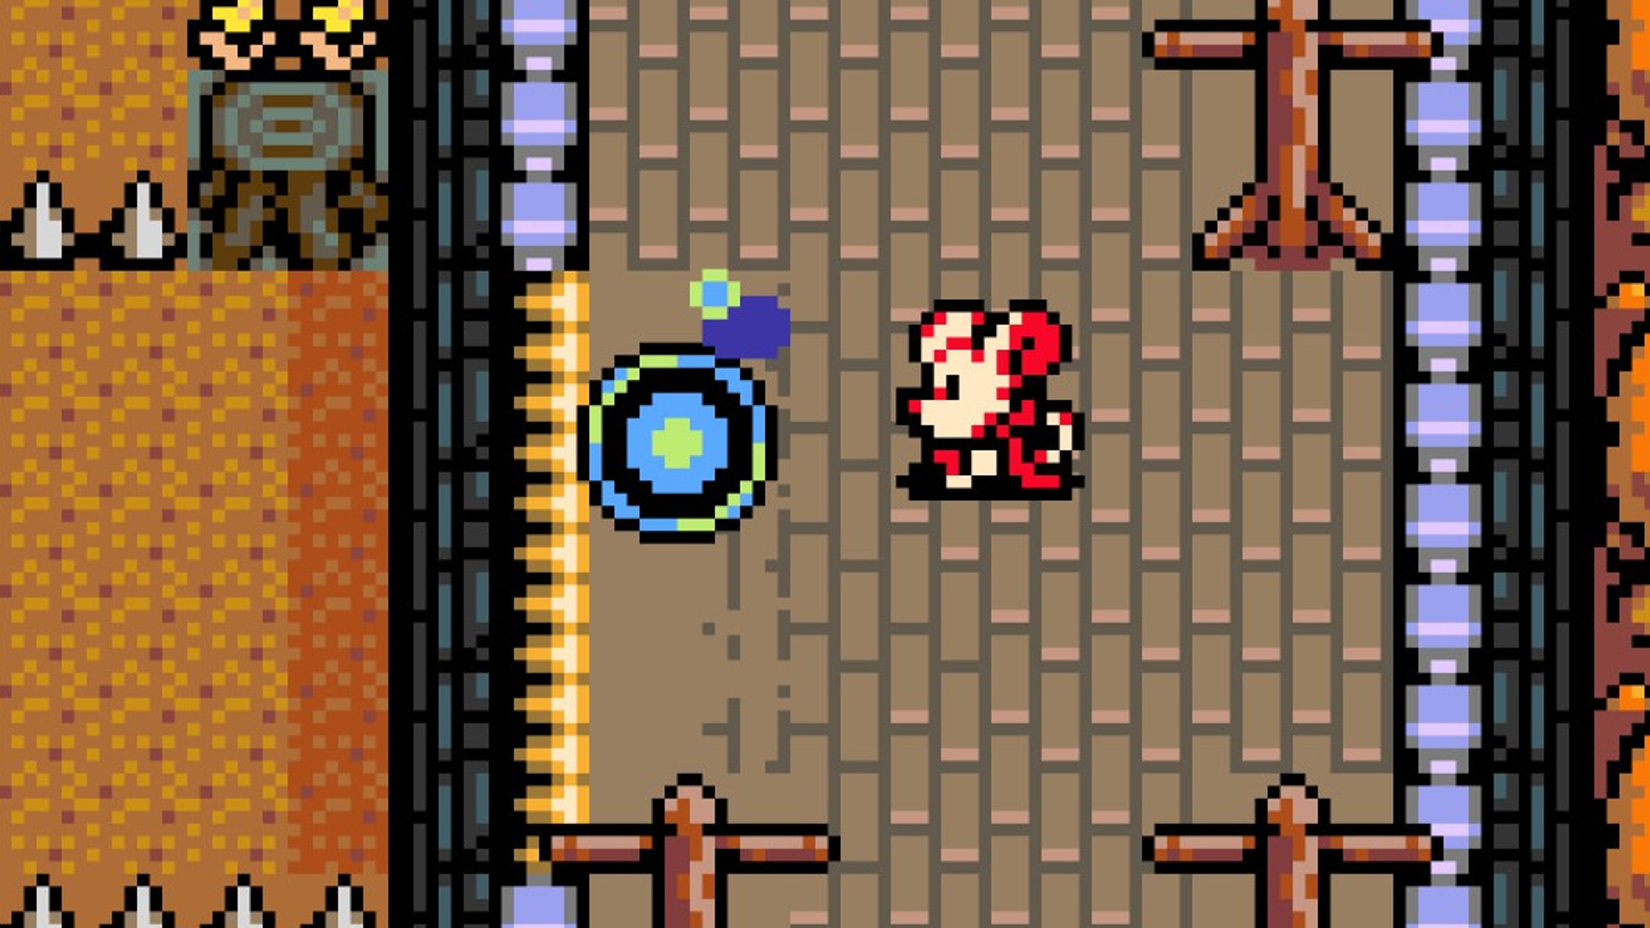
When navigating both large areas and tight corridors, it’s pretty normal to get surrounded by large numbers of enemies. With some aggressive offense and clever burrowing, you should be able to fight your way out, but if a situation gets too cramped, you won’t be able to do much of either. This is where the Recall Disc comes in.
 Related
The first use of a Recall Disc places a portal down right in front of Mina. The next time you use it, Mina will instantly teleport back to the portal you set up, appearing with a powerful explosion. In this way, the Recall Disc is the ultimate instant escape button. So long as you remember to set the portal beforehand, you can always escape from a crowded melee, as well as avoid certain kinds of hazards that only trigger once. The damage from that explosion is nothing to scoff at either; if you’re in a boss arena, you can use the teleport effect to set traps for larger foes, appearing all over the place and dealing damage as you go.
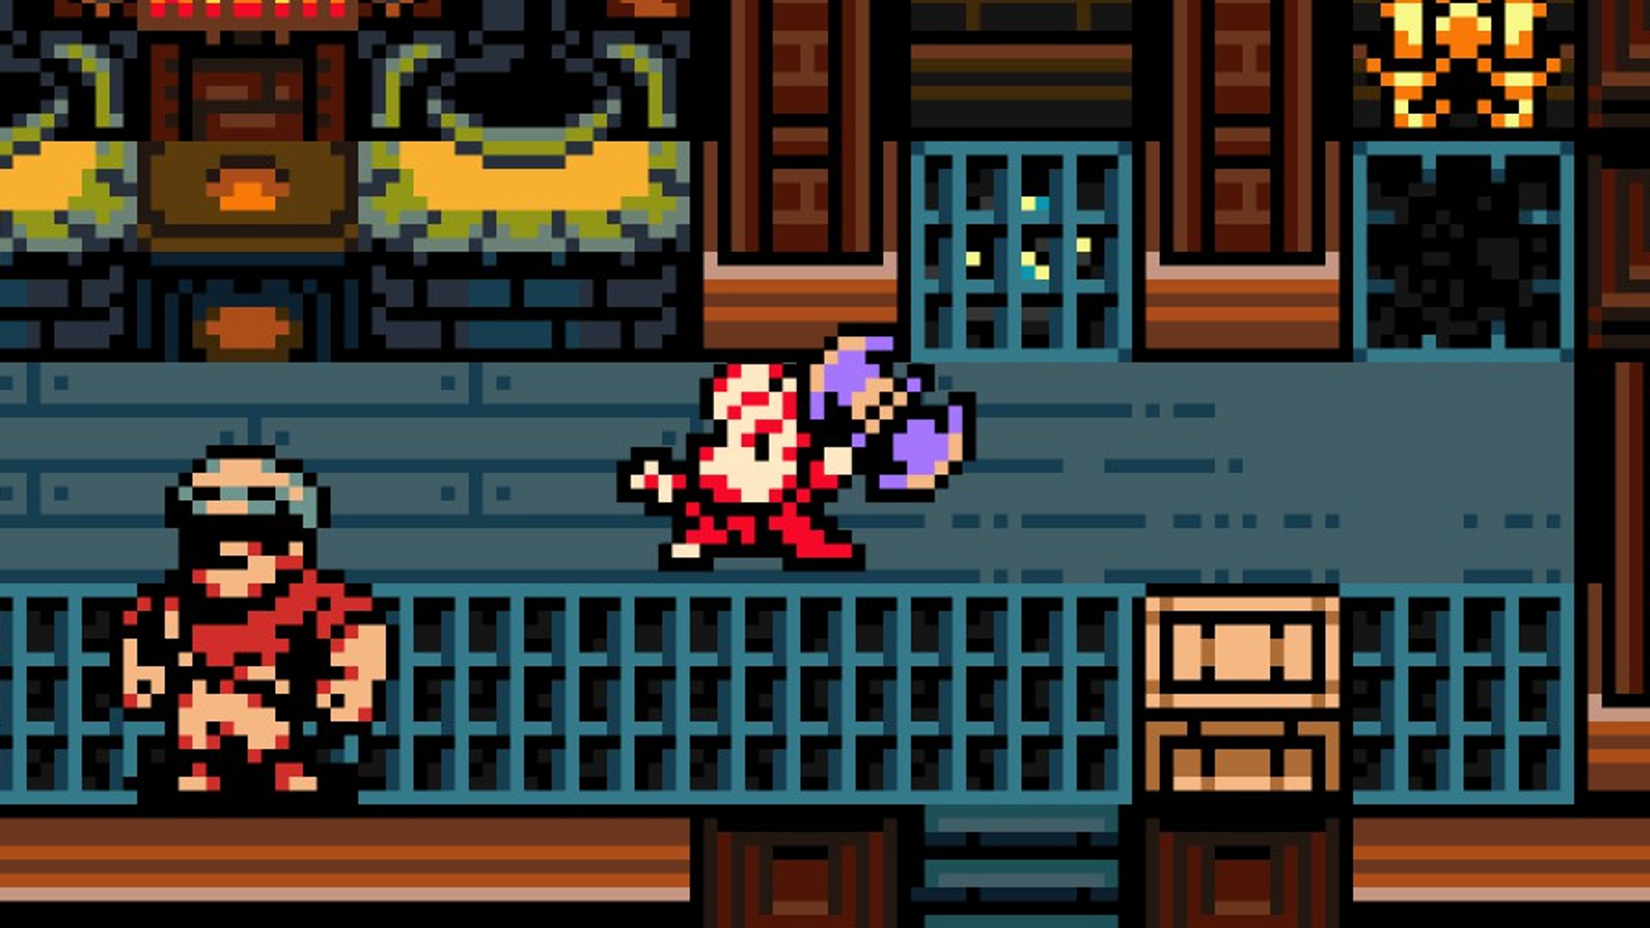
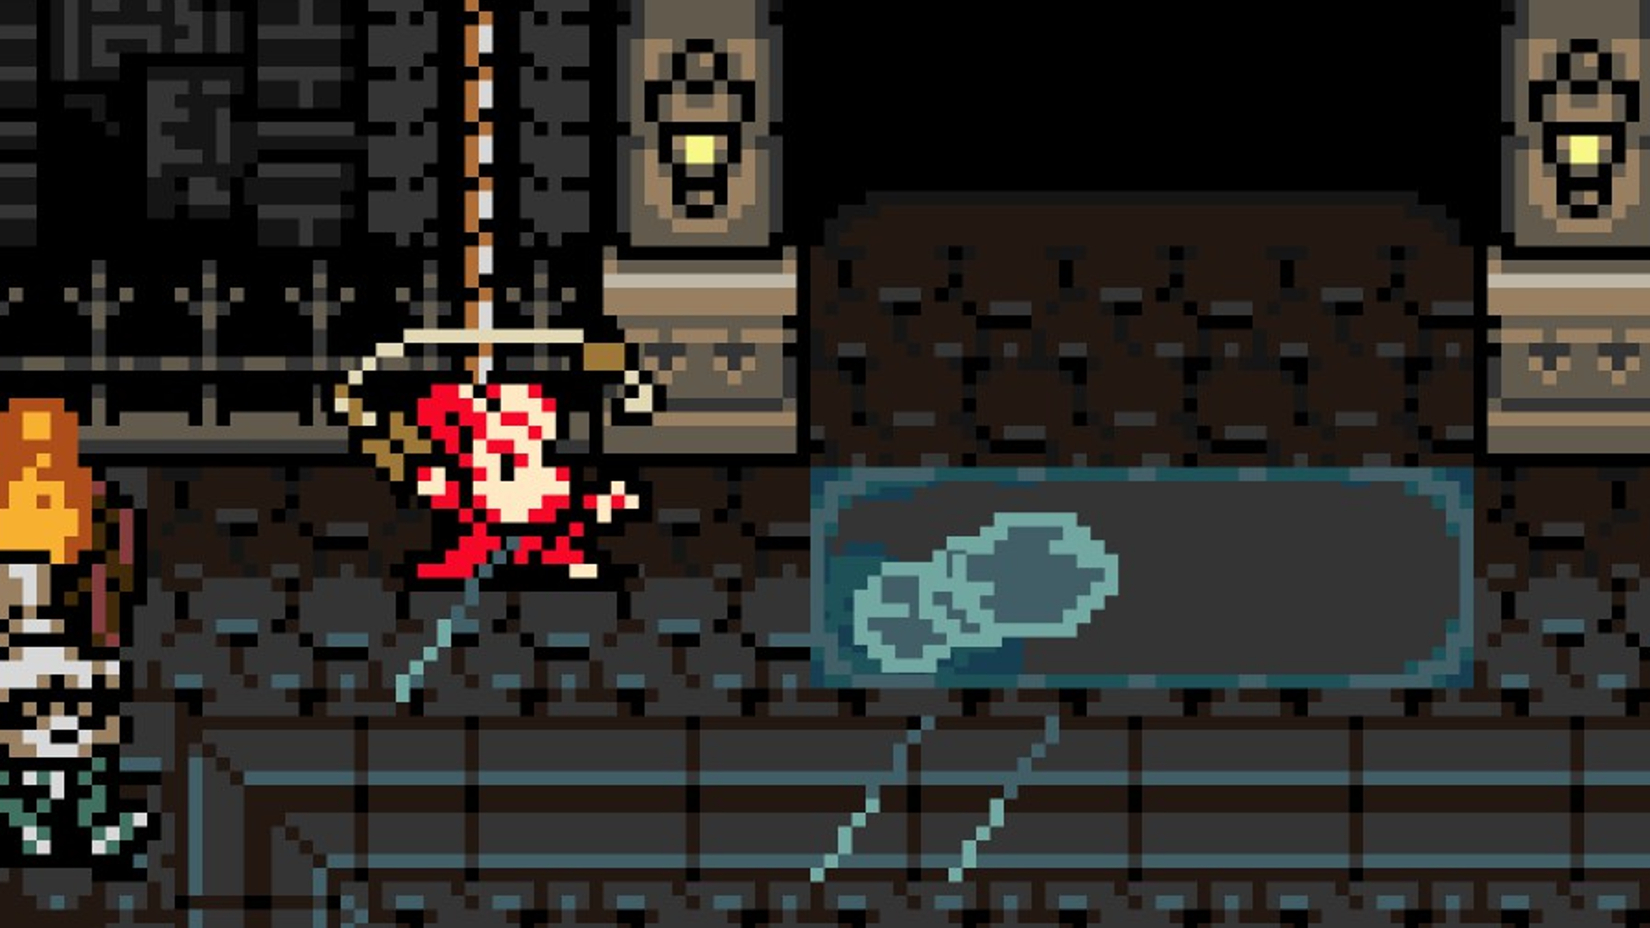
5 Dynamo Lantern
Boss Buster
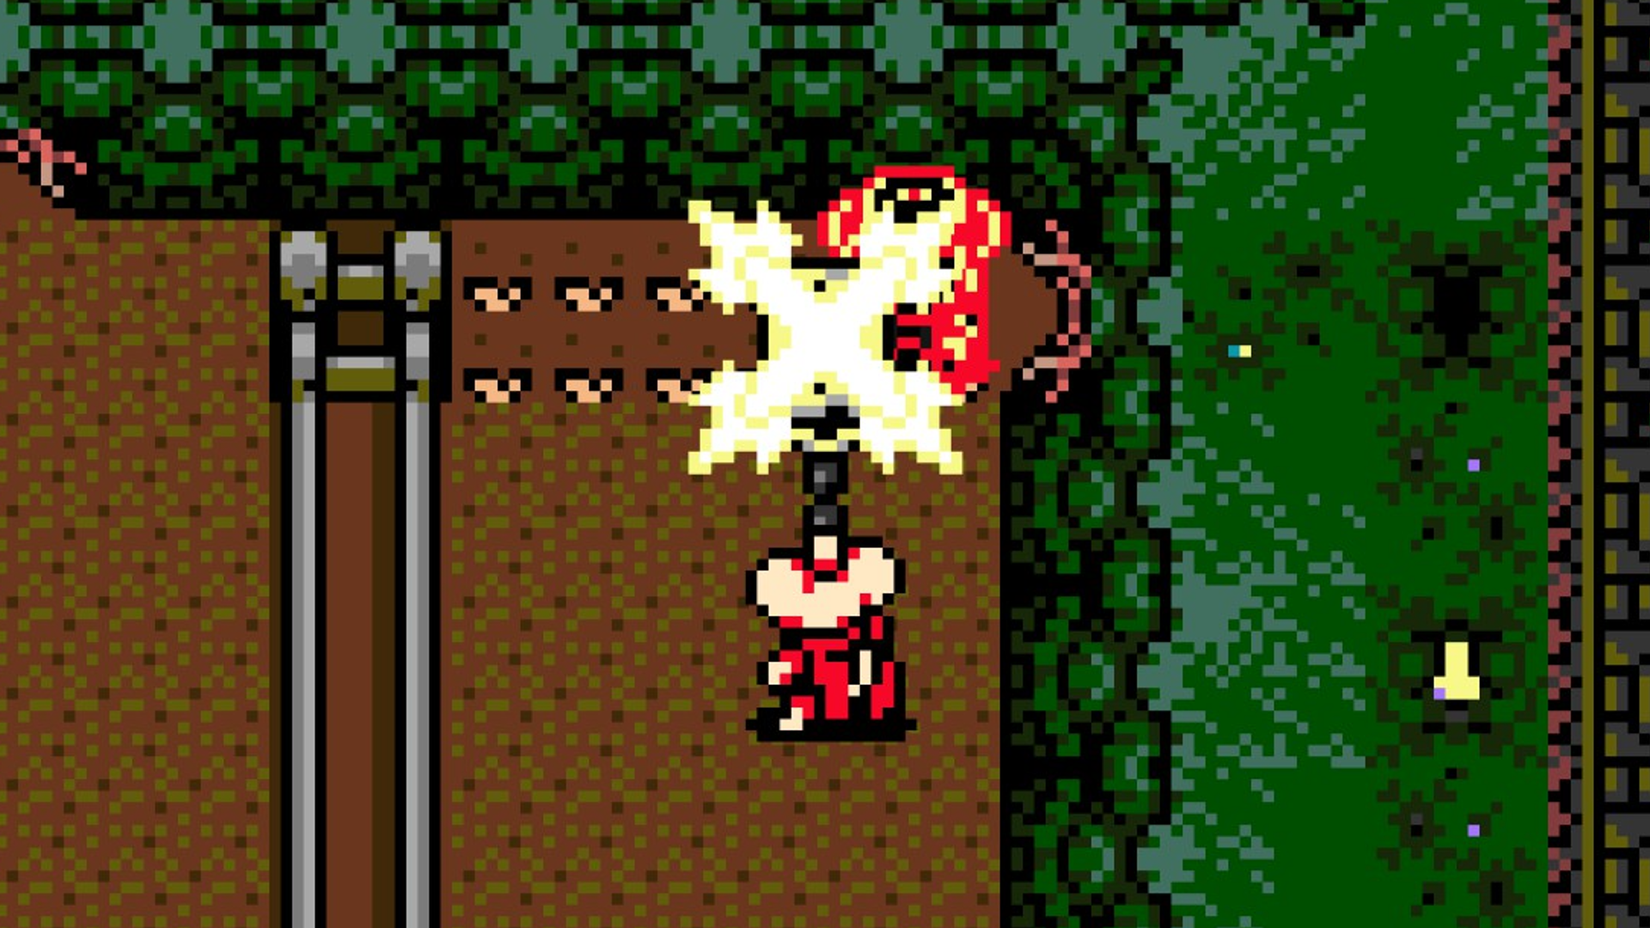
Many of Mina’s Sidearms make for great sub-DPS choices, reliable damage-dealing against enemies and bosses to supplement attacks from your normal weapons. Arguably, one of the best choices for raw firepower is the Dynamo Lantern, which utterly melts anyone unfortunate enough to stand in its path.
When you activate the Dynamo Lantern, Mina will wind up for a moment, then throw the Lantern out on a chain a few tiles ahead of her. Not only does the Lantern itself deal damage, but when it reaches its apex, it delivers several large, powerful bursts of electricity, resulting in wide, consistent damage. Compared to some weapons and Sidearms, its area of effect isn’t quite as big, but everything within that area of effect is going to get the absolute snot zapped out of them. Larger enemies and bosses are particularly vulnerable to the Dynamo Lantern, as it’s much harder for them to escape its cone of influence. Just remember to plan around that initial windup.
4 Deflector Parasol
Talk to the Brella
Many enemies utilize a combination of physical and projectile attacks, and while burrowing will allow you to dodge a lot of them, there are some hits you can’t help but tank. The Guardian Casket weapon can stop a few hits, but if you want a little extra defense, pop open the Deflector Parasol. It's not quite as much of a weapon as the ones in games like Where Winds Meet, but it makes up for it elsewhere.
The Deflector Parasol can be deployed in two ways: if you just press the Sidearm button, Mina will throw a Parasol out right in front of her. Not only does this do instant contact damage to any enemy it hits, but it can also stop projectiles and reflect damage from physical attacks. It’s a multipurpose defense mechanism, great for both blocking rains of bullets and stopping charge-happy foes. If you press and hold the Sidearm button, Mina will pull out a Parasol and hold it above her, same as any holdable object. While holding a Parasol, if you press and hold the Jump button, Mina will jump and fall slowly back to the ground, which you can use to clear long gaps. You can press the Sidearm button again to chuck the Parasol when you’re done with it. It’s a highly versatile Sidearm with a multitude of uses and applications.
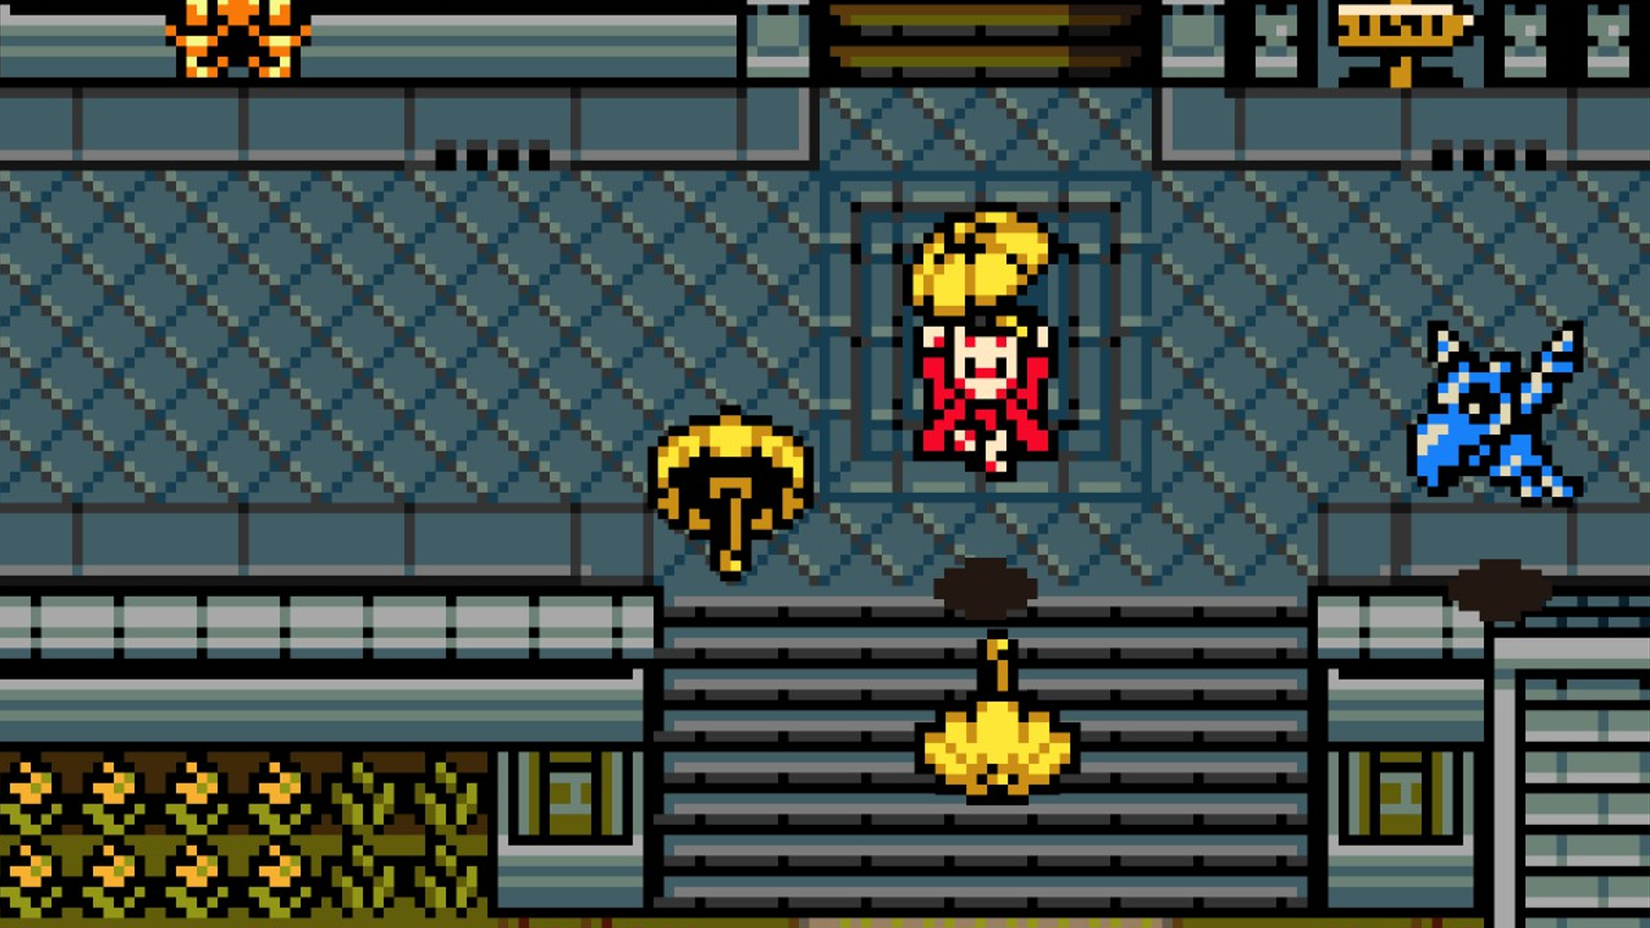
3 Iron Steed
Ring that Bell
I’d bet that a statistically-significant number of people have had the following thought at least once in their lives: “what if we did jousting on bicycles?” It’s a silly, extremely unsafe idea in real life, but for Mina? It’s the Iron Steed, a convenient means of transport and corralling enemies.
When the Iron Steed is activated, Mina hops aboard and begins rapidly pedaling in whatever direction she’s facing. Riding the Iron Steed is far faster than Mina while walking or burrowing, and you can even jump while mounted in order to clear particularly long gaps. If you run into an enemy while pedaling, you’ll damage them, though you’ll also fall off. Rather than as a weapon itself, the Iron Steed is handy for corralling foes into a single spot. With a separate button press, you can ring the little bell, which agitates enemies and draws them toward you. You can use this to get foes where you want them, or draw them out of your path and then quickly bike past them.
2 Beckoning Collar
Your Personal Flyswatter
Out of all the regular enemies you encounter throughout the game, the flying ones are some of the most irritating. They’ll hover outside the range of your regular weapons, forcing you to jump up to their elevation and potentially leave yourself open, assuming you’re not too busy trying to platform around. If you want buzzing foes out of your hair, just leave it to the handy Beckoning Collar.
The Beckoning Collar summons forth a friendly little imp, which will casually orbit around Mina. When enemies are nearby, the imp will automatically launch out and take a bite out of them. Even if said enemies are out of Mina’s normal range, the imp can always reach them, making it invaluable for fending off flying critters while you’re focusing on jumping around. The imp will passively drain Joules while summoned, disappearing in an explosion when you run out, though you can also detonate it at any time to conserve energy. The constant damage it deals while summoned, combined with that detonation, also makes the Beckoning Collar a solid choice for bosses and minibosses.
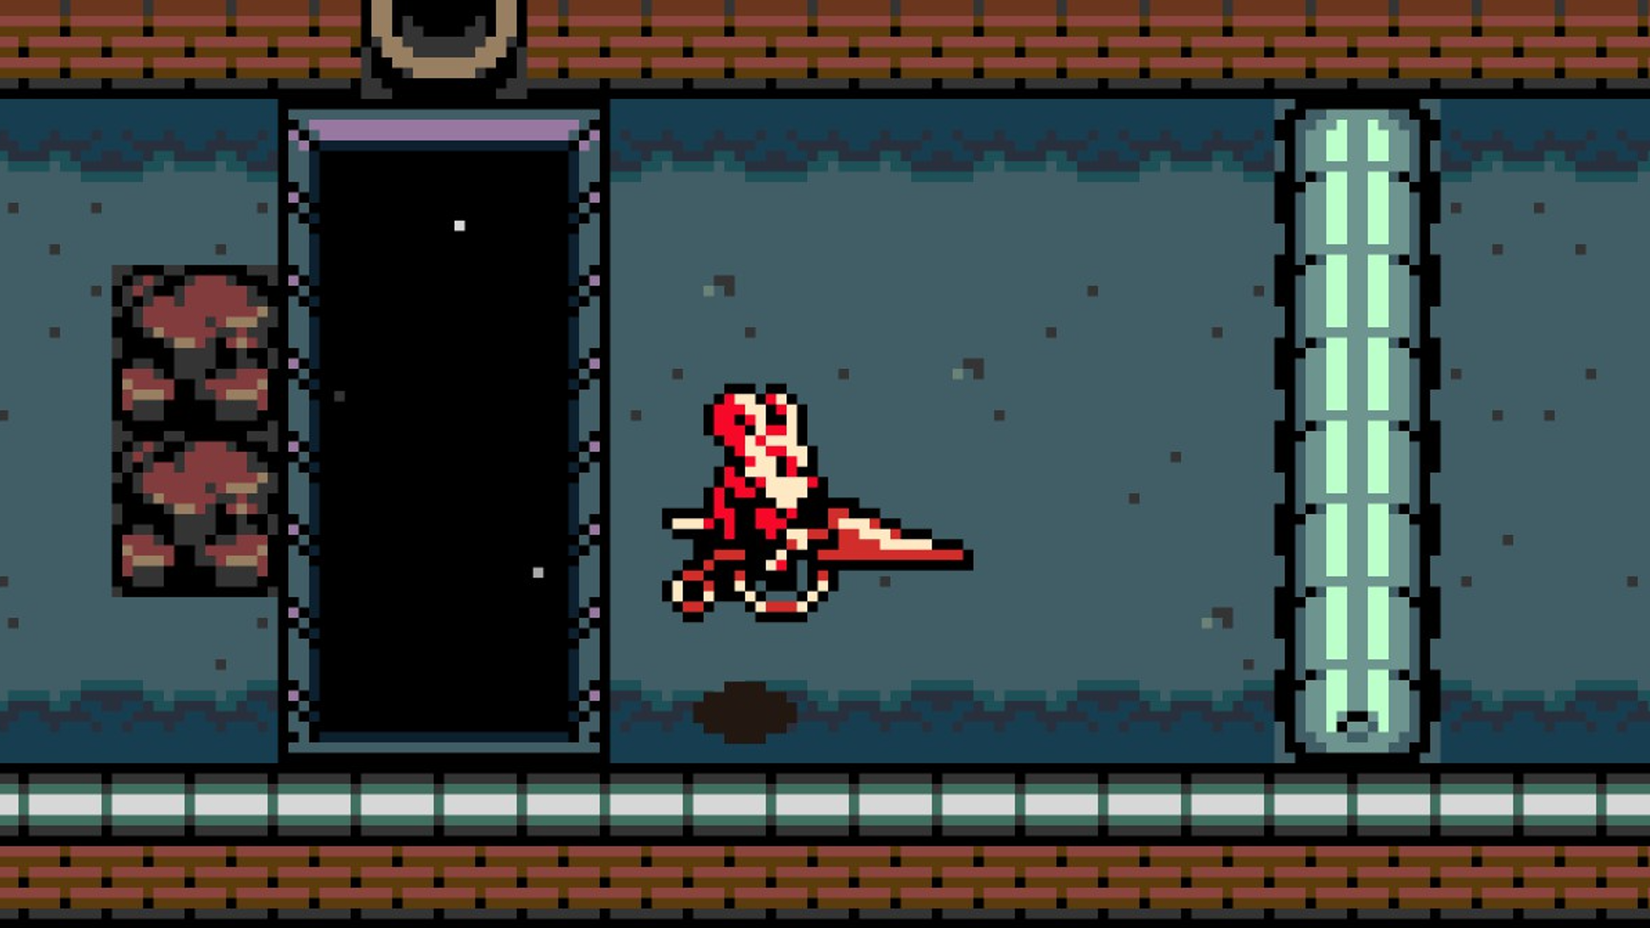
1 Mist Jar
Just Passing Through
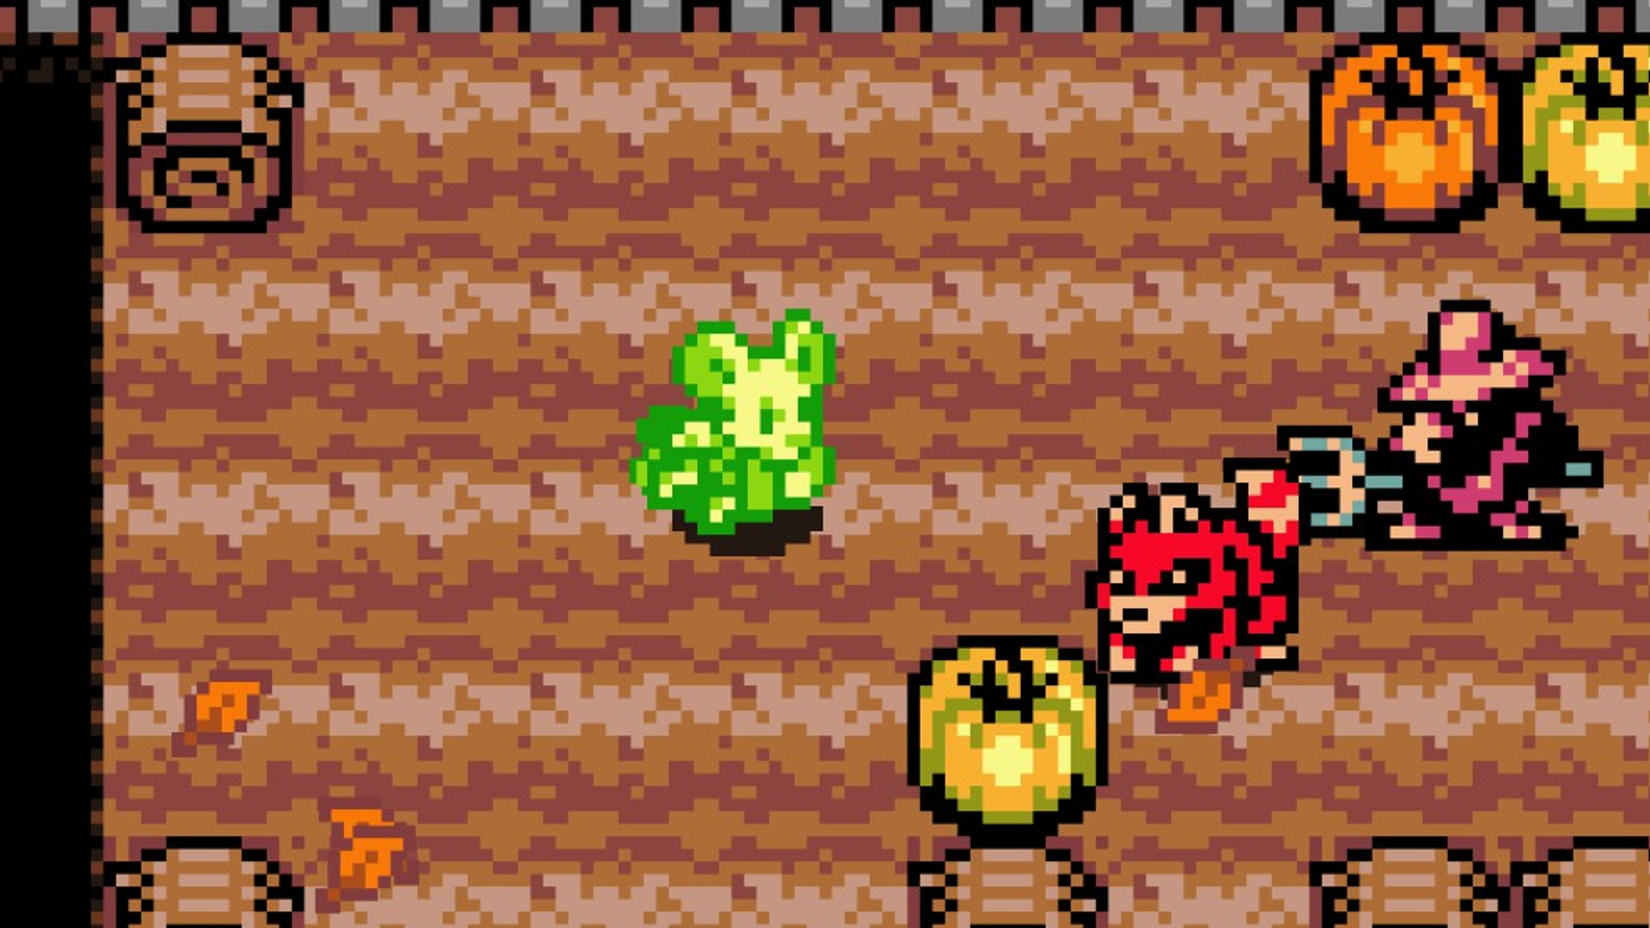
In Mina the Hollower, your only consistent source of healing is your Plasma Vials, which can only be used if you’ve built up some Plasma first by attacking enemies or picking up Plasma Roses. If you have no Plasma or are out of vials, you’re officially in hot water, but you might just be able to stay alive if you’ve got the Mist Jar in your corner.
The Mist Jar is, without question, the most consistently useful Sidearm in the game. When activated, Mina will flash green and rush forward a long distance, either on the ground or in the air. This has the obvious benefit of surmounting lengthy gaps and clearing long jumps that Mina can’t handle on her own. However, that’s secondary to the Mist Jar’s big benefit: if you pass through an enemy while dashing, not only do you take no damage, but you’ll recover a small modicum of health and build up some Plasma. While this doesn’t damage the enemy, it is the only other means of restoring your health besides Plasma Vials and certain Trinket effects. It's certainly easier to heal with than the heal spells in Elden Ring.


![ELDEN RING NIGHTREIGN: Deluxe Edition [FitGirl Repack]](https://i5.imageban.ru/out/2025/05/30/c2e3dcd3fc13fa43f3e4306eeea33a6f.jpg)
 English (US) ·