.png)
.png) 1 month ago
44
1 month ago
44


Published Jun 3, 2026, 2:03 PM EDT
Daniel Trock is a Contributor at DualShockers specializing in PC games, lists, and reviews. He has been writing professionally since 2018 and covering games since 2020, with previous work spanning guides, news, lists, and reviews across multiple publications.
Before joining DualShockers, Daniel contributed guides to GamerJournalist and lists to TheGamer. He currently covers tech topics for SlashGear and BGR. He holds a Bachelor’s Degree in Psychology from Marist College and a Master of Fine Arts in Creative and Professional Writing from Western Connecticut State University.
Sign in to your DualShockers account
Besides leveling up your three primary skills and equipping new weapons, the major element of Mina the Hollower that gives form to your playstyle is your chosen Trinkets. Trinkets can be found and purchased all over Tenebrous Isle, with each one bestowing some manner of beneficial effect when equipped in the Underlab. You can only equip one at first, but by obtaining more Trinket Bags, you can equip more of them, and with the right combination of Trinkets, you can turn baseline game mechanics completely on their head.
 Related
Mina the Hollower: 10 Best Modifiers to Make the Game Easier
If you're having some trouble getting into Mina's adventure, you can make things a little easier.
There are a total of 60 different Trinkets to collect throughout the game, and odds are good you won’t find all of them before beating the final boss. With that in mind, if you’re looking for generally useful Trinkets that can find a place in most builds, these are the ones we would recommend, as well as where you can find them.
10 Stolenoid
Magnets Make Everything Better
Purchased from Belvedere in Queensbury Crypt: Statue Head Hall for 600 bones.
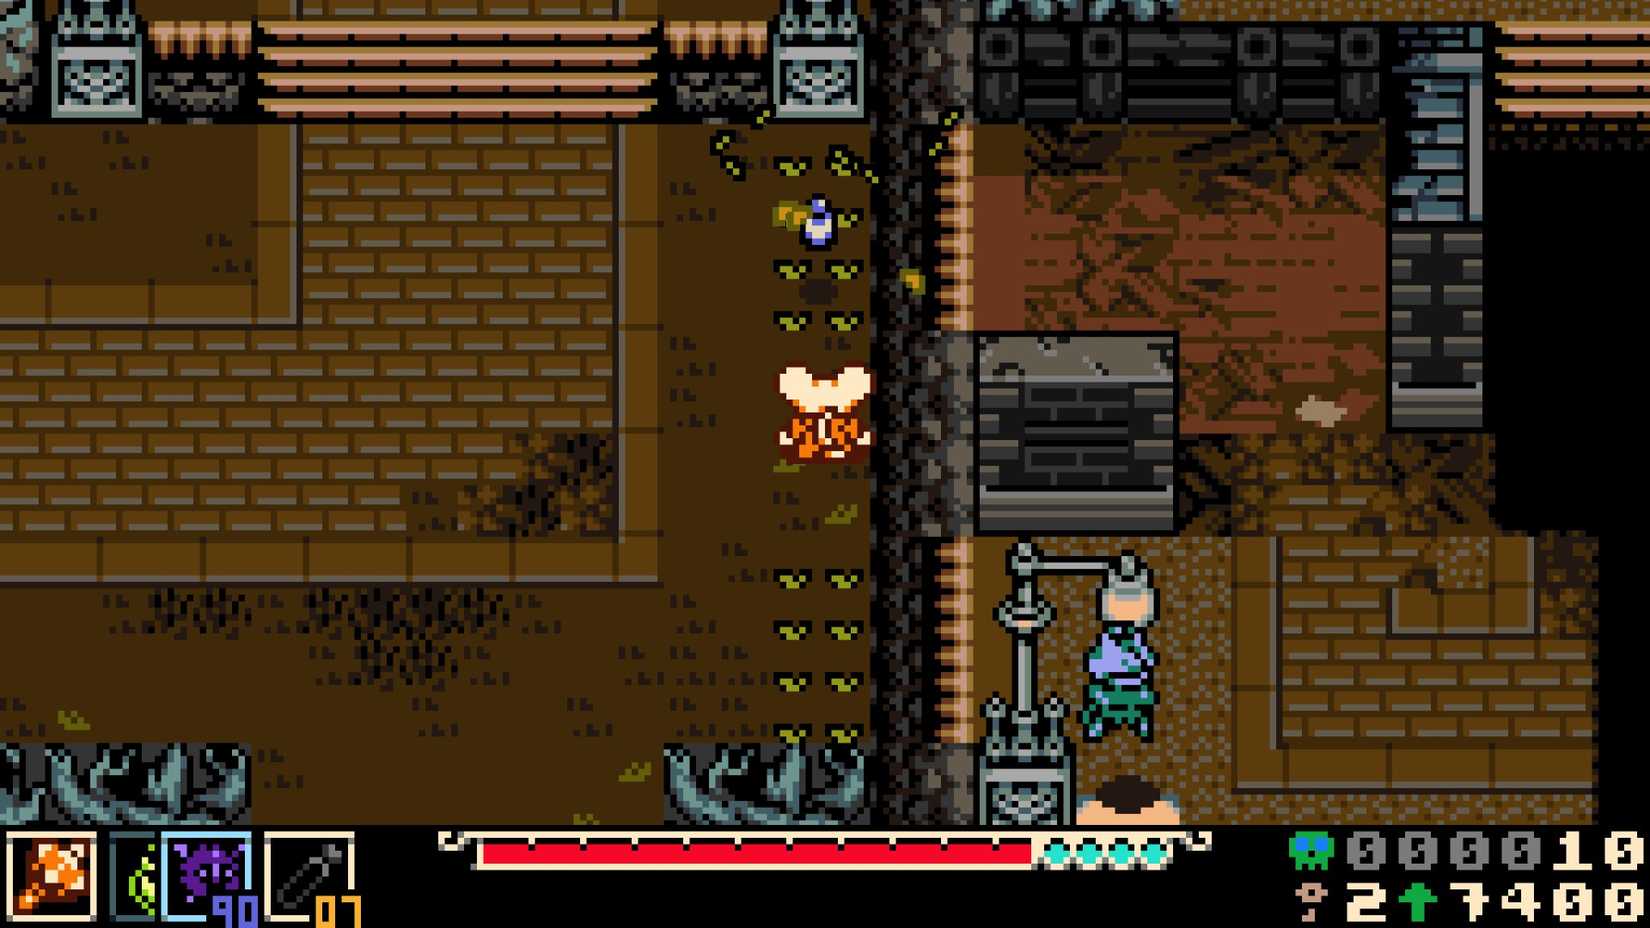
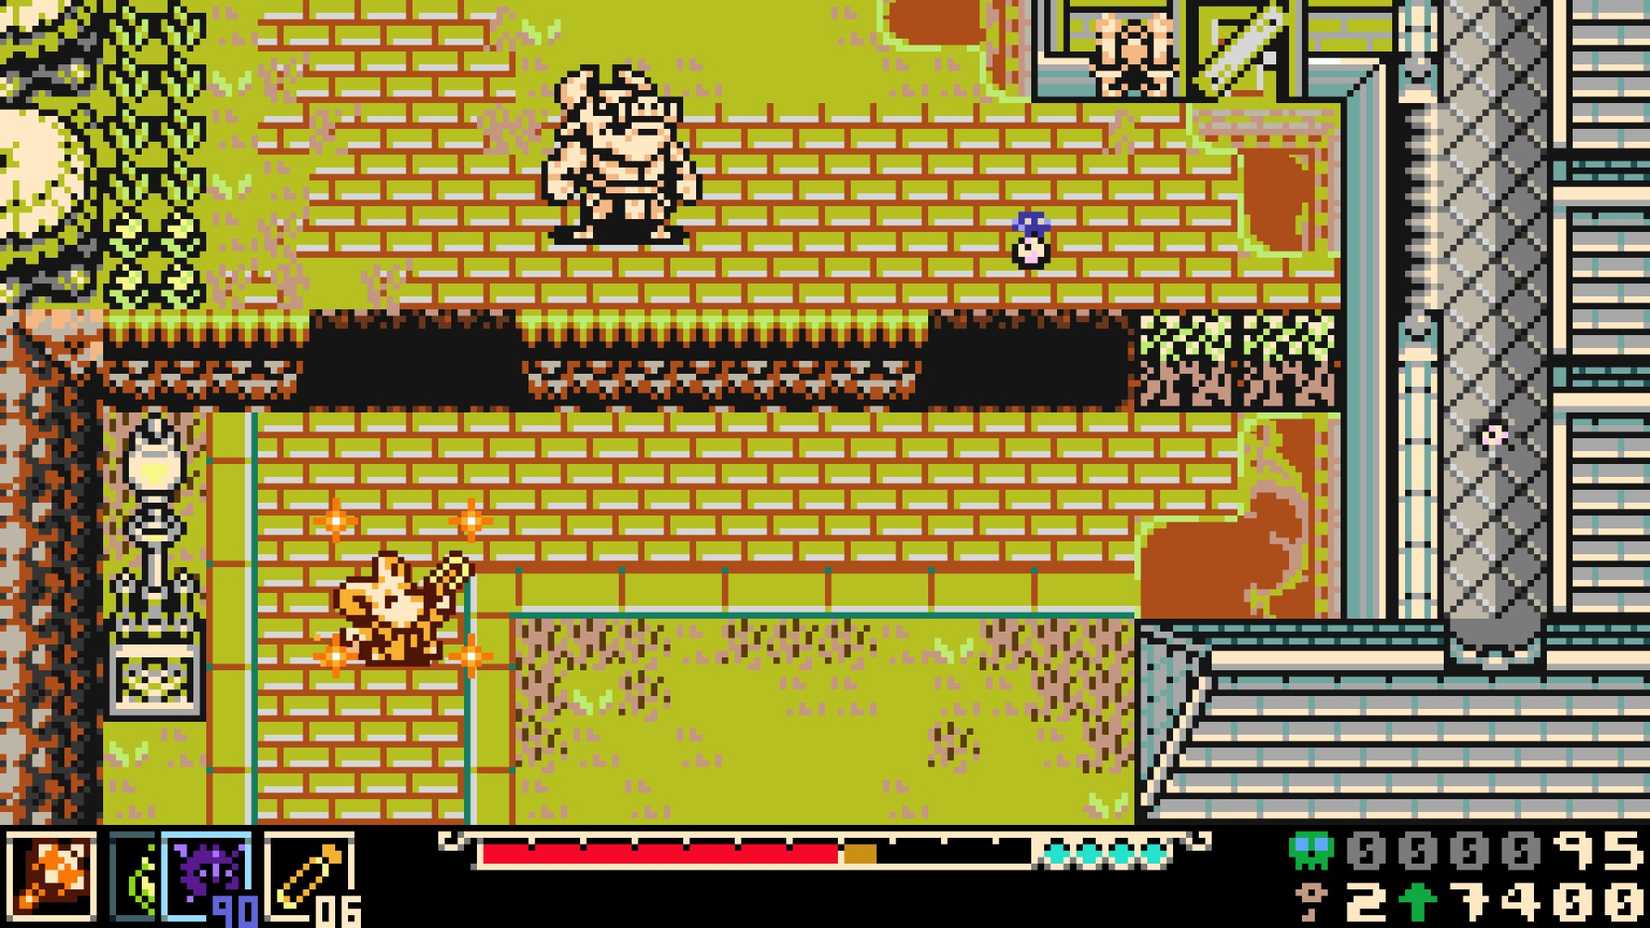
Adventuring around in Mina the Hollower means regularly finding all kinds of neat junk on the ground, including bones, Joule jars, Plasma Roses, and other assorted miscellany. It can be kind of annoying to manually walk over every single pickup to grab it, especially if you’re in the midst of a massive punch-up with enemies closing in from all sides. To free up your pockets a bit and focus on your work, equip the Stolenoid Trinket.
With the Stolenoid equipped, all pickup items you pass by will be magnetically drawn toward you, allowing you to grab them easily without having to physically walk over to them. It’s a very simple effect, but while you’re traversing the game’s many platforming and exploration segments, you’ll be glad you had it to pick up bones and Joules for you so you can focus on not falling down pits or getting your face eaten by gremlins.
9 Deboning Wand
Build Up Bones
Obtained from Elizabeth in the Radiant Manor Courtyard, one screen to the right. Get a bone loan from her, then pay her back 1,000 bones.
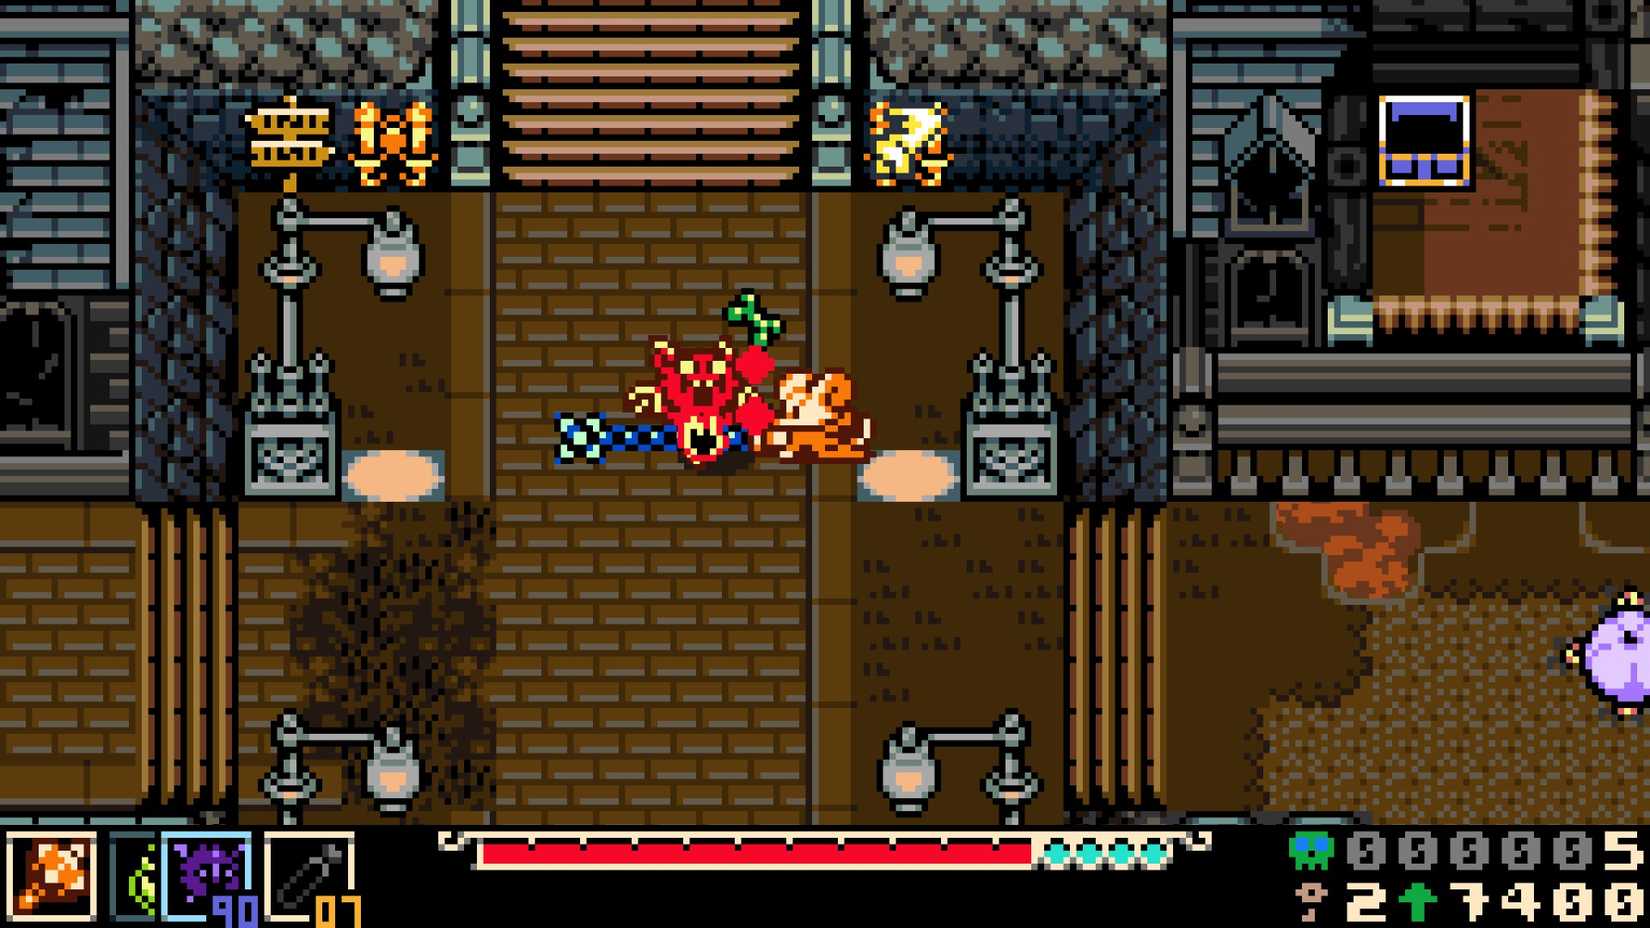
On Tenebrous Isle, bones make the world go ‘round; they’re necessary for upgrading your skills via Boning Up, and serve as your currency for buying items and upgrades, not to mention unlocking vital services like the train line or greasing the occasional palm. Naturally, you can never have too many bones, so if you’re looking to fatten up your coffers a bit, you’ll want to have the Deboning Wand Trinket handy.
While the Deboning Wand is equipped, all enemies will drop larger quantities of bones when defeated. More bones from enemies means faster leveling, more Bonestone, and more purchasing power for character and weapon upgrades. The only catch is that, while the Deboning Wand is equipped, any bones dropped by enemies will bounce wildly around on the ground. This can make them harder to gather, but if you’ve got Stolenoid equipped, they’ll be drawn to you as usual, so it’s a non-issue.
8 Iron Lung
Take a Deep Breath

Obtained from defeating the Mock Moon in Nox’s Bayou: Moonlit Path.
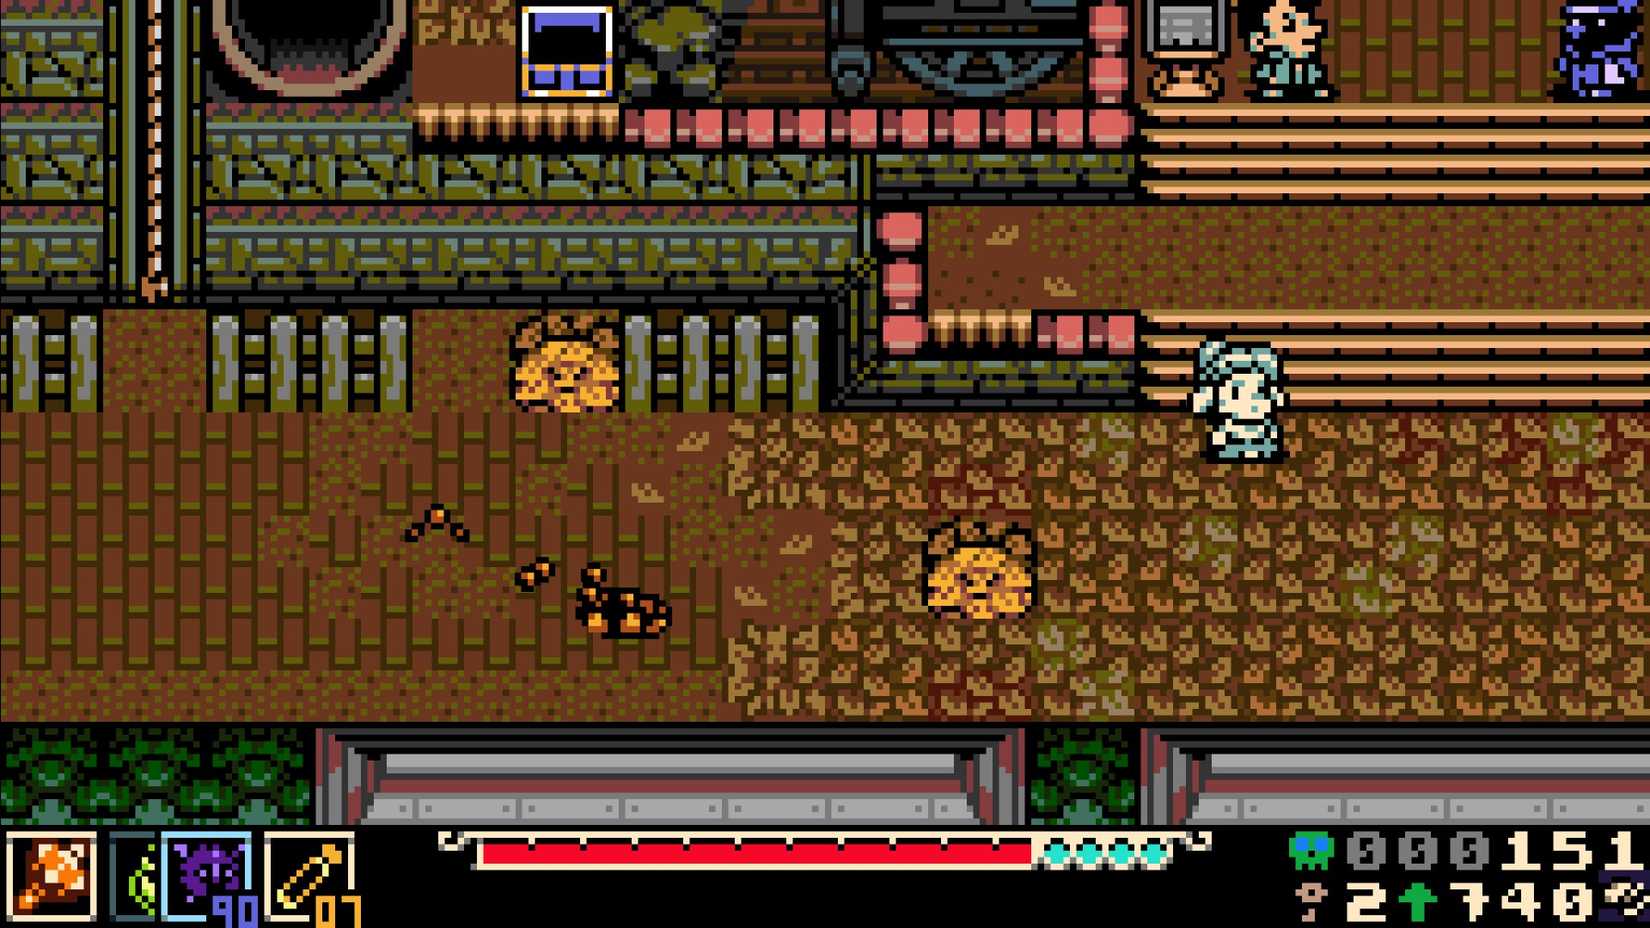
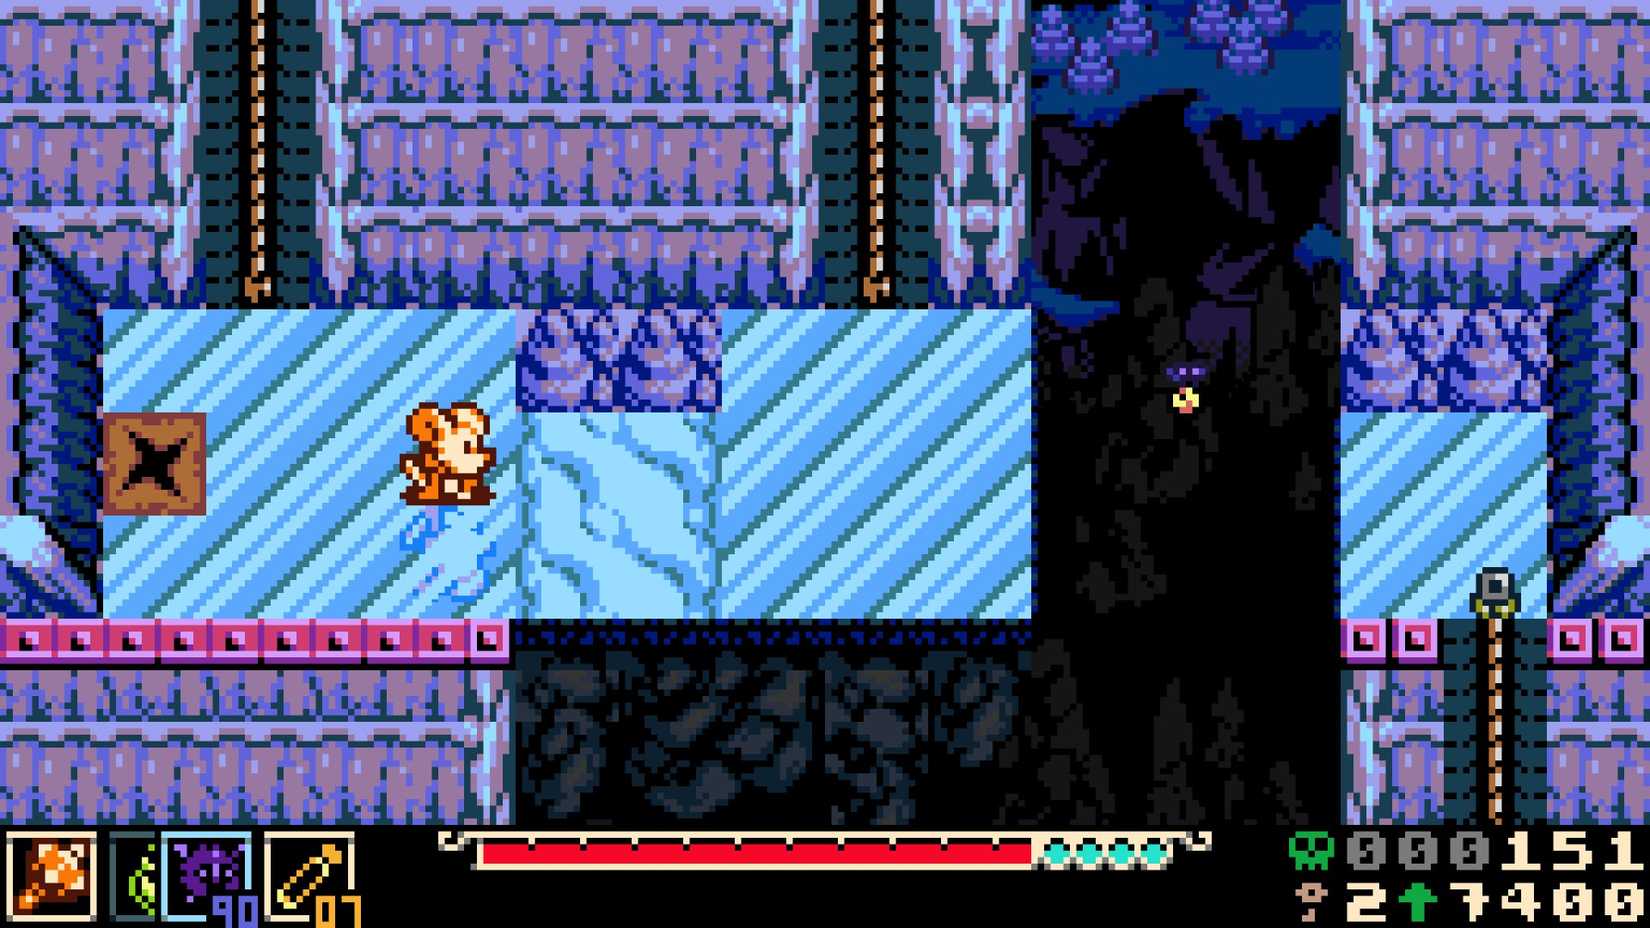
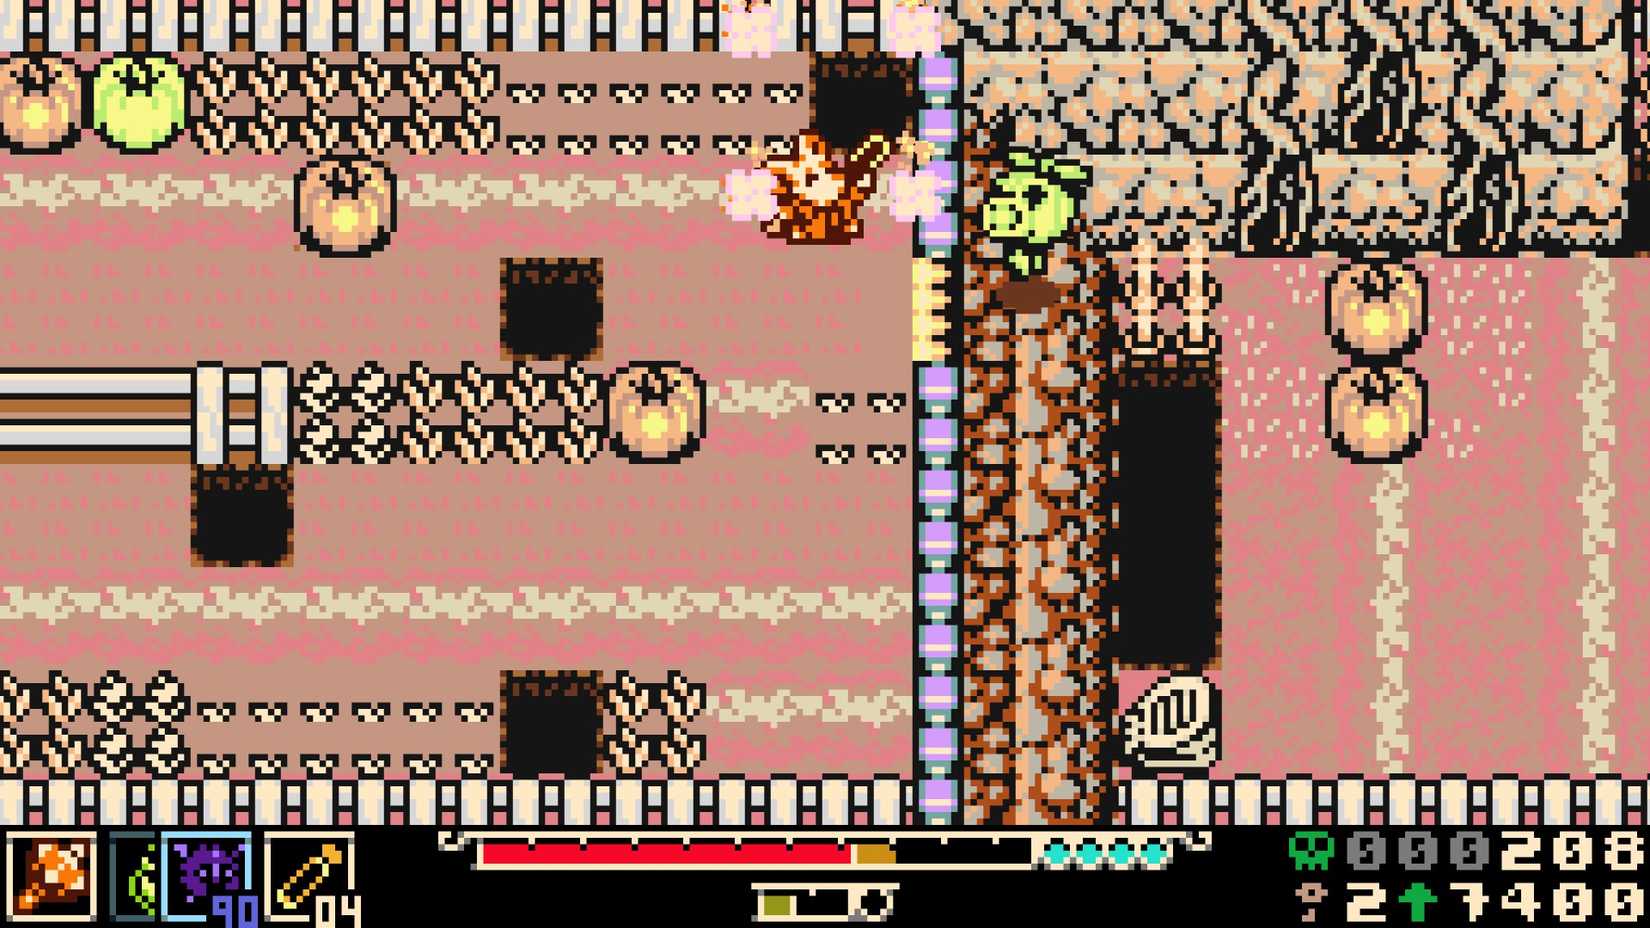
Skilled burrower though she might be, Mina can’t exactly breathe while submerged in dirt. This is why, when using her burrow ability, she can only stay submerged for a couple of seconds before needing to pop back up. If you’re proactive enough about it, this is just enough time to avoid most sources of danger, but if you need to make a more thorough escape, take a deep breath and equip the Iron Lung.
The Iron Lung increases the amount of time Mina can stay submerged while burrowing by several seconds. Getting a couple of extra seconds on the clock while burrowing makes it a lot easier to tunnel out of harm’s way during a boss fight, not to mention dodge under hazards and into holes in the wall without having to expose yourself to danger. The Iron Lung also increases the amount of time Mina can burrow through deep water, which makes traversing wetland areas like Nox’s Bayou much easier than usual.
7 Tunneling Codex
From One Burrow to Another
Obtained by scoring 5,000 points in the Ring Dive Parlor minigame in Sandfalls: Shifted Sands.
Speaking of burrowing, a little quirk of Mina’s burrowing ability is that she needs to perform a normal jump before she can dive into the ground. This means that you can’t chain one burrow into another, which adds a mildly annoying extra layer of reflex for quick traversal or fast dodging. If you’d rather spend more time below ground than above it, seek out the wisdom of the Tunneling Codex Trinket.
While you have the Tunneling Codex equipped, Mina can chain her burrows together instead of needing to jump before every one. You just have to hold down the jump button, and when Mina pops out of the ground, she’ll dive right back into it instead of landing normally. This makes you an unstoppable force of dodging and traversal power on its own, but when paired with the Iron Lung, you’ll be able to stay underground almost constantly, only popping out to deal damage to foes before diving back down. Just remember that some attacks can’t be dodged by burrowing.
6 Steady Soles
Obtained in Ossex City Center. Burrow into the attic located left from the balcony with the telescope on the east side of town, then take the left-side stairs onto another balcony to find the chest.
Several areas in Mina the Hollower have unusual terrain conditions, from the watery surfaces of Nox’s Bayou to the icy cliffs of Coltrane Peak. All of these terrains generally hamper your ground movement, making Mina move slower or slip around. It’s annoying enough in general, and it only gets worse when you’re slipping into pits or can’t manage to escape from encroaching foes. To make all of your platforming a little less irritating, throw on some Steady Soles.
 Related
Mina the Hollower: All Kear Locations
A complete guide to find all 50 Kears.
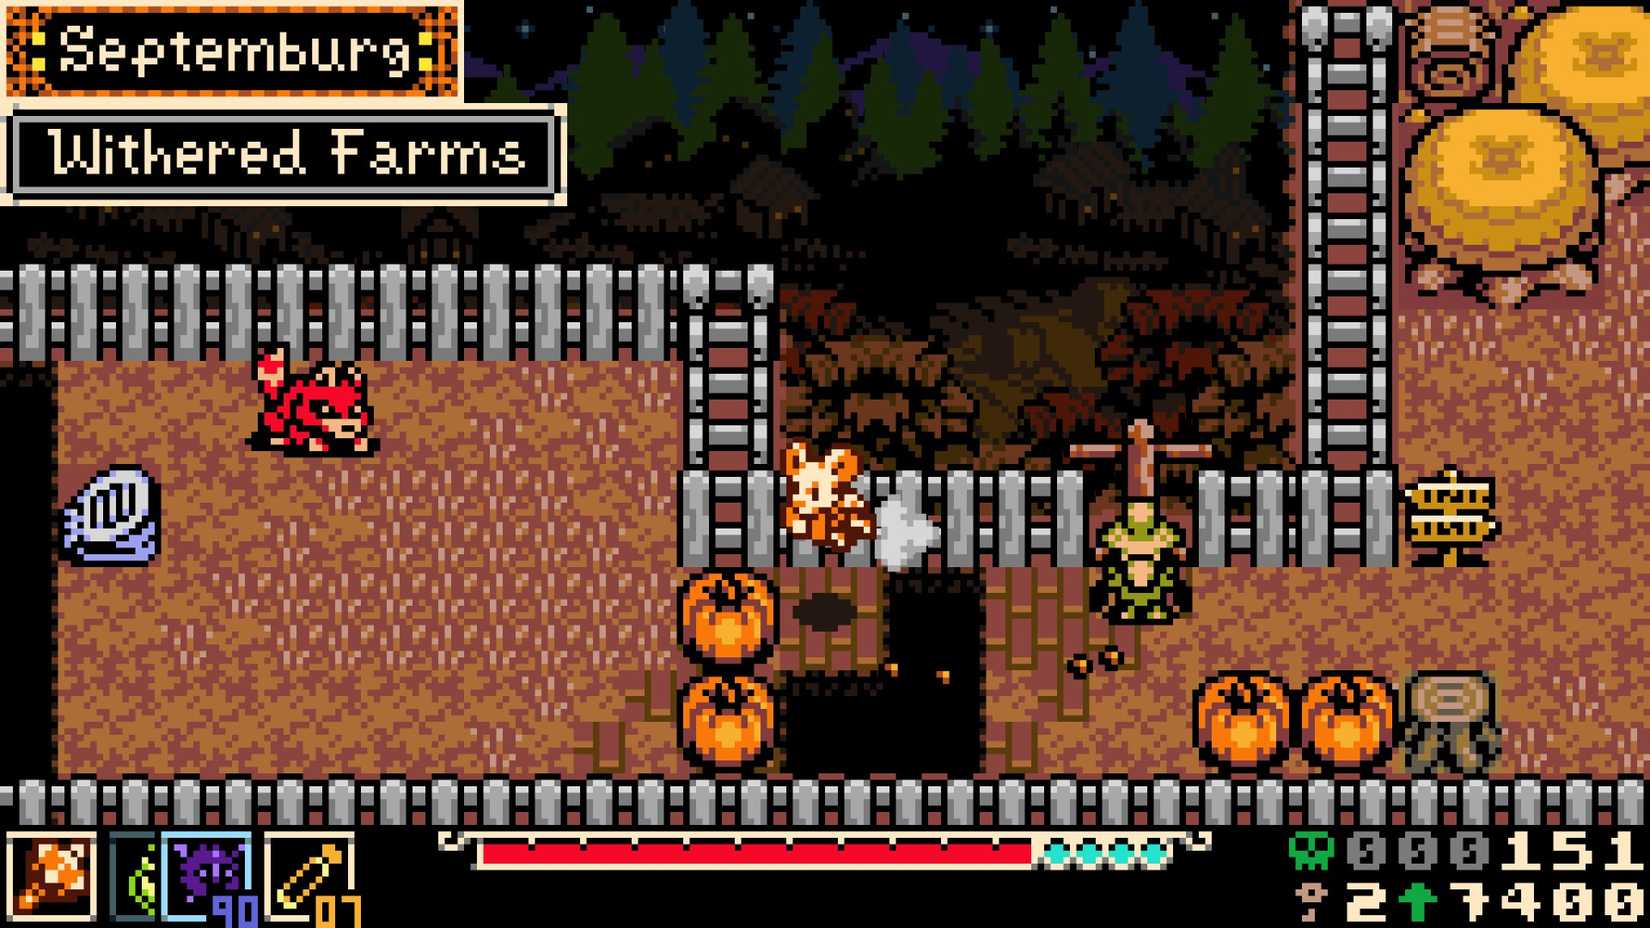
The Steady Soles Trinket normalizes Mina’s movement on all terrain types, eliminating movement modifiers on water, grass, ice, and even stairs to preserve her normal walking speed. This is an absolute gift on Coltrane Peak in particular, which is covered in icy surfaces bordering bottomless pits. Speaking of which, while you have the Steady Soles equipped, Mina also becomes more resistant to knockback effects, reducing the likelihood of getting knocked into hazards and pits by enemy attacks.
5 Bellows Bustle
Everyone Loves an Air Dash
Obtained by beating all of Blaise’s races, first in Ossex and Western Wilds, then in Sandfalls: Sandy Station.
While Mina is an unstoppable force of movement on the ground, when it comes to air game, she’s not quite as proficient. That’s a bit annoying when you’re dealing with flying enemies, platforming, or more often than not, both simultaneously. To give Mina a little extra leg up while leaping through the air, equip the Bellows Bustle Trinket.
The Bellows Bustle allows Mina to perform an air dodge maneuver by pressing the jump button again while airborne. This air dodge will propel Mina forward in whatever direction she’s currently facing, perfect for regular traversal, fine-tuning positioning for precision platforming, and of course, just quickly getting out of the way when a huge dude is barreling toward you with a pointy object in hand. It’s also great for getting a little extra oomph out of your burrowing jumps, ensuring you can cross those particularly long gaps that might otherwise catch you on the ledge.
4 Keri the Wisp
Floatin’ On By
Purchased from Poppit’s cave shop in the Southern Outskirts near Bone Beach Trail for 500 bones.
Speaking of air game, since the skies aren’t exactly Mina’s home turf, she doesn’t get a lot of airborne movement. You can put a little English on her jumps, but she’ll fall back down pretty quickly, often right into a pit. To get some extra hangtime while moving in the air, we call upon our good friend Keri the Wisp, courtesy of one of Poppit's creepy stores.
While you have Keri the Wisp equipped, you can call her up by pressing and holding the jump button while midair. Keri will appear instantly and grab Mina by the head, significantly slowing her descent back down to the ground. While Keri’s holding you, you maintain full control in the air. Not only can you jump much further than usual with Keri’s help, helping you to clear longer gaps, but having that extra bit of aerial control helps you to solidify your positioning while platforming, reducing the chances of under- or over-shooting your jumps.
3 Plasma Funnel
Chug It Down
Purchased at the Trinket Bazaar in Ossex for 700 bones.
Plasma Vials may be Mina’s primary means of recovering lost health, but she really seems to take her time with drinking the darn things. Not only that, but if an enemy attacks you while you attempt to heal, not only will the heal be interrupted, but you’ll lose the vial you were using. To solve both of these problems, you want the Plasma Funnel.
With the Plasma Funnel Trinket equipped, the time Mina takes to chug a Plasma Vial is cut down dramatically, completely skipping the first part of the animation where she takes the vial out and jumping to the part where she drinks it. It’s an exponentially quicker heal than usual, and if it still gets interrupted by an enemy, you won’t lose the vial. If you’re finding it difficult to get safe heals during intense combat sections, the Plasma Funnel will make it much easier to get in a heal and get back to action, an excellent all-purpose Trinket.
2 Vial Salvo
Good for You, Bad for Them
Purchased from Tubert in Astral Orrery: Stellarium for 2,000 bones. Can also be purchased from Panino’s in Ossex Station Underside for 2,500 bones.
Taking a swig from one of your Plasma Vials is typically a purely defensive action, something you need to take a break from fighting enemies in order to perform. It’s the nature of the beast, unfortunately, but what if you could restore your health while still maintaining an offensive against whatever you’re currently fighting? It’s possible, and all you need is the Vial Salvo Trinket.
With Vial Salvo equipped, whenever you restore your health with a Plasma Vial, you’ll also launch a handful of homing missiles toward your nearest enemy target. Not only do these homing missiles deal extra damage to whatever they hit, but if they successfully make contact with their target, Mina will also receive some extra Plasma in her health meter. If you’re forced to perform a partial heal in the middle of a nasty fight, the missiles from Vial Salvo will both deal damage to your enemies in kind and give you a head start toward recovering the rest of your health for your next heal.
1 Proto Spark
One More Shot

Obtained by finding the Duke in Queensbury Crypt, escorting him to the room after the Duchess boss, and sealing him in the coffin.
Normally, whenever you die, you’ll drop one of your Sparks and get sent back to the last Underlab you visited, dropping your bones as well if you have no Sparks left. Obviously, dying is bad, and losing progress is annoying, especially if your death is sudden and out of nowhere. For a little defense against those particularly annoying deaths, as well as death in general, you want the Proto Spark, one of the most objectively useful Trinkets in the game. It's totally worth going to the trouble of helping the Duke.
When Mina dies with the Proto Spark equipped, it’ll automatically be deployed, reviving her on the spot with a portion of her health restored. No matter how you die, whether from enemy attacks or falling down a pit, the Proto Spark can bring you back, albeit only once at a time. You’ll have to visit an Underlab to recharge it before it can bring you back again. The benefits of this should be readily apparent: it’s a get-out-of-death-free card, a chance to keep going even after dying to an occasional mistake. Once I unlocked this thing, I never took it off, and it saved my bacon countless times.
 Next
Next
Mina the Hollower: How to Jump Higher
A practical guide to finding the best jump boost gear early.


![ELDEN RING NIGHTREIGN: Deluxe Edition [FitGirl Repack]](https://i5.imageban.ru/out/2025/05/30/c2e3dcd3fc13fa43f3e4306eeea33a6f.jpg)
 English (US) ·